SET-UP OF THE TOY PRIOR TO EACH USE:
- Whether or not you are using the toy for the first time, check that all accessories have been properly cleaned and dried.
- Install your toy and its accessories on a table or other flat, rigid and very clean surface.
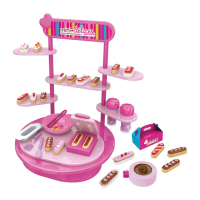
- Place the small transparent tubes in locations on the workshop’s left and right stands (see on picture A on the colored version manual)
- Remove the bowl, the press, the eclair cutter, mini tong-clip, mini-server and mini-spatula and place them near the workshop (you may store them in the workshop after having played).
- Ask an adult to give you the materials required to make mini-eclairs and ask an adult for a few sheets of kitchen rolls.
YOU ARE NOW READY TO MAKE MINI-ECLAIRS!
HOW DO YOU CREATE YOUR MINI ECLAIRS?
If you have followed the preparation and installation steps correctly, ensured that your toy and its accessories are clean and you have washed your
hands, you are now ready to make your mini-eclairs!
1) Set a slice of white bread on your worktop.
Take the eclair cutter and set it on top of the bread. Press on each side to push it to the bottom of the bread, then press the entire eclair cutter with
the palm of your hand several times to ensure that the entire shape is correctly cut (see on the picture 1 of the left). Now remove the eclair cutter.
Usually the shape in the bread remains stuck to the accessory and you will need to put your finger through the hole to remove it.
2) Once the brioche slice is cut, set the shape on your worktop and cut new shapes.
3) Place the press on the worktop, in the correct position (see on the picture on the left). Fill the press with the two bread shapes you have made.
Close the press to compress the shapes together so that they form the shape of the press (see on the picture 2 on the left).
PROJECT IDEAS FOR COATING AND DECORATING YOUR MINI ECLAIRS:
To vary your creations, you can also add a topping to your mini-eclairs. To do this, pour pieces of nuts*, wafers or cereals, depending on your preference, into the large bowl. Then pour the
sticky sweet substance (jam, honey, spread*, icing pen, etc.) onto the top of your mini-eclair then plunge it into the big bowl so that the pieces of nuts*, waffles, cereals, etc. stick to it.
You can also cover the top of your mini-eclair with sugar paste (not included) in a color of your choice. To do this, take a length of sugar paste, flatten it then use the eclair cutter to cut a
shape. The sugar paste will be the right size. Next, remove any excess sugar gum paste. Then put some sticky sweet substance (jam, honey, spread*, icing pen, etc.) on the top of your mini
eclair. The sticky substance will hold the sugar paste in place on your mini-eclair. Then fit the sugar paste to the top of your mini-eclair. Finish to decorate your mini-eclair by putting some
sticky sweet substance on the sugar paste. Then carefully lift the mini decorations one by one using the tong-clip and set them on the sticky substance in the desired place. The sticky
substance will hold the decorations in place on the sugar paste.
*We recommend buying ingredients adapted to your children’s health, some can cause allergies.
The sweet decorations shown here are not included and the creations have not been made only using the kit contents.
Now it's your turn! Make your own mini-eclairs!
4) Now remove your mini-éclair from the mold. To do this, carefully remove each of the shapes from the press. You have now made both parts of your
mini-eclair.
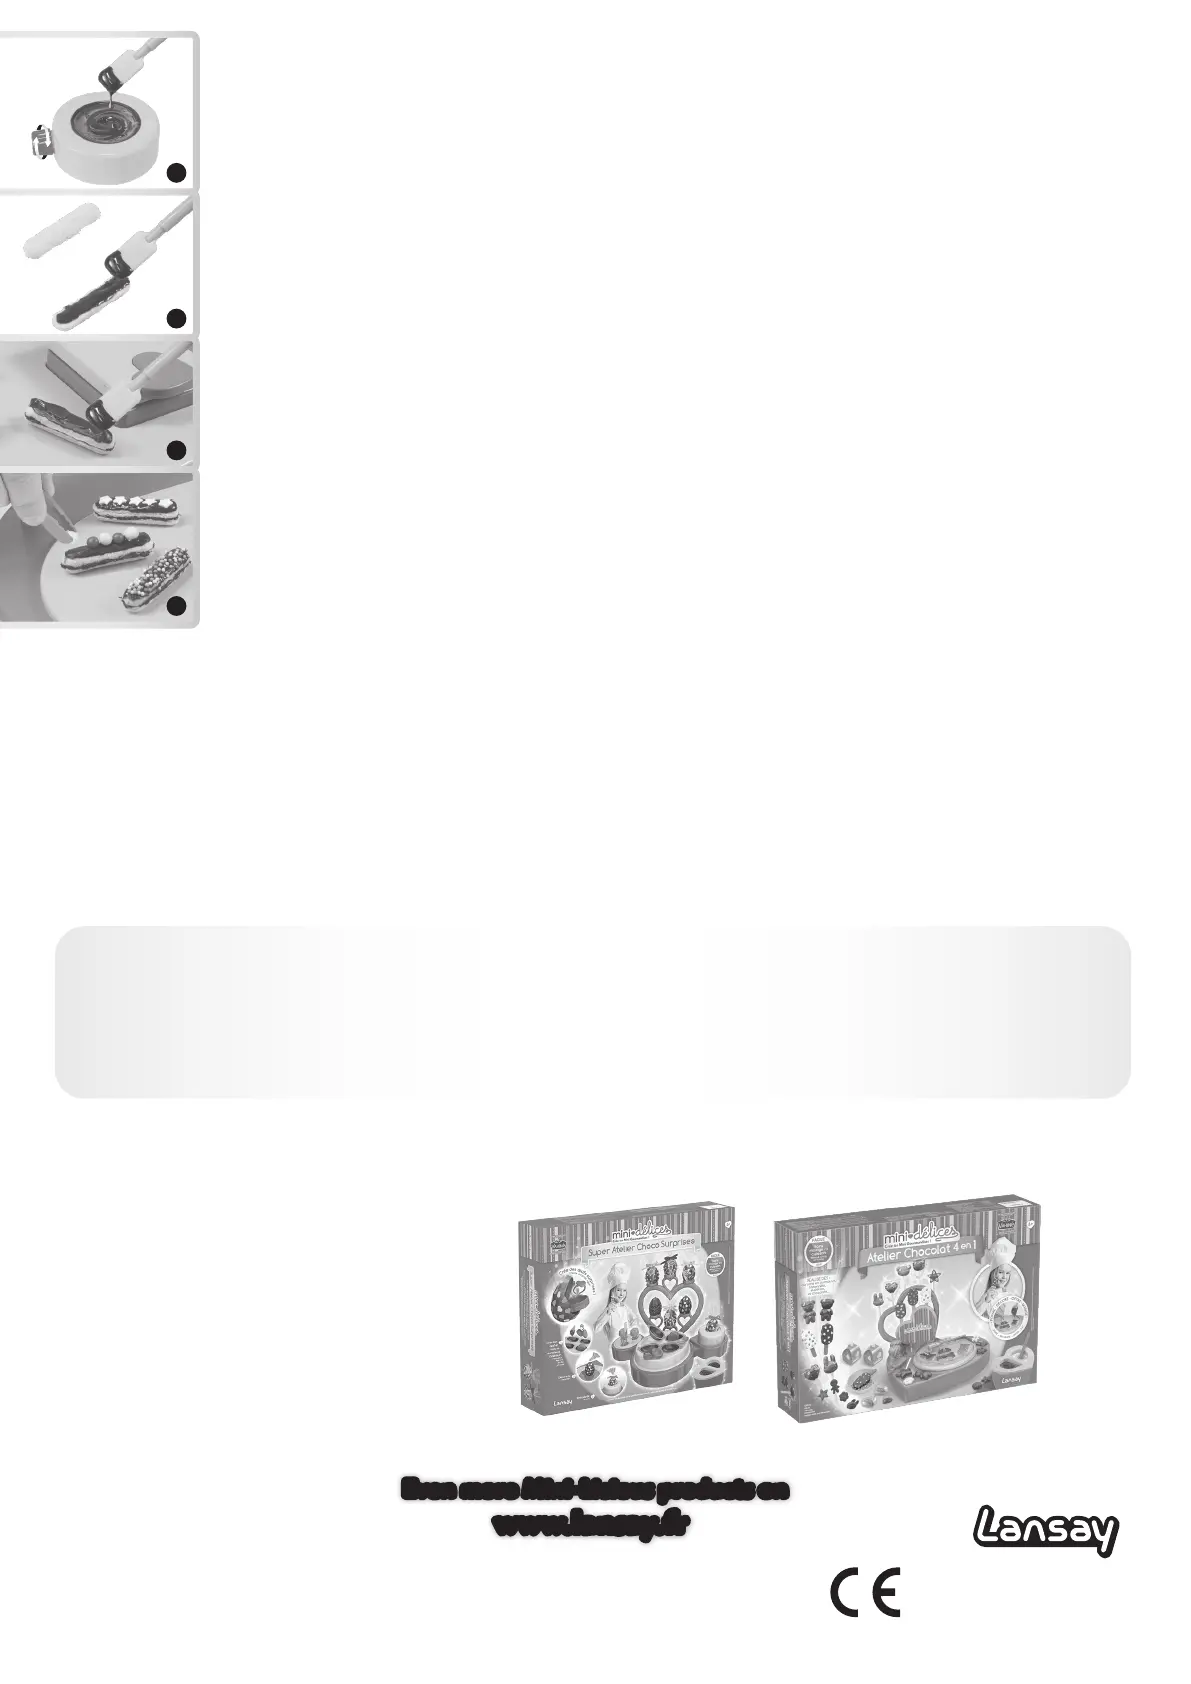
5) Use the hot water container to decorate your mini-eclair with chocolate. An adult must fill the container with water as hot as possible from the tap and
screw the plug to the bottom (see on the picture 3 on the left). WARNING! The water should not be boiling. The container is designed for hot tap water only.
The adult must then wipe any water residue from the container and set it on your worktop.
Place several squares of chocolate in the container. Melt them for approximately 10 minutes (depending on how hot the water you are using is), stirring
regularly with the spatula included (see on the picture 3 on the left).
When the chocolate has fully melted, carefully pour the chocolate inside one shape of your mini-eclair using the spatula included (see on the picture 4 on the left).
Then cover the base with the top of your mini-eclair. Press very gently on the top of your mini-eclair so that it is correctly positioned and attached to the
base. Now set your mini-éclair on your worktop to decorate it.
6) Pour the sugar decorations (not included) into the big bowl. You can store them in the small transparent tubes again when you have finished.
7) Use the melted chocolate remaining in the container by stirring it well with the spatula included to liquefy it, or re-melt the chocolate, in order to coat
your mini-eclair with chocolate. To do this, ask an adult to prepare the container of hot water, as explained in paragraph 5. When you see that the chocolate
has melted, start to pour the chocolate carefully over your mini-eclair with the spatula (see on the picture 5 on the left).
8) Then carefully lift the mini decorations one by one using the tong-clip and set them on the chocolate in the desired place. The chocolate will hold the
decorations in place on your mini-eclair. You can also use a sticky sweet substance (jam, honey, spread*, icing pen, etc.) instead of chocolate (see on the
picture 6 on the left).
9) Once you are satisfied with your creation, you can lift it with the small server and place it in an eclair case. Then set the eclair case on a shelf on the
worktop. When you have finished all of your mini-eclairs, you can enjoy them with your friends and family. You can also display them on your worktop or
put them in mini gift boxes and give them as gifts!
Warning! The mini-eclairs must be eaten on the same day. After that, you may keep them to display but you must not eat them. If you want to keep them for a
few days, make sure you keep them in a cool, dry area, and do not leave them within reach of a small child who might eat them.
STORAGE AND CLEANING AFTER EACH USE (TO BE DONE WITH AN ADULT):
- Carefully store any decorations remaining in the bowl in their little tubes and firmly tighten the top.
- With the help of an adult, you must then carefully clean the toy and all of the accessories: the tray, the drawer (remove all of the crumbs), the utensils, etc.
An adult may clean them using washing-up liquid to remove any traces of sugar and fat. Warning! Do not put in dishwasher. Next, dry all parts using a soft
cloth before putting everything back in place.
Even more Mini-Licious products on
www.lansay.fr
Even more Mini-Licious products on
www.lansay.fr
EXPLORE THE OTHER WORKSHOPS
IN THE MINI-DELICE RANGE
3
4
5
6
112 quai de Bezons
95100 Argenteuil - FRANCE
www.lansay.fr
WARNING! Not suitable for children under 36 months. Contains small parts. Choking hazard.
For use under adult supervision. Read the instructions before use, follow them and keep them for reference. Keep this
game out of reach of children under 3 years old. Colours and contents may vary from those shown. Please remove all
plastic tags, ties, and any other protective elements which do not make up part of the toy, before giving it to the child.


 To Previous Page
 Loading...