CAL200 Technical Reference Manual Microphone Calibration 2-3
Perform the Calibration
To calibrate the microphone, follow the steps below:
WARNING! Do not remove the
microphone gridcap while
calibrating as this may lead to
microphone damage.
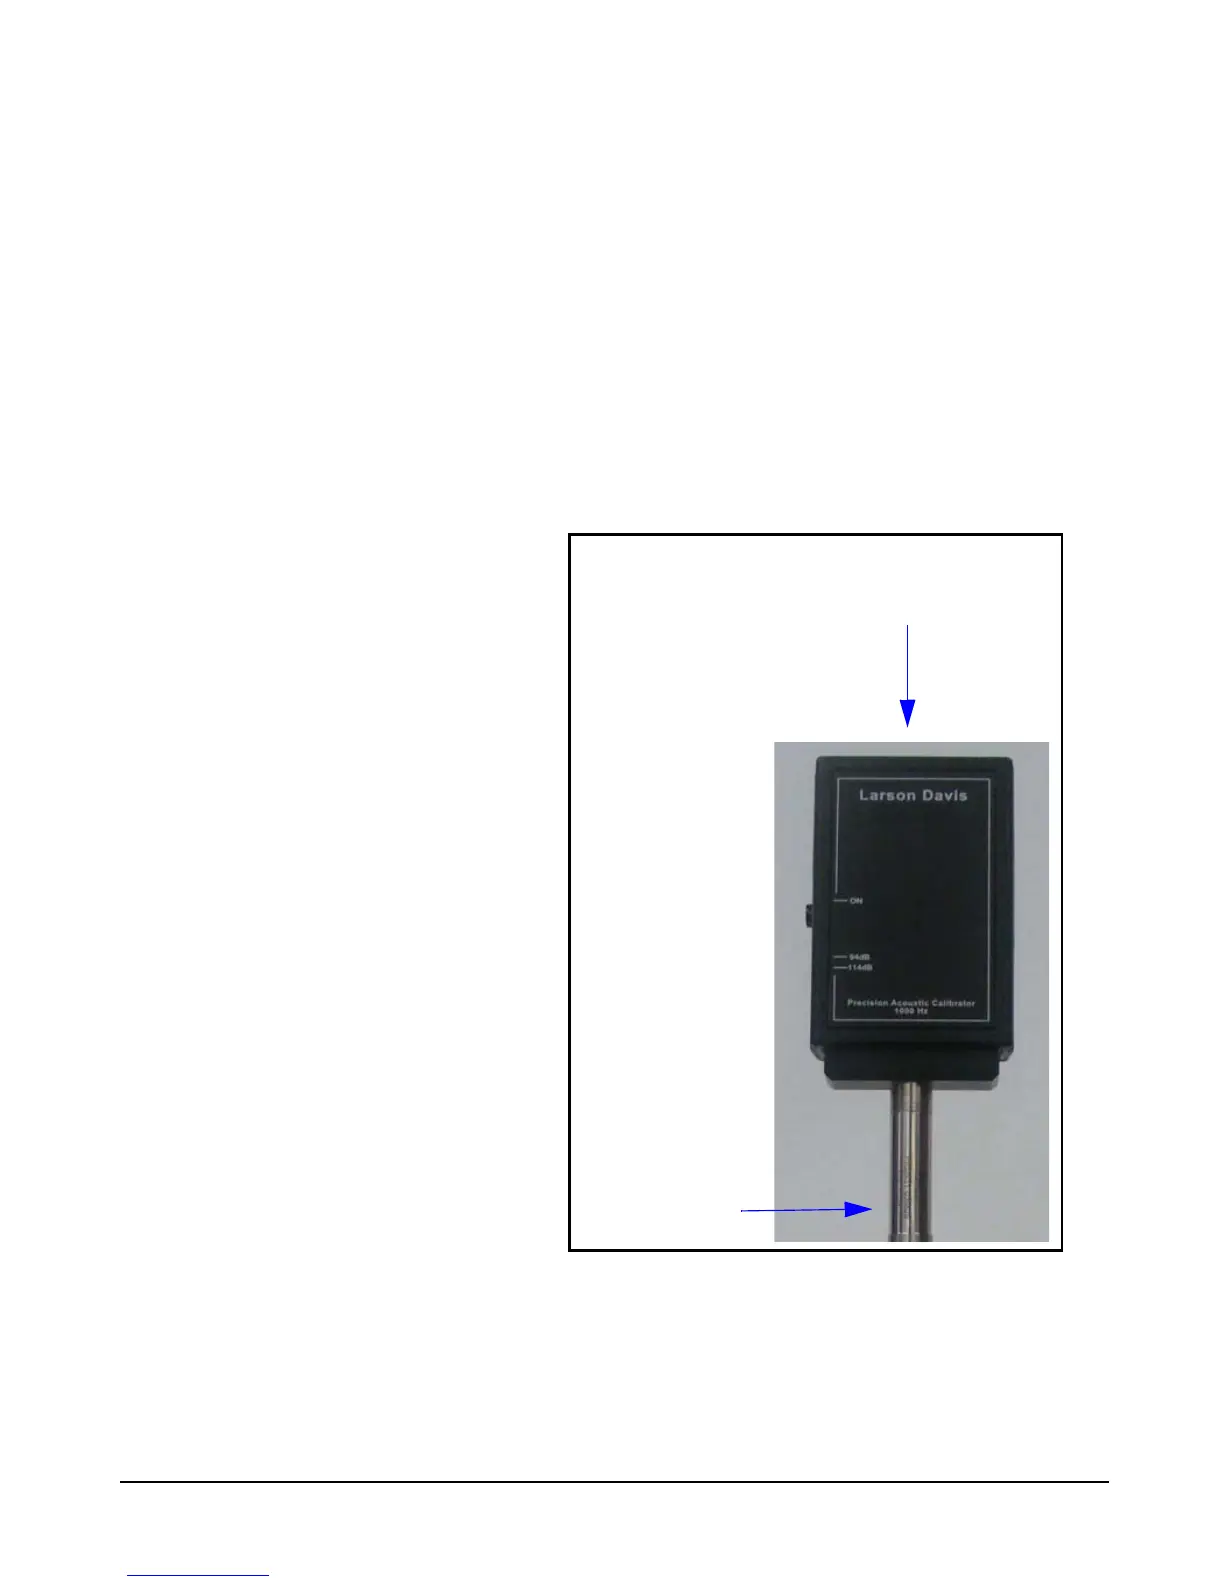
Step 1 Place the instrument so that you can perform the
calibration vertically, as shown in Figure 2-1.
Step 2 Insert the proper microphone adapter fully into the
calibrator. Make sure it fits snugly.
Step 3 Insert the microphone fully into the adapter. Make
sure it fits snugly.
The preferred method for calibrating
with the CAL200 is to mount the
preamplifier in a fixed, vertical
position.
FIGURE 2-1 Vertical Positioning
Step 4 With the microphone connected to the instrument
being calibrated, press the CAL200’s ON button. With a
fresh battery, the calibrator will issue a tone for more than 60
seconds before automatically shutting off (see note below).
 Loading...