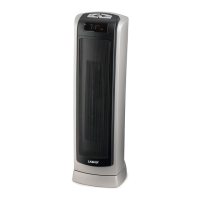
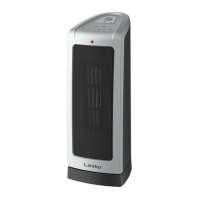
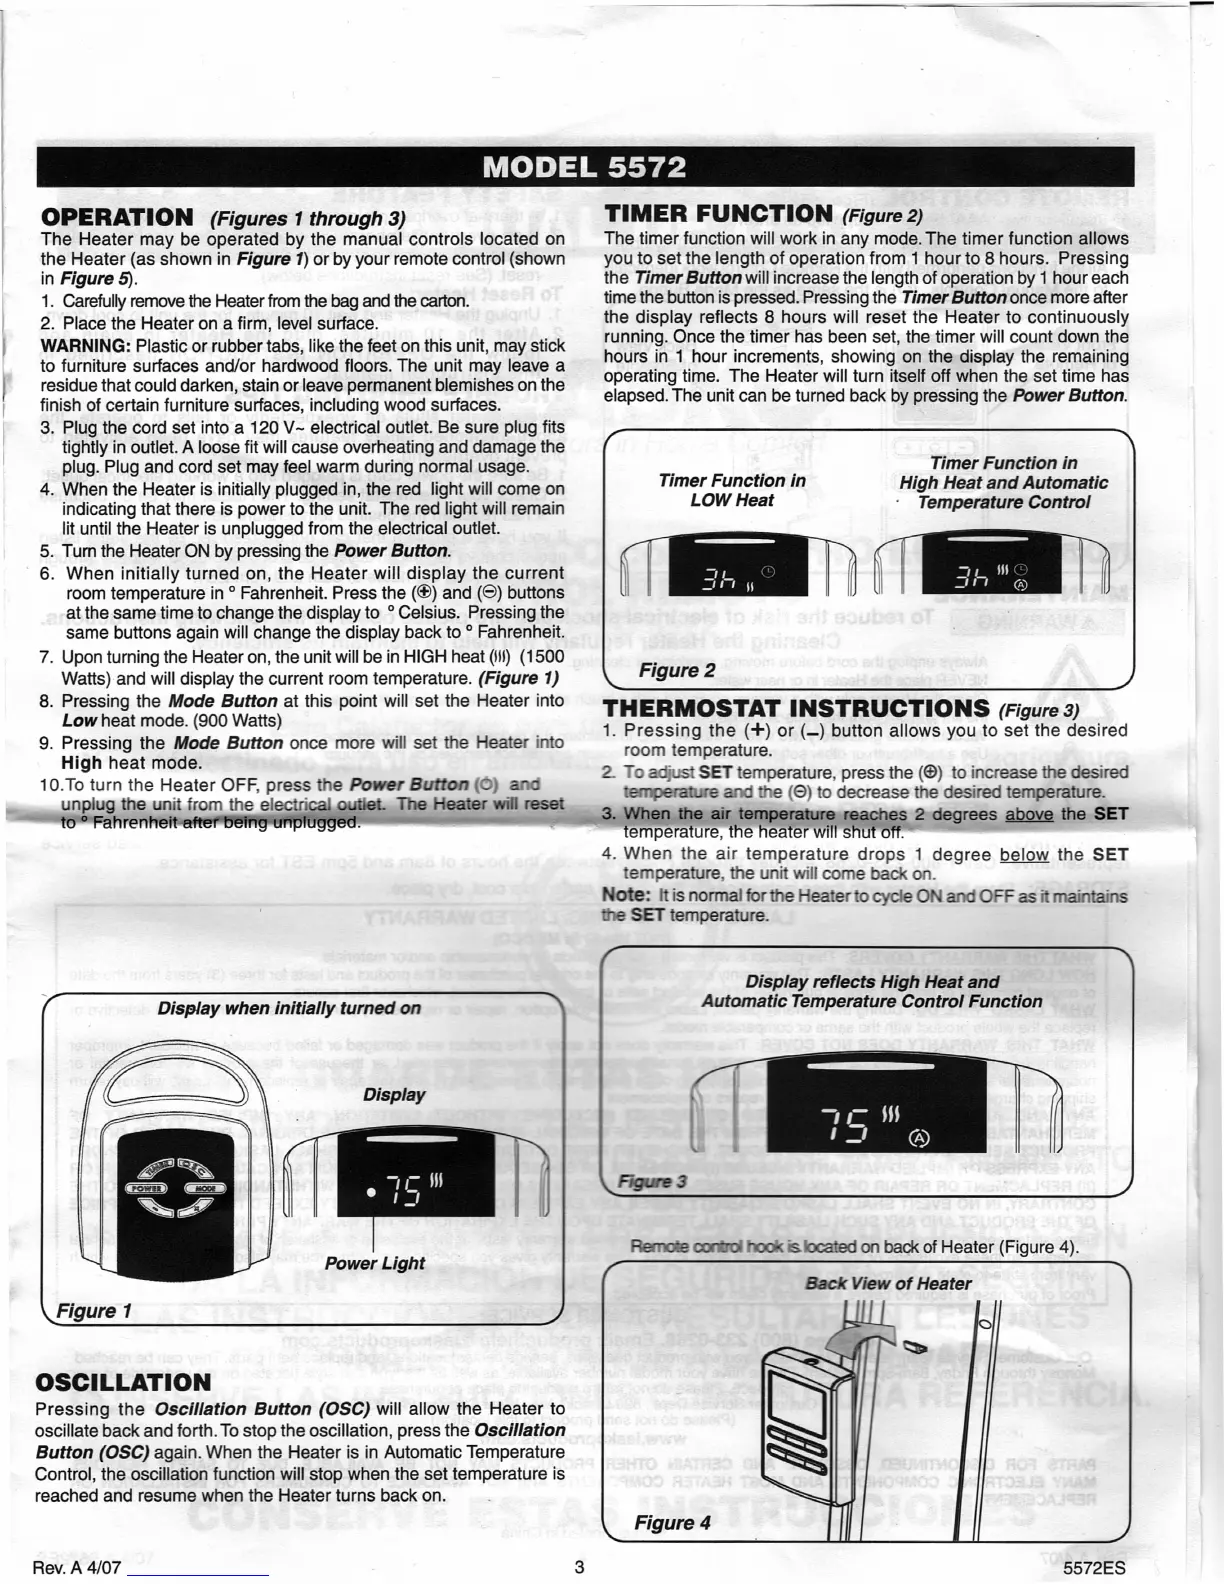
Display
Power Light
OSCILLATION
Pressing the
Oscillation Button (OSC)
will allow the Heater to
oscillate back and forth. To stop the oscillation, press the
Oscillation
Button (OSC)
again. When the Heater is in Automatic Temperature
Control, the oscillation function will stop when the set temperature is
reached and resume when the Heater turns back on.
Figure 3
FkwnoW cxm*oI
¼cated on back of Heater (Figure 4).
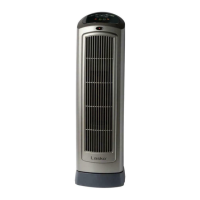
OPERATION
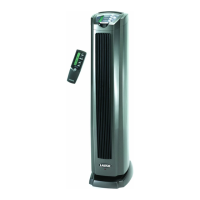
(Figures 1 through 3)
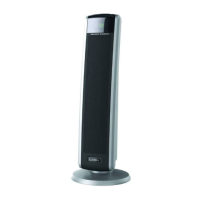
The Heater may be operated by the manual controls located on
the Heater (as shown in
Figure 1)
or by your remote control (shown
in
Figure 5).
1.
Carefully remove the Heater from the bag and the carton.
2.
Place the Heater on a firm, level surface.
WARNING:
Plastic or rubber tabs, like the feet on this unit, may stick
to furniture surfaces and/or hardwood floors. The unit may leave a
residue that could darken, stain or leave permanent blemishes on the
finish of certain furniture surfaces, including wood surfaces.
3.
Plug the cord set into a 120 V- electrical outlet. Be sure plug fits
tightly in outlet. A loose fit will cause overheating and damage the
plug. Plug and cord set may feel warm during normal usage.
4.
When the Heater is initially plugged in, the red light will come on
indicating that there is power to the unit. The red light will remain
lit until the Heater is unplugged from the electrical outlet.
5.
Turn the Heater ON by pressing the
Power Button.
6.
When initially turned on, the Heater will display the current
room temperature in
O
Fahrenheit. Press the () and () buttons
at the same time to change the display to
O
Celsius. Pressing the
same buttons again will change the display back to
O
Fahrenheit.
7.
Upon turning the Heater on, the unit will be in HIGH heat (UI) (1500
Watts) and will display the current room temperature.
(Figure 1)
8.
Pressing the
Mode Button
at this point will set the Heater into
Low
heat mode. (900 Watts)
9.
Pressing the
Mode Button
once more will set the Heater into
High
heat mode.
1 0.To turn the Heater OFF, press
the
Power Button
(0)
and
unplug the unit from the e!ectrical
outlet. The Heater will reset
to
0
Fahrenheit after being unplugged.
Display when initially turned on
TIMER FUNCTION
(Figure 2)
The timer function will work in any mode. The timer function allows
you to set the length of operation from 1 hour to 8 hours. Pressing
the
Timer Button
will
increase the length of operation by 1 hour each
time the button is pressed. Pressing the
Timer Button
once more after
the display reflects 8 hours will reset the Heater to continuously
running. Once the timer has been set, the timer will count down the
hours in 1 hour increments, showing on the display the remaining
operating time. The Heater will turn itself off when the set time has
elapsed. The unit can be turned back by pressing the
Power Button.
Timer Function in
Timer Function in
High Heat and Automatic
LOW Heat
Temperature Control
3h
3h
Figure 2
THERMOSTAT INSTRUCTIONS
(Figure 3)
1.
Pressing the
(+)
or (._.) button allows you to set the desired
room temperature.
2.
To
adjust SET temperature, press the ((D) to increase the desired
temperature and
the (O) to decrease the desired temperature.
3.
When the air temperature reaches 2 degrees above the SET
temperature, the heater will shut off.
4.
When the air temperature drops 1 degree below the
SET
temperature. the unit will come back on.
Note:
It is normal
for the Heater to cycle ON and OFF as it maintains
SET temperature.
Display reflects High Heat and
Automatic Temperature Control Function
Rev. A4/07
3
5572ES
 Loading...