Excepon: For a device with an "RJ‑12" SENSOR port, an RJ‑12 to RJ‑45 adapter cable (part number:
RJ12M-RJ45M) is needed.
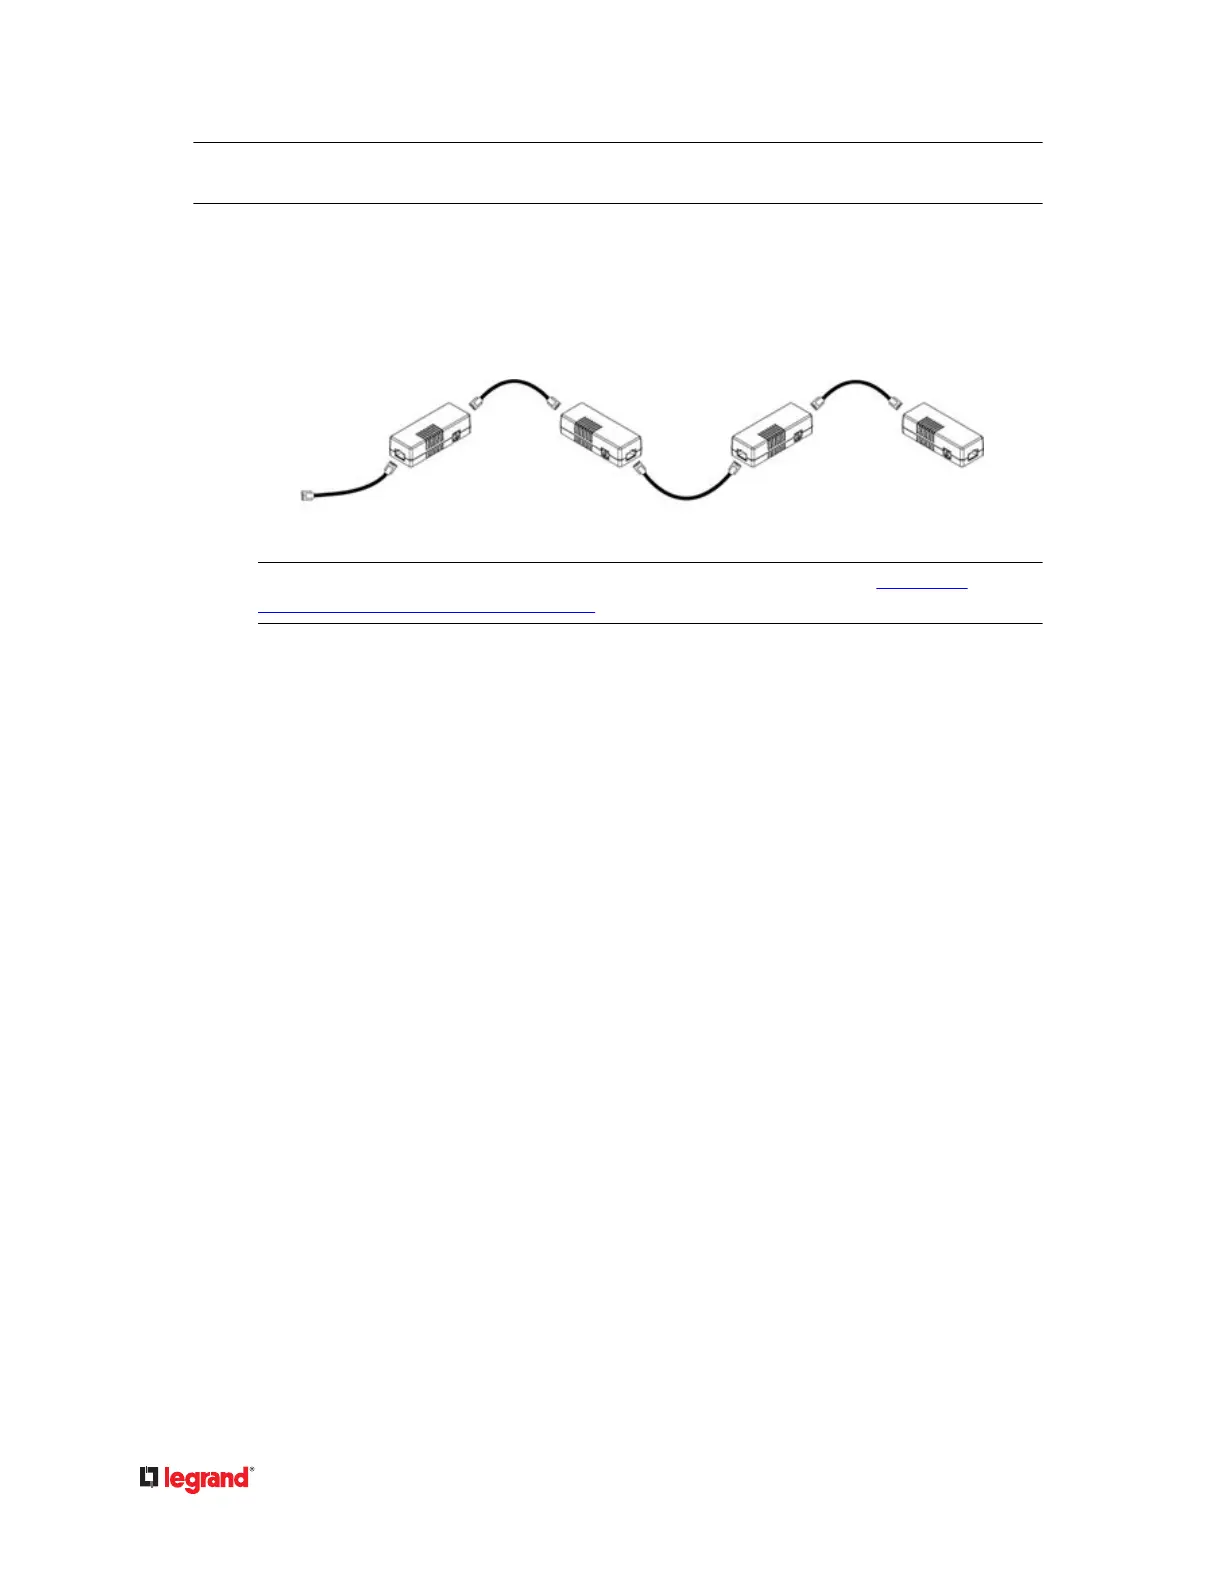
2) If you want to cascade DX packages, get an addional standard network patch cable (CAT5e or
higher) and then:
a. Plug one end of the cable into the remaining RJ‑45 port on the prior DX package.a.
b. Plug the other end into either RJ‑45 port on an addional DX package.b.
Repeat the same steps to cascade more DX packages.
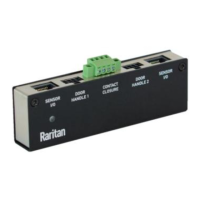
Excepon: You CANNOT cascade DX‑PD2C5 sensor packages. For details, see DX-PD2C5 -
Powered Dry Contact and Contact Closure (on page 40).
Adjusng DIP Switches
There are two Normal sengs for each CC channel on DX packages.
• N.O (Normally Open): The open status of the connected detector/switch is considered normal. An•
alarm is triggered when the detector/switch turns closed.
• N.C (Normally Closed): The closed status of the connected detector/switch is considered normal. An•
alarm is triggered when the detector/switch turns opened.
Each CC channel and the DX‑PIR occupancy sensor's Normal seng is congured by turning on or o its
corresponding DIP switch.
▶
To adjust DIP switches for CC channels:
• N.O: Turn ON the DIP switch by pressing it down.•
• N.C: Turn OFF the DIP switch by pushing (or keeping) it up.•
▶
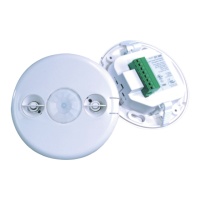
To adjust the DIP switch for DX‑PIR occupancy sensor:
• Turn it OFF (up) when human absence is considered the normal state.•
•
Turn it ON (down) when human presence is considered the normal state.
•
53
 Loading...