1.Removeanymediafromthedrives.Then,turnoffallattacheddevicesandthecomputer.
2.Disconnectallpowercordsfromelectricaloutlets.
3.Disconnecttheoldkeyboardcableormousecablefromthecomputer.
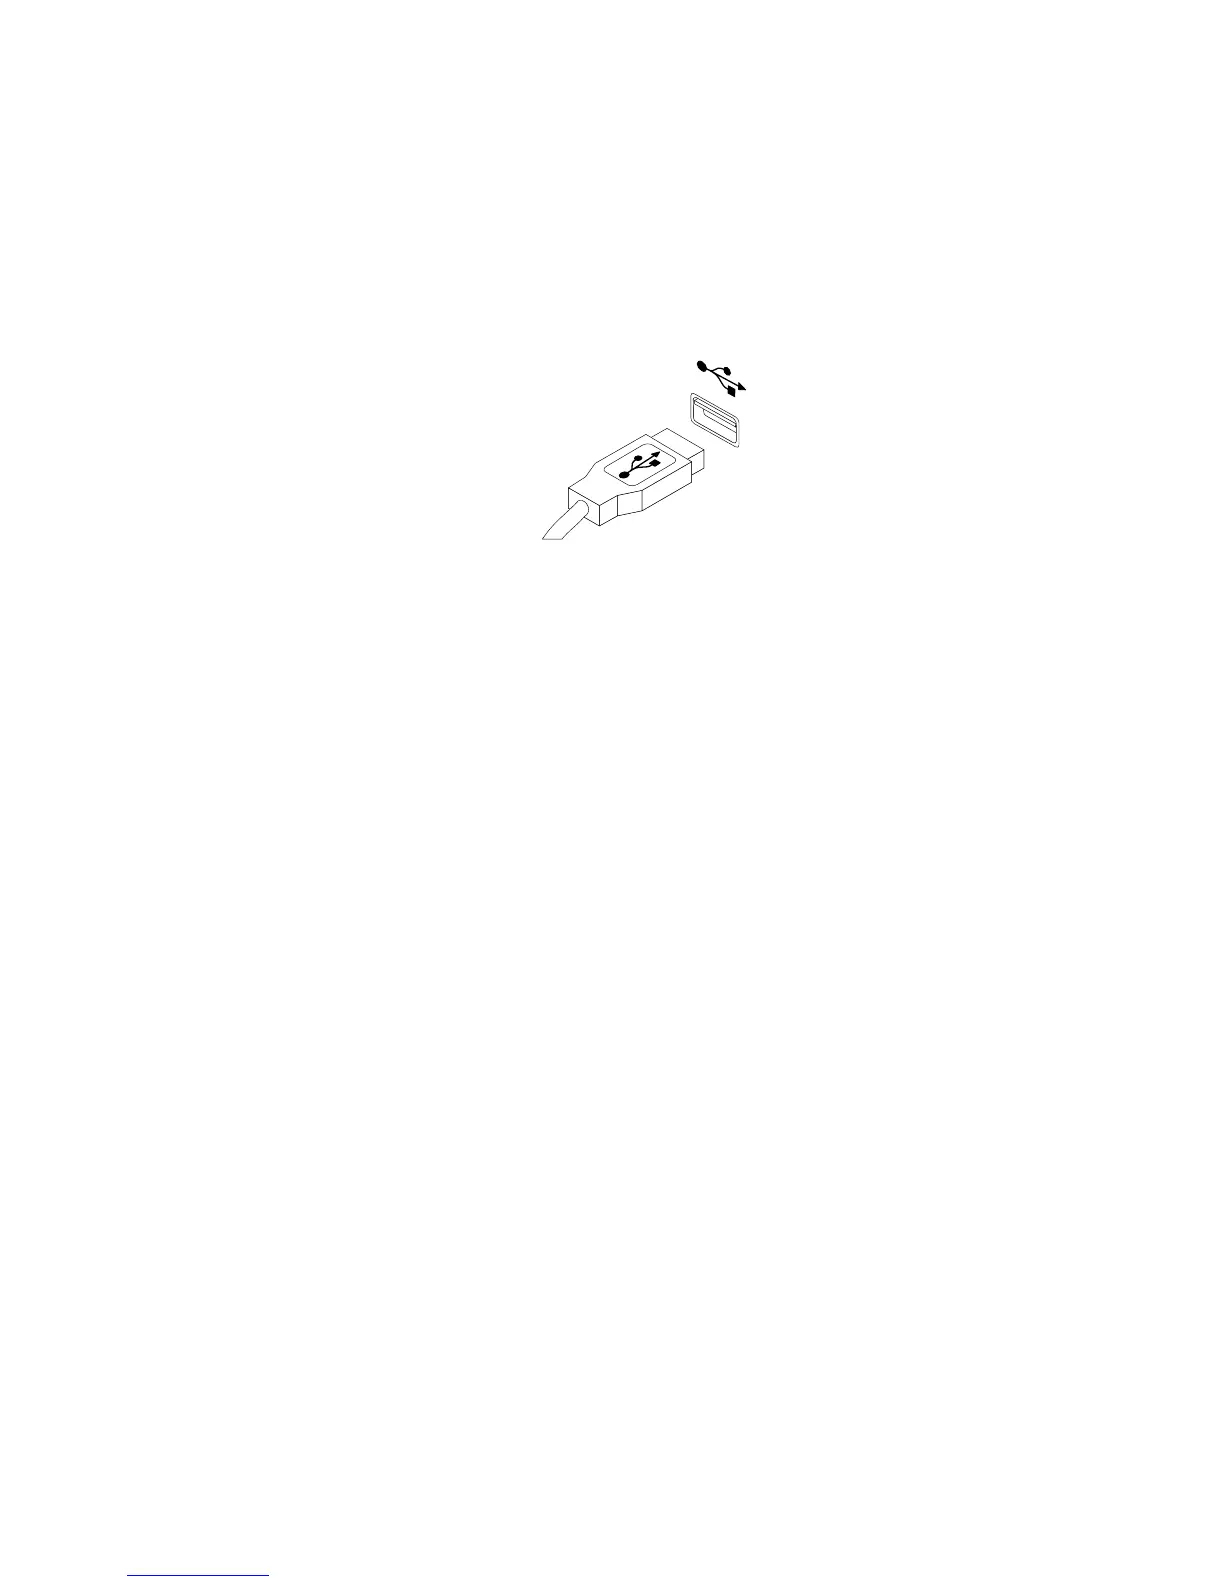
4.ConnectanewkeyboardormousetooneoftheUSBconnectorsonthecomputer.Dependingon
whereyouwanttoconnectthenewkeyboardormouse,see“Locatingconnectors,controls,and
indicatorsonthefrontofyourcomputer”onpage104or“Locatingconnectorsontherearofyour
computer”onpage105.
Figure75.ConnectingtheUSBkeyboardormouse
5.Tocompletetheinstallationorreplacement,goto“Completingthepartsreplacement”onpage139.
Completingthepartsreplacement
Aftercompletingtheinstallationorreplacementforallparts,youneedtoreinstallthecomputercoverand
reconnectcables.Dependingonthepartsyouinstalledorreplaced,youmightneedtoconrmtheupdated
informationintheSetupUtilityprogram.RefertoChapter6“UsingtheSetupUtilityprogram”onpage43
.
Toreinstallthecomputercoverandreconnectcablestoyourcomputer,dothefollowing:
1.Makesurethatallcomponentshavebeenreassembledcorrectlyandthatnotoolsorloosescrews
areleftinsideyourcomputer.See“Locatingcomponents”onpage106
forthelocationsofvarious
componentsinyourcomputer.
2.Makesurethatthecablesareroutedcorrectly.Keepcablesclearofthehingesandsidesofthe
computerchassistoavoidinterferencewithclosingthecomputercover.
3.Lowerthedrivebayassembly.See“Accessingthesystemboardcomponentsanddrives”onpage111.
4.Ifyouhaveremovedthefrontbezel,reinstallit.See“Removingandreinstallingthefrontbezel”on
page110.
Chapter9.ReplacingFRUs(MachineTypes:1578,1583,and1652)139

 Loading...


