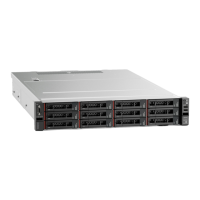
Simple-swap drive backplate assembly replacement
Use this information to remove and install the simple-swap drive backplate assembly.
Remove the simple-swap drive backplate assembly
Use this information to remove the simple-swap drive backplate assembly.
“Read the
installation
Guidelines” on
page 45
“Power off
the server
for this task”
on page 14
“ATTENTION:
Static Sensitive Device
Ground package before opening”
on page 48
Before removing the simple-swap drive backplate assembly:
1. Remove the top cover. See “Remove the top cover” on page 57.
2. Record the cable connections and disconnect cables of the simple-swap drive backplate assembly.
3. Remove all the installed drives and drive fillers (if any) from the drive bays. See “Remove a simple-swap
drive” on page 81.
To remove the simple-swap drive backplate assembly, complete the following steps:
Figure 48. Simple-swap drive backplate assembly removal
Step 1. Open the release latches that secure the simple-swap drive backplate assembly.
Step 2. Pivot the simple-swap drive backplate assembly backward slightly to release it from the three pins
1 on the chassis.
Step 3. Carefully remove the backplate assembly out of the chassis from under the front I/O assembly
cables.
76
ThinkSystem SR530 Maintenance Manual

 Loading...


