Mounng/
installaon
More data and informaon for the mechanical and electrical installaon can be found here:
•
Con
trol cabinet structure ^ 18
•
EMC-compliant installaon ^ 20
•
St
andards and operang condions ^ 35
•
Dimensions ^ 69
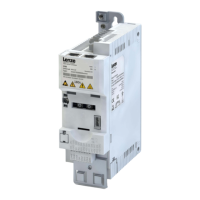
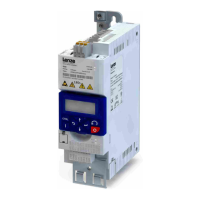
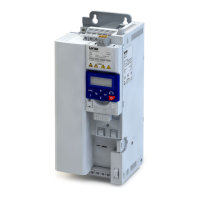
The scope of supply of the inverter comprises mounng instrucons. They
describe t
echnical data and informaon on mechanical and electrical installa-
on.
Mounng
posion
•
Vercal alignment - all mains connecons are at the top and the motor connecons at the
boom.
Free spaces
•
Maintain the specied free spaces above and below to the other installaons.
Mechanical installaon
•
The mounng locaon and material must ensure a durable mechanical connecon.
•
Do not moun
t onto DIN rails!
•
In case of
connuous vibraons or shocks use vibraon dampers.
How to mount the inverters onto the mounng plate
1.Prepare mounng plate with corresponding threaded holes and equip them with screws
and, if required, washers.
a)Use screw and washer assemblies or hexagon socket screws with washers.
b)Do not yet ghten the screws.
2.Mount the inverter on the prepared mounng plate via keyhole suspension.
3.Only ghten the screws hand-ght.
4.If required, pre-assemble further units.
5.Adjust the units.
6.Screw the units onto the mounng plate.
The inverters are ready for wiring.
Measures for cooling during operaon
•
Ensur
e unimpeded venlaon of cooling air and outlet of exhaust air.
•
If the c
ooling air is polluted (u, (conducve) dust, soot, aggressive gases), take adequate
countermeasures.
•
Install lters.
•
Arr
ange for regular cleaning of the
lters.
•
If r
equired, implement a separate air guide.
Screw and washer assemblies or hexagon socket screws with washers are recommended..
M5 x ≥ 10 mm for devices up to and including 2.2 kW
M5 x ≥ 12 mm for devices up to and including 11 kW
M6 x ≥ 16 mm for devices up to and including 22 kW
M8 x ≥ 16 mm for devices up to and including 45 kW
Mounng/
installaon
116
 Loading...