40
Attach cables and power cord
2 Plug one end of the printer power cord into the socket at the
back of the printer and the other end into a properly grounded
outlet.
If you installed an optional 2000-sheet drawer, plug the printer
power jumper cord into the back of the drawer, and then plug the
drawer’s cord into a properly grounded outlet.
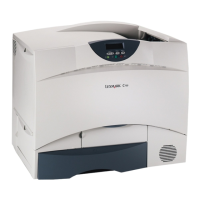
3 Turn on your printer.
After the printer completes its internal tests, the Ready
message indicates that the printer is ready to receive jobs.
If you see a message other than Ready on the display, refer to
the publications CD for instructions on clearing the message.
Look for information about understanding printer messages.
4 Go on to “Install drivers for local printing” on page 44.