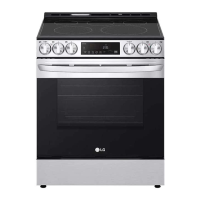
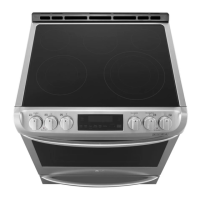
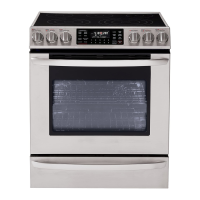
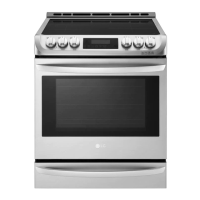
18 INSTALLATION
2 Insert the power cord through the strain relief
and tighten it.
• Do not install the power cord without a strain
relief.
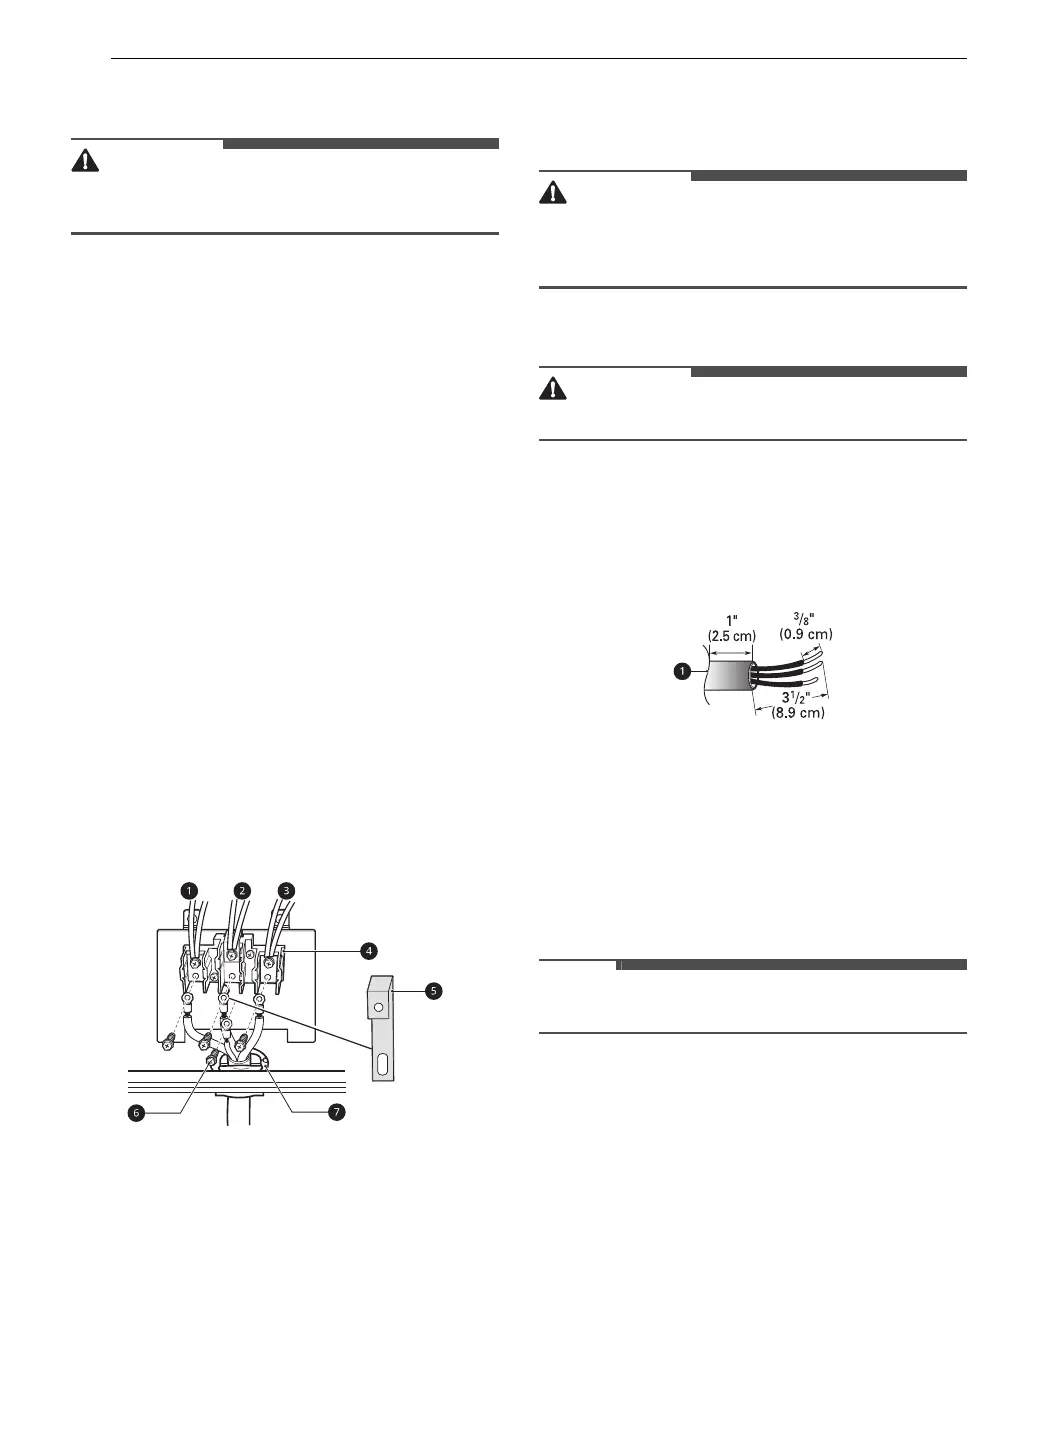
3 Remove the lower 3 screws from the terminal
block and retain them.
4 Remove the ground screw and bend the end
of the ground strap up so the slot is over the
hole of the center screw removed in step 3.
5 Insert the ground screw into the power cord
ground wire (green) terminal ring and secure
it to the range frame.
6 Insert the 3 screws through each power cord
terminal ring and into the lower terminals of
the terminal block.
• Make sure that the white center (neutral)
wire is connected to the center lower
position of the terminal block.
7 Tighten the 3 screws securely into the
terminal block.
• The center screw now attaches the bent up
ground strap to the block.
a Black
b White
c Red
d Terminal block
e Ground strap
f Ground screw
g Cord/Conduit connection plate
3-Wire Connection: Conduit
• If screws are not tightened securely, it can result
in electrical spark and severe personal injury or
death.
Conduit Installations
• Do not install the conduit without a strain relief.
1 Remove the cord/conduit connection plate
from the rear of the oven and rotate it.
• The conduit hole (1 1/8") must be used.
2 Prepare the conduit wires as shown below.
a Cord/Conduit connection plate
3 Install the conduit strain relief.
1) Insert the strain relief in the 1 1/8 in. (2.8
cm) conduit hole.
2) Install the conduit through the body of
the strain relief and fasten the strain relief
with its ring.
• For conduit installations, purchase a strain relief.
4 Reinstall the cord/conduit connection plate.
Conduit Connections
If the wire in the conduit is copper it must be 8 or
10 AWG wiring.
If the wire in the conduit is aluminum it must be 6
or 8 AWG wiring.
1 Loosen the lower 3 screws from the terminal
block.
us_main.book.book Page 18 Wednesday, February 3, 2021 9:14 AM
 Loading...