Do you have a question about the LG WF-T1491TP, T11292TP, T1292TP, T1291TP and is the answer not in the manual?
Instructions for leveling the washing machine, ensuring stability and proper operation.
Detailed steps for connecting the water supply hose to the washing machine tap.
Guidance on connecting the drain hose for both pump and non-pump models.
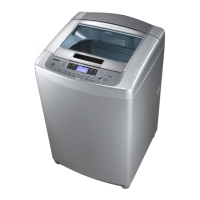
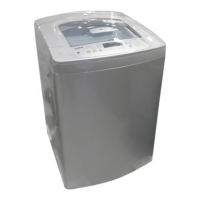
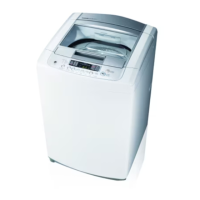
Visual guide and labels for various components of the washing machine.
Important pre-wash checks, sorting, and loading guidelines for optimal results.
Explanation of the purpose and usage of each button on the control panel.
Detailed overview of available washing programs and their recommended uses.
Instructions for special functions like Soak Wash, Delay Start, and Option Washing.
Guidelines for cleaning and maintaining the washing machine, including winterization.
Electrical schematic diagrams for different model series of the washing machine.
Wiring diagrams illustrating the electrical connections for various washing machine models.
Charts detailing wash cycle times for different programs and load sizes.
Procedures for adjusting critical components like the brake lever, clearance, and V-belt.
Step-by-step instructions for disassembling various parts of the washing machine.
Guide for performing QC test mode without water for diagnostics.
Solutions for common issues like poor soil removal, stains, lint, and residue.
Troubleshooting steps based on specific error codes displayed by the machine.
Methods to diagnose and repair issues based on observed symptoms.
Exploded diagram showing parts of the top cover assembly.
Exploded diagram illustrating the components of the outer case assembly.
Exploded diagram detailing the parts of the tub assembly.