EasyManua.ls Logo

Lincat DF66 - Page 5

Lincat DF66
11 pages
Print Icon
To Next Page IconTo Next Page
To Previous Page IconTo Previous Page
Loading...
IS 400 ECN 4176 Page 5 of 11
Power Ratings
Power (kW)
Supply 1N~+E(A) 230V
Supply 3N~+E (A) 400V
3.0
13.0
N/A
6.0
26.0
L1 13 L2 13 L3 N/A
9.0
39.0
L1 13 L2 13 L3 13
6.0
26.0
L1 13 l2 13 l3 N/A
9.0
39.0
L1 13 L2 13 L3 13
6.0
2 x 13.0
N/A
6.0
26.0
L1 13 L2 13 L3 N/A
12.0
2 x 26.0
L1 13 L2 13 L3 N/A
18.0
2 x 39.0
L1 13 L2 13 L3 13
6.0
26.0
L1 13 L2 13 L3 N/A
9.0
39.0
L1 13 L2 13 L3 13
12.0
2 x 26.0
2 x L1 13 2xL2 13 2xL3 N/A
18.0
2 x 39.0
2 x L1 13 2xL2 13 2xL3 13
On J fryers, assemble the nuts provided to each foot, add a washer and fit the feet
to the holes provided in the base.
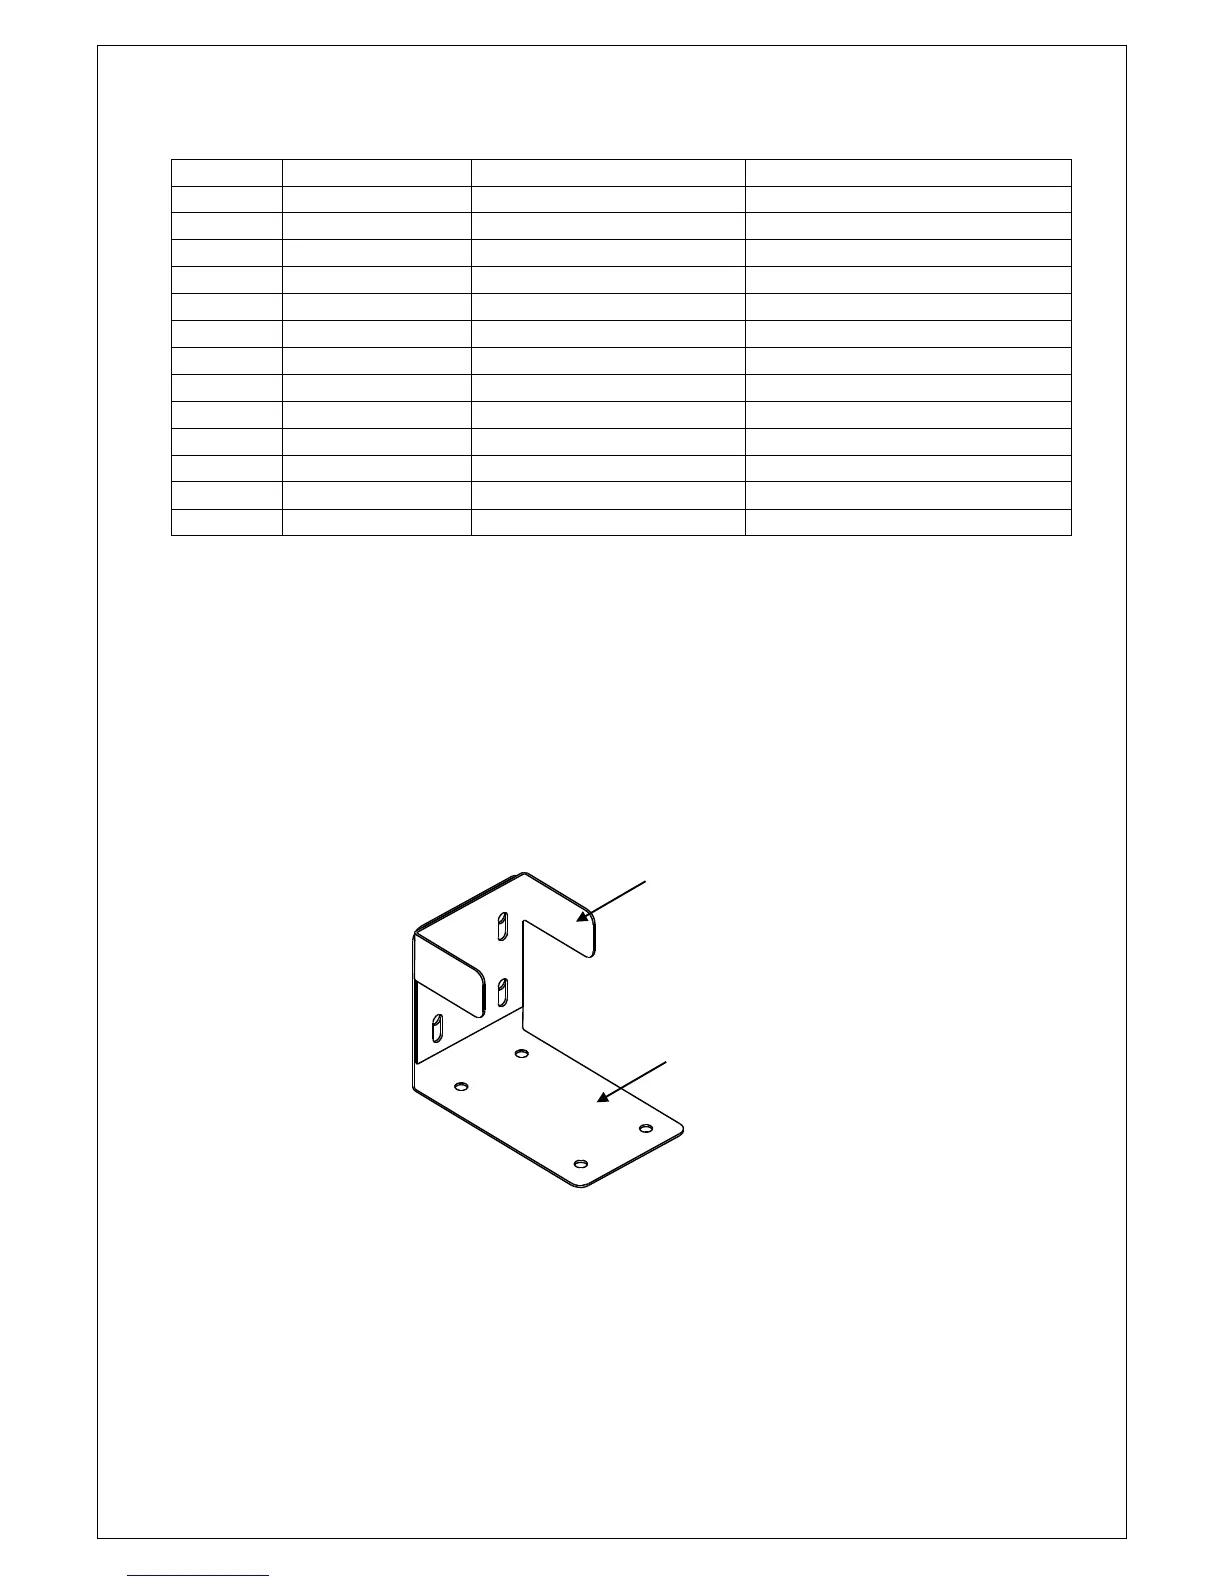
It is essential that the stability kit provided is used with J6 and J9 fryers. Bolt the
base plate to the floor, attach the stability bracket using the bolts and washers
provided and push the fryer into position, ensuring that the wings on the bracket
locate into the slots at the base of the fryer back.
Bolt to floor
Locate wings into slots
In fryer back

Related product manuals