Welcome: CONFIGURING SOUNDDIVER FOR 2.0
UP• 8
CONFIGURING SOUNDDIVER FOR 2.0
Once you’ve installed your chip, there’s one more thing to do to get yourself ready to
rock with your Version 2.0 POD. We’re going to get SoundDiver re-configured to look
for your 2.0 POD, rather than your earlier version POD.
Remember, installing the upgrade will clear your POD’s memory, so be
sure you’ve backed up any custom sounds as described in the previous
pages before installing the upgrade chip.
SOUNDDIVER RE-CONFIGURATION STEP-BY-STEP
Step 1 - Quit SoundDiver if you currently have it running on your computer. You
need to start SoundDiver up with your POD turned off or disconnected. This will
force SoundDiver to ask you for assistance, and you will then be able to tell it to
switch over to work with your newly 2.0 POD.
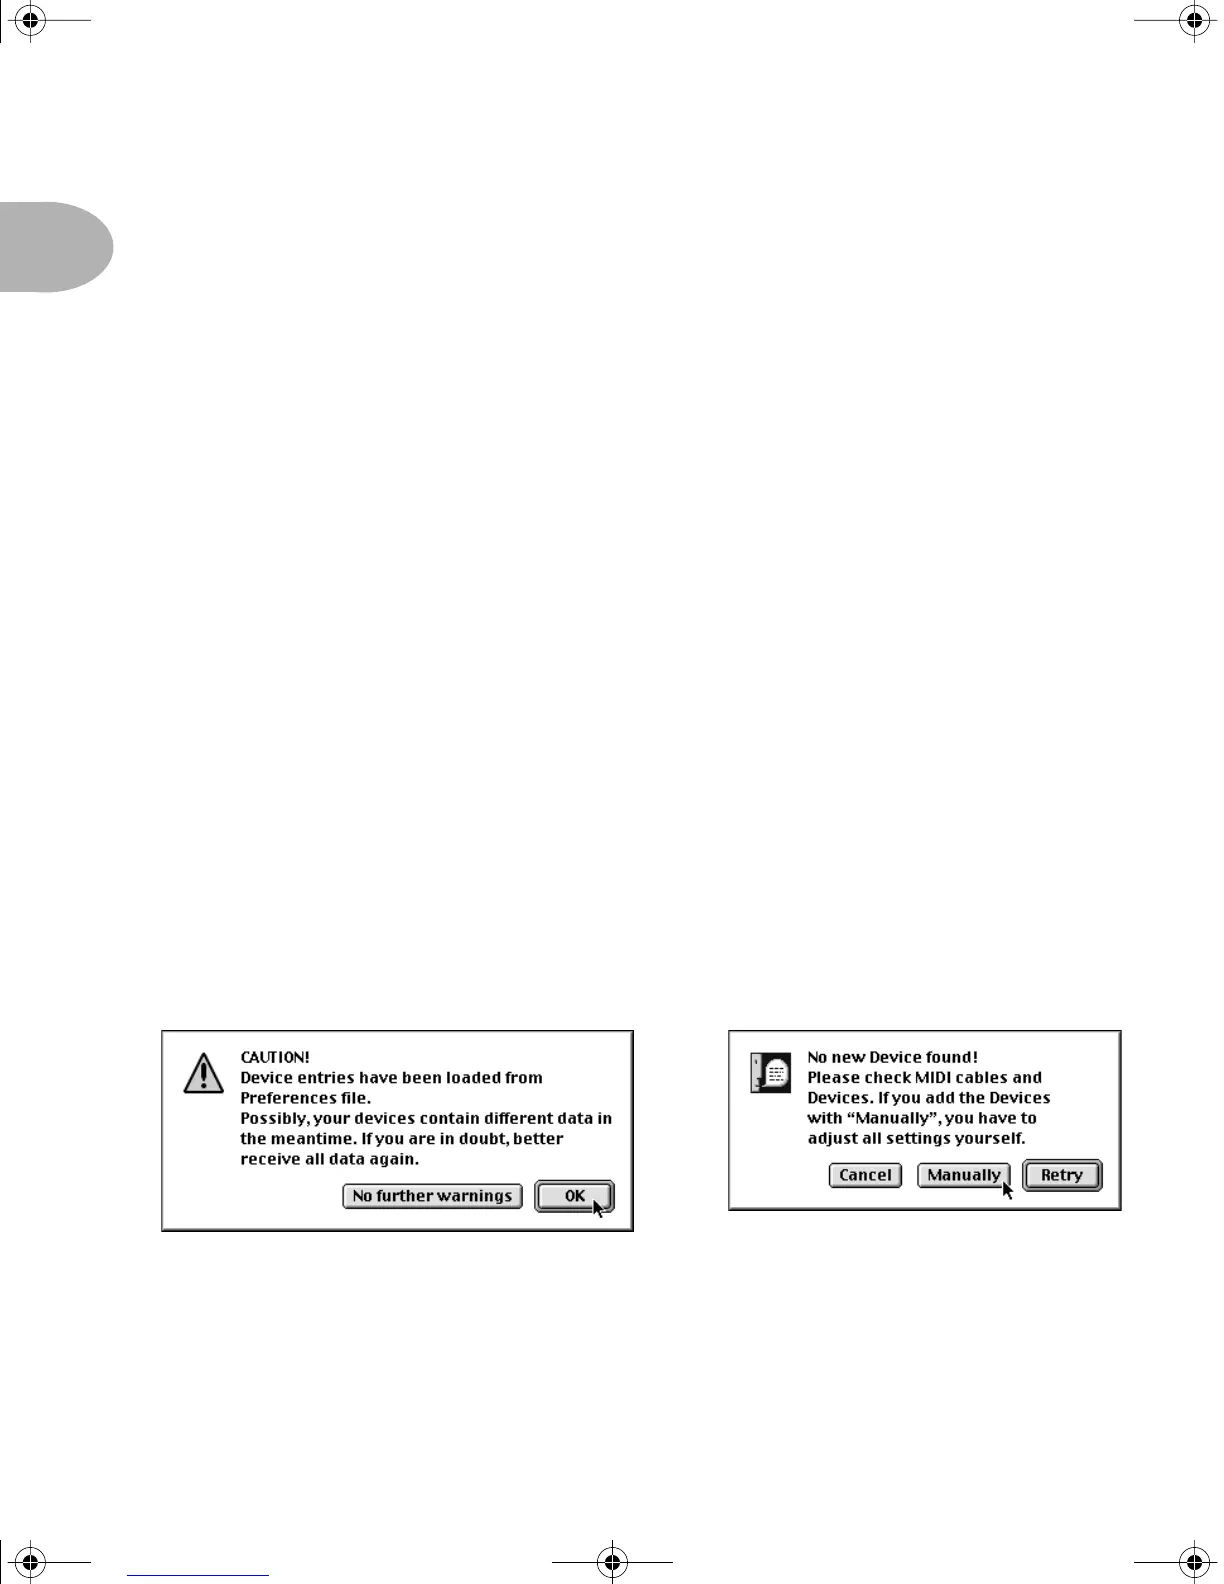
Step 2 - So, with your POD either disconnected from the computer, or simply
powered off so the computer can’t “see” it, launch SoundDiver. You should get a
dialogue box something like the one on the left (which you should OK) and then like
the one on the right:
Click the Manually button and SoundDiver will now ask you what device you are
using SoundDiver with via the next dialogue box:
POD 2.0 Upgrade Guide Page 8 Wednesday, June 21, 2000 9:20 PM
 Loading...
