Editing Amp, Cab & Mic Parameters
WhenanAmpBlockisselected,youcanusetheMulti-functionknobs
1-4toselectAmp,Cabinet,orMicModels.Whenusingadualamp
setup,Knob4allowsyoutoassignwhichampgetscontrolledbythe
DRIVE, VOLUME, and TONE knobs.
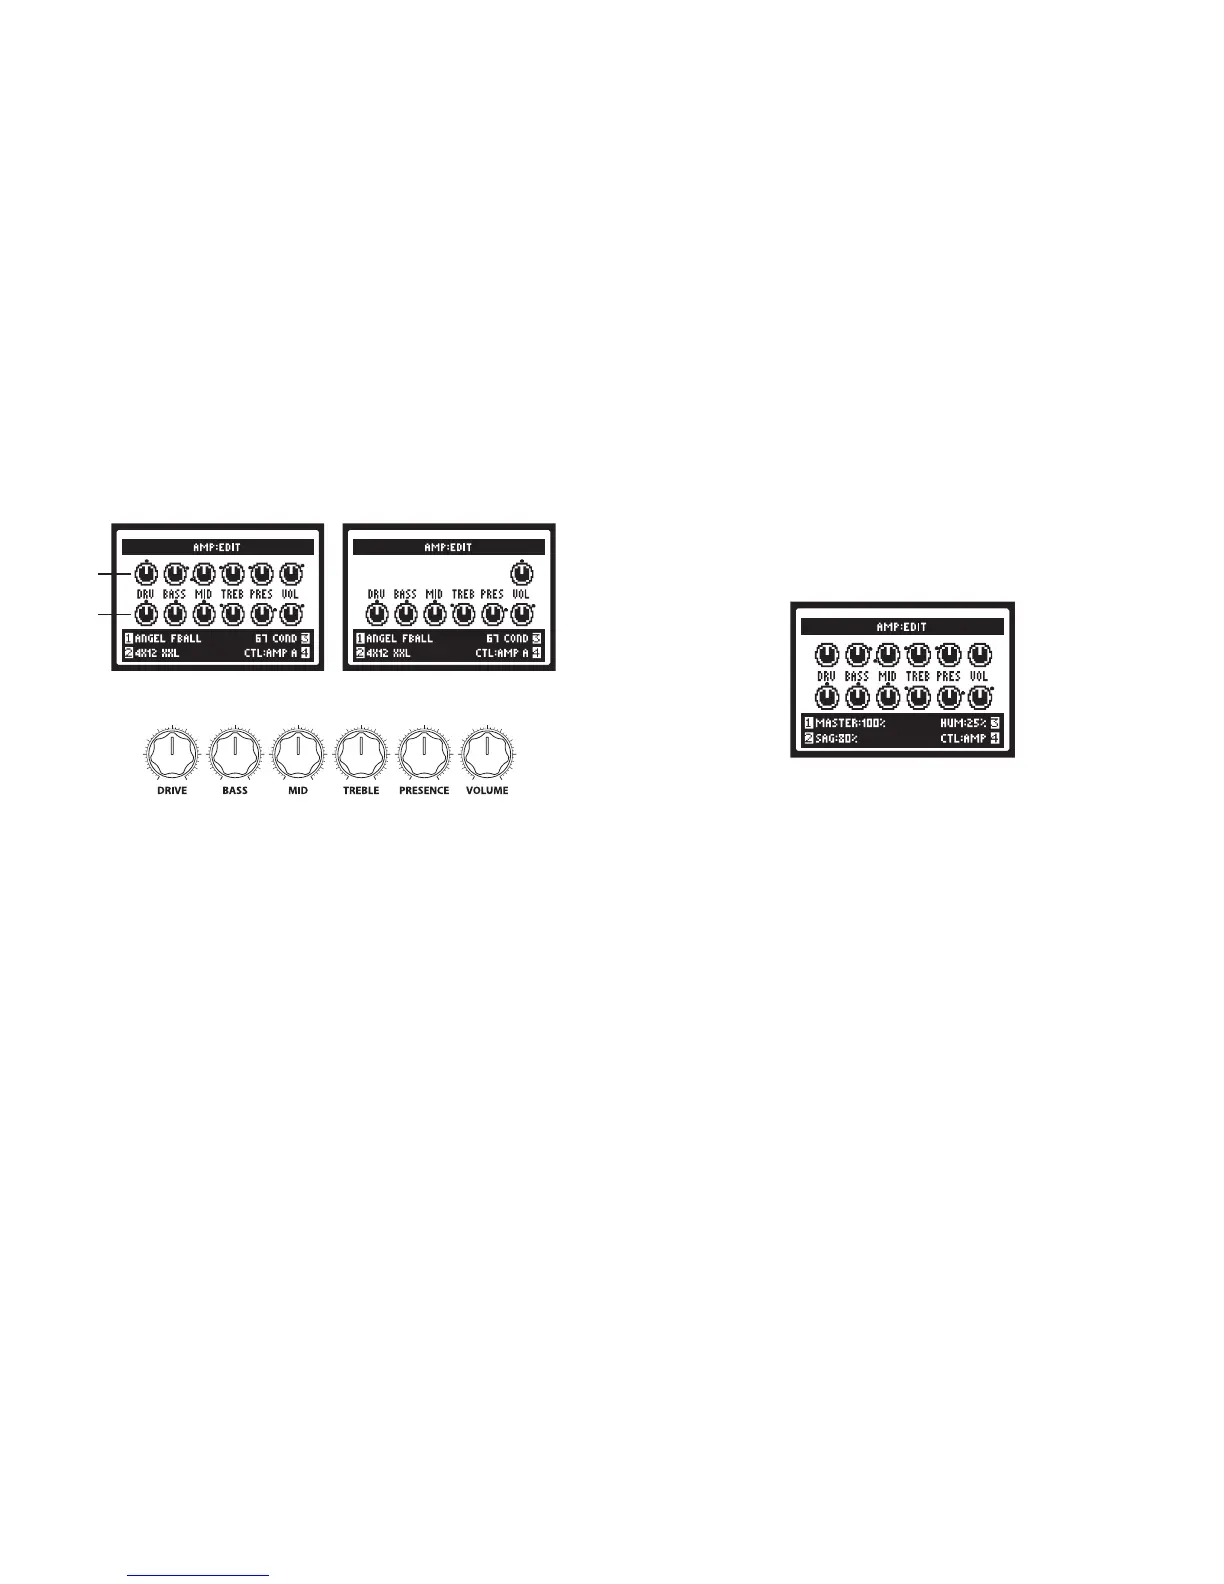
Whenever you adjust any of the Amp Tone knobs, you’ll see the
“Momentary”AMP: EDIT LCD screen temporarily displayed, showing the
actualvaluesoftheToneknobsforbothcurrentAmpA&AmpBModels.
Or, to manually display the AMP:EDIT screens, double-press the ENTER
buttonwhenanAmpModelisselected.You’llseethescreen’srespective
controls adjust as you adjust the DRIVE, VOLUME, and TONE knobs.
The black “dots” around each knob indicate its last-saved value. With an
AmpBlockoyou’llseeonlyaVOLknob.Thisisaseparateparameter
strictly for the Amp Model’s Bypass Volume. Use the VOLUME knob
on your device to adjust this, and its value is stored separately with the
Preset for whenever the Amp Block is Bypassed.
YoucanusetheAmpModeldeepeditparameterstocompletelychange
the behavior of any amp model from subtle to extreme. It's like having your
very own amp techinician by your side. From page 1 of the AMP:EDIT
screen, press the 4 Way Nav Pad right arrow button to view page 2.
Knob 1 - MASTERsetstheamountofpowerampdistortion.Thispa-
rameter is highly interactive with all deep edit parameters.
Knob 2 - SetstheamountofSAGinthepoweramp.Athighersettings
the model becomes "squishy" with more touch sensitivity and improved
sustain.
Knob 3 - Controls how much heater hum and AC ripple interacts with
your tone. At maximum setting things get really freaky - you've been
warned.
Knob 4 - Sets the Multi-Function knobs to alter the settings on this
page for Amp A or Amp B.
Press the 4 Way Nav Pad right arrow button again to view page 3.
Knob 1 - Adjusts the bias of the power tubes. At maximum the amp is op-
erating in Class A. Set to minimum you get a very "cold" Class AB biasing.
Knob 2 - Bias Excursion is a phenomenon that occurs only as the
power tubes are pushed. Set low for a tighter feel. Set high for more
tube compression (Note: Turn DRIVE&MASTERuptoexperiencethis
phenomenon).
Knob 4 - Sets the Multi-Function knobs to alter the settings on this
page for Amp A or Amp B.
Press the 4 Way Nav Pad right arrow button one more time to view page 4.
Knob 1 - Sets the amount of "early reflections." Higher settings add more
reflective room sound to your tone.
Knob 2 - Turn to change Cabinet Models .
Knob 3 - Selects Microphone type.
 Loading...

