1. Place the Mounting Bracket on the existing wiring with
the arrow up, and then mark the holes.
Placez le support de montage sur le câblage, la
flèche orientée vers le haut, puis marquez les trous.
Coloque el soporte de montaje en el cableado existente
con la flecha hacia arriba y luego marque los
agujeros.
Optional / Facultatif / Opcional:
Drill 1/4” (6mm) holes for the anchors.
Percez des trous de 6,0 mm (1/4 po) pour les ancrages.
Taladre oricios de 1/4 in (6 mm) para los anclajes.
2. Attach the Bracket with the provided screws.
Fixez le support avec les vis fournies.
Fije el soporte con los tornillos proporcionados.
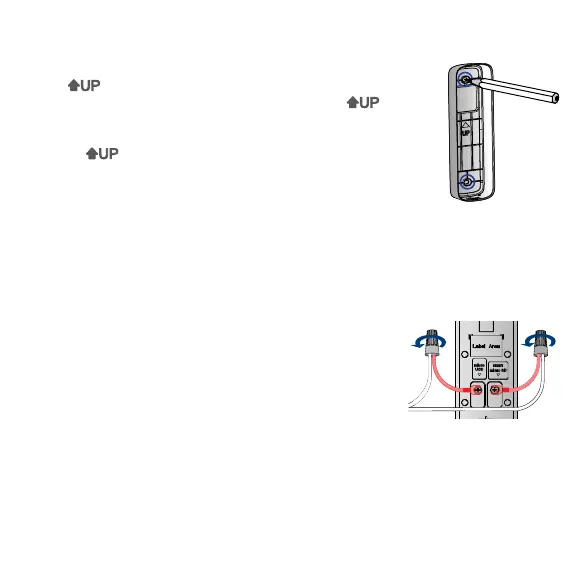
3. Connect the Input and Connecting Wires using the
Wire Caps.
Connectez le ls d’entrée et de connexion à l’aide des
capuchons de l.
Conecte los cables de entrada y de conexión por medio
Setup • Configuration • Configuración
de los capuchones.
4. Use a Phillips-head screwdriver to loosen the terminal screws, and then slide the
Connecting Wires underneath the screws.
Utilisez un tournevis cruciforme pour desserrer les vis des bornes, faites glisser
ensuite les ls de connexion sous les vis.
Use un destornillador Phillips para aflojar los tornillos terminales y luego deslice
los cables de conexión por debajo de los tornillos.

 Loading...