32
by Lutron
7
Ganging and derating
8
Connect the new Caséta Claro Smart switch
Tagged Wire
Ground
(Green Wire)
9
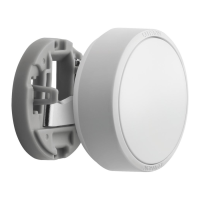
Mount the Caséta Claro Smart switch
10
Attach the wallplate
11
Remove existing switch from wall at Location 2
3-Way Installation - Caséta Claro Smart Switch with Pico Remote Control (DVRF-5NS)
12
Tag and disconnect wires from the existing switch
Ground (Green / Bare Copper)
Different
Color
Screw
Location 2
Place tag - to identify wire on
different color screw
Location 2
Location 1
Important note:
Ganging units together may reduce the switch’s maximum wattage
rating. See the chart below for maximum wattage information.
1
Neutral required.
2
The maximum lamp wattage is determined by the efficiency of the transformer, with
70% – 85% as typical. For actual transformer efficiency, contact either the fixture or
transformer manufacturer. The total VA rating of the transformer(s) shall not exceed the VA
rating of the switch.
3
The switch is ULR Listed for use with all magnetic and electronic fluorescent ballasts.
Red
Blue
Black
DVRF-5NS (120 V~)
1
LED 5 A 5 A 5 A
Halogen / incandescent 600 W 600 W 600 W
Electronic Low-Voltage 600 VA 600 VA 600 VA
Magnetic Low-Voltage
2
600 VA 600 VA 600 VA
Fluorescent
3
5 A 5 A 5 A
General Purpose Fan 3 A 3 A 3 A
A
B
C
White
Neutral
connection
required
Note: Claro Smart controls don’t have fins but derating is
still required. See the chart below.
‘snap’
Wallplate
Adapter
Wallplate
Location 1
Location 1
B
B B
C
B
A
 Loading...