EasyManua.ls Logo

MAAX 105760 - User Manual

MAAX 105760
24 pages
Print Icon
To Next Page IconTo Next Page
Loading...
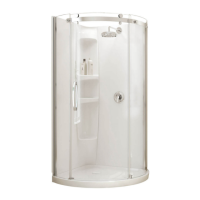
MODEL • MODÈLE • MODELO
105760 105960
139399-L 139399-R
INSTALLATION INSTRUCTIONS
GUIDE D’INSTALLATION
GUÍA DE INSTALACIÓN
FOR CENTERED DOOR INSTALLATION
POUR L'INSTALLATION PORTE CENTRÉE
PARA LA INSTALACIÓN DE LA PUERTA CENTRADA
SAVE THIS GUIDE FOR FUTURE REFERENCE.
CONSERVER POUR UN USAGE ULTÉRIEUR.
CONSERVE ESTE MANUAL COMO REFERENCIA.
Read all instructions carefully before proceeding.
Lire toutes les instructions attentivement avant de commencer
l’installation.
Leer detenidamente todas las instrucciones antes de comenzar
la instalación.
Serial number Numéro de série Número de Serie
IMPORTANT Record the serial number
IMPORTANT Noter le numéro de série
IMPORTANTE Registre el número de serie
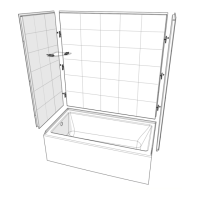
Optional walls 105753 sold separately
Murs optionels 105753 vendu séparament
Muros opcionales 105753 vendidos por separado
Question and Answer IconNeed help?

Do you have a question about the MAAX 105760 and is the answer not in the manual?

Summary

Parts and Components

Tools Required for Installation

Pre-Installation Preparation

Shower Installation Steps

Step 1: Wall Jamb Installation

Install and level wall jambs, mark holes, drill, apply silicone, and fasten.

Step 2: Base Installation

Secure the base with screws, ensuring alignment with wall studs.

Step 10: Rollers, Guides, and Threshold

Install rollers, guides, and threshold, ensuring proper fit and alignment.

Step 16: Final Sealing and Drain Cap

Apply final silicone sealant and install the drain cap.

Limited Warranty Information

MAAX 105760 Specifications

General IconGeneral
BrandMAAX
Model105760
CategoryOther
LanguageEnglish

Related product manuals