Page 15 of 18507388-01 Issue 1504
3. Disconnect the inducer prover switch tubing at the switch.
4. Remove the two screws on the combuson inducer plate.
5. Pull the combuson inducer and plate toward you unl it is
free of the diluon air box that supports it. Lower the inducer
and plate and rotate to pull the assembly out of the
compartment.
6. The ue tube extension can be cleaned if necessary. Leave it
in place; do not remove it from the unit.
7. For reassembly, follow the above steps in reverse order.
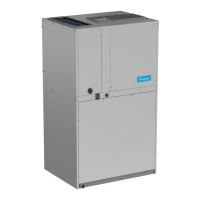
Heat exchanger
The heat exchanger should be inspected periodically and cleaned
if necessary. When cleaning use a s brush with a wire handle
to remove scale and soot. To access the heat exchanger tubes
for cleaning:
1. Remove the burner & manifold assembly as described
previously.
2. Remove the combuson inducer as described previously.
3. Remove the four screws securing the diluon air box to the
ue collector box.
4. Remove the nine or twelve screws (depending on model)
securing the ue collector box to the vest panel.
5. Using the wire brush, brush out the inside of each heat
exchanger tube from the burner assembly end and from the
ue collector box end.
6. Brush out the inside of the ue collector box.
7. Brush out the inside of the ue tube extension.
8. If soot buildup is excessive, clean the combuson inducer
wheel and housing.
9. When brushing is complete, blow all brushed areas with air.
Vacuum as needed.
10. For reassembly, follow the above steps in reverse order.
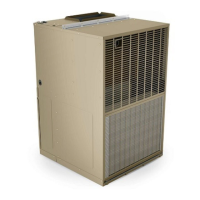
Cooling Chassis
The refrigeraon system contained in the cooling chassis normally
requires no maintenance since it is a closed, self-contained
system. System is charged with R410A refrigerant. Periodic
maintenance is limited to:
• Cleaning the air lter. Follow direcons noted on the lter
and label aached to the access panel.
• Cleaning the condenser coil if covered with any foreign
material, lint, leaves, or other obstrucons.
If servicing or major repairs are required, the complete chassis
can be removed from the unit. To remove the chassis:
1. Shut o the main power supply.
2. Remove filter access panel and panel covering cooling
controls.
3. Remove drain hose from the drain pan.
4. Disconnect the plug-in electrical connections. Do not
seperate the connector by pulling on this wire; instead, grasp
the connector handle.
5. Disconnect two power leads at contactor (leads come from
Grommet in unit paron).
6. Remove screws from panel directly in front of blower and
remove panel. Also remove addional screws located near
top edge of control panel.
7. Drape power wires and wire harnesses out of cabinet and
tape to upper panel.
8. Slide out the chassis, being careful not to damage any seals
or parts. Parcular care should be taken to insure wiring is
not damaged during removal/reinstallaon process.
To reinstall the chassis, reverse the procedure outlined above.
Be sure that the chassis is inserted as far back as it will go before
replacing the screws. Side anges on the chassis must be engaged
with sealing strips on the unit sides to prevent water and air
leakage. Reconnect the wire harness, reconnect the power
leads, and replace both access panels before turning on the main
electrical power. Tubing is not to be used as a handle.
 Loading...