Do you have a question about the Magliner HMK111AA15 and is the answer not in the manual?
Lists primary frame and structural components with item numbers, descriptions, quantities, and part numbers.
Details the specific hardware components included in the hardware pack, such as springs, screws, nuts, and pins.
Illustrates and lists the specific tools required for assembling the hand truck, including spanners and sizes.
Instructions for preparing the workspace and positioning the hand truck frame, possibly face down.
Guidance on attaching the nose plate to the hand truck frame, referencing bracket kit instructions if applicable.
Instruction to finger-tighten nuts and bolts during initial assembly stages.
Details on positioning the axle for different wheel sizes (10" and 8").
Instruction to securely tighten all bolts after initial assembly, with a note for specific stair climber kits.
Illustrates the process of attaching wheels to the hand truck axle.
Shows how to secure the wheels, likely using cotter pins or similar fasteners.
Illustrates the final step of attaching the handle to the hand truck frame.
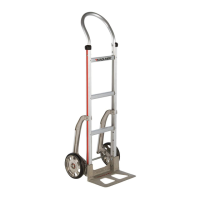
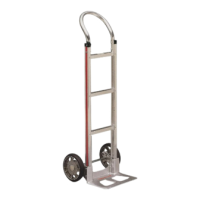
| Model | HMK111AA15 |
|---|---|
| Category | Outdoor Cart |
| Type | Hand Truck |
| Material | Aluminum |
| Load Capacity | 500 lbs |
| Wheel Type | Pneumatic |
| Number of Wheels | 2 |
| Toe Plate Depth | 7.5 inches |
| Wheel Size | 10 inches |
| Handle Type | Ergonomic |