19
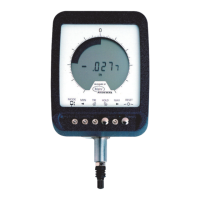
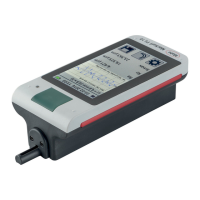
Mahr GmbH, MarSurf PS 10
The four screws are self-tapping
screws and can badly damage the
housing if screwed in too tightly.
11. Replace the four screws (25) and tighten
them with a maximum torque of 1 Nm.
12. Switch on the MarSurf PS 10 to make sure it
is working properly.
13. Check the settings on the MarSurf PS 10.
14. Fully charge the battery of the MarSurf
PS 10.
6.3 Installing software updates
All settings
and all profiles, results and
measuring records saved in the memory
are retained during software updates.
Software must only be updated when
the battery is fully charged or the
MarSurf PS 10 is plugged into the mains
using the AC adapter!
To install a new software version:
1. Switch off the MarSurf PS 10.
2. Insert the micro SD card with the new soft-
ware version into the slot (5).
3. Switch on the MarSurf PS 10.
The new software version will be installed
automatically and a message will appear.
4. Take the micro SD card out of the slot (5).
6.2 Replacing the battery
The maximum capacity of the built-in battery
gradually decreases over a long period of use
and, therefore, may need to be replaced.
The battery should only be replaced by
trained specialist staff.
Only the lithium-ion battery of 3.7 V /
3150 mAh (3030057) may be used,
other wise the instrument might be de-
stroyed.
To replace the battery (see fig. 6 in back flap):
1. Use a Phillips screwdriver to undo and re-
move the four screws (25) on the bottom
of the MarSurf PS 10.
2. Set the MarSurf PS 10 on its vee-block base.
3. Carefully tilt the top (26) of the MarSurf
PS 10 90° to the left (like the cover of a
book).
4. Carefully pull out the plugs (27) and (28)
from the terminals (27a) and (28a) of the
board.
5. Undo the three screws on the battery
holder (30).
6. Remove the battery (29).
7. Insert the new rechargeable battery
(3030057) with the label facing up.
8. Place the battery holder (30) on the battery
(with the "Top" label facing up) and tighten
the three screws with a torque of 0.4 Nm.
9. Connect the plugs (27) and (28) to terminals
(27a) and (28a) on the board.
10. Carefully replace the top of the MarSurf
PS 10.
 Loading...