10
INSTALLATION
The machine arrives from the factory in a ready to use position (vertical). Conserve
this position during the unpacking and installation.
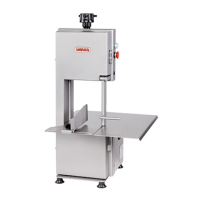
An area approximately 1,5m long x 1m wide x 2.1m high is required. See figure 1
Situate a machine over a level and strong surface following the instructions on Fig. 1.
Ensure that the machine is properly seated, if not; adjust the rubber feet to suit (A).
Observe the working position in figures 1 / 2 / 3.
Check that voltage and frequency are the same as shown on the machine
nameplate, as well as whether it is single or three-phase, with
or without neutral.
The installer must ensure the plug is adequately fitted to the
main supply to cope with the conditions existing in the work
area.
The machine must be wired to an earth leakage circuit breaker
of the appropriate rating.
Ensure the lighting of the cutting area above 750 Lux.
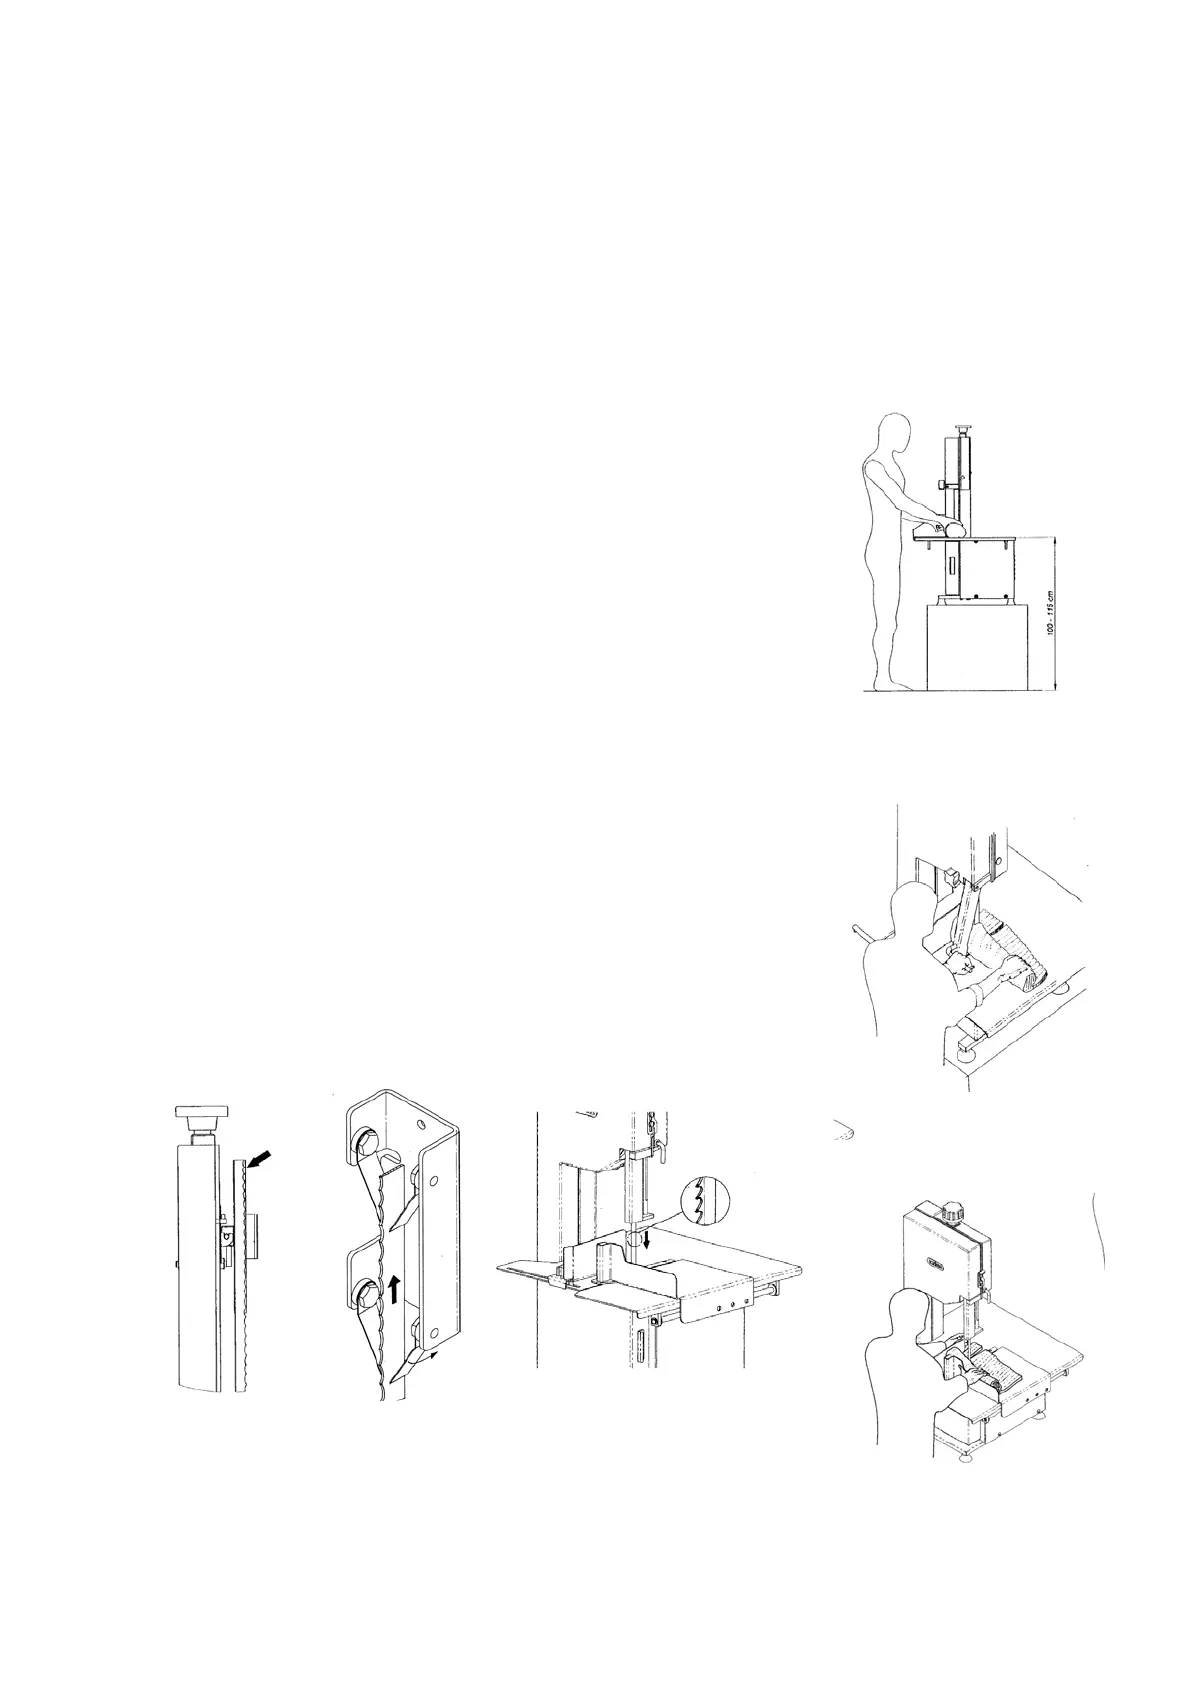
Open the door of the machine and visually check the band saw
is properly fitted on both the bottom and top pulley. The teeth of
the blade should be level with the edge of the pulley. See Fig.
5.
Shut the door, plug the machine to the mains and:
- press the green start button
- and immediately the red stop button.
In this way you should observe:
-a. If it is rotating correctly, that is clockwise when facing the
machine. On three phase machines, reserve a phase if it is
rotating anti-clockwise.
-b. Make sure the band is running correctly on the pulleys
From this point onwards the machine is considered ready for
use.
5 6 7
1
2
3
 Loading...