6
FUNCTIONAL
DESCRIPTION
CAUTION:
• Always be sure that the tool is switched off and unplugged before
adjusting or checking function on the tool.
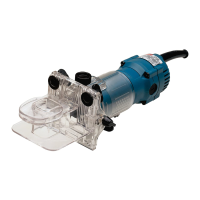
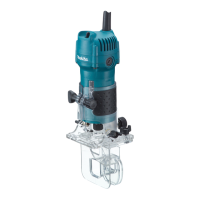
Adjusting bit protrusion
To adjust the bit protrusion, loosen the clamping nut and move the tool base up
or down as desired by turning the adjusting screw. After adjusting, tighten the
clamping nut firmly to secure the tool base.
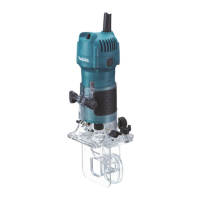
Switch action
To start the tool, move the switch lever to the I (ON) position. To stop the tool,
move the switch lever to the O (OFF) position.
ASSEMBLY
CAUTION:
• Always be sure that the tool is switched off and unplugged before
carrying out any work on the tool.
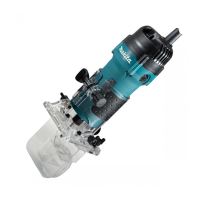
Installing or removing trimmer bit
CAUTION:
• Use only the wrenches provided with the tool.
Insert the bit all the way into the collet cone and tighten the collet nut securely
with the two wrenches.
To remove the bit, follow the installation procedure in reverse.
1. Base
2. Scale
3. Bit protrusion
4. Clamping nut
5. Adjusting screw
1
2
3
4
5
006613
1. Switch lever
1
006614
1. Loosen
2. Tighten
3. Hold
1
2
3
006615
 Loading...