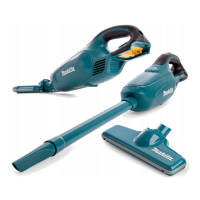
7 ENGLISH
NOTE: Depending on the conditions of use and the
ambienttemperature,theindicationmaydierslightly
from the actual capacity.
NOTE:Therst(farleft)indicatorlampwillblinkwhen
the battery protection system works.
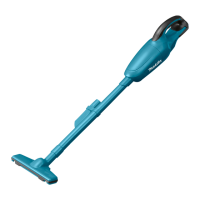
Switch action
1
2
3
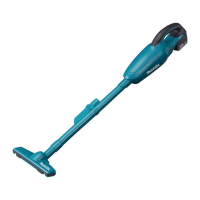
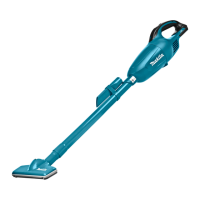
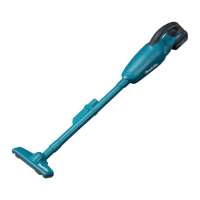
►1. OFF button 2. HIGH/LOW button 3. Battery
power lamp
To start the cleaner, simply press the "HIGH/LOW"
button.Toswitcho,pressthe"OFF"button.Tochange
the cleaner speed, press the "HIGH/LOW" button. The
rstpressonthisbuttonisforhighspeedandthesec-
ond press for low speed and then each press on this
button repeats the high/low speed cycle alternatively.
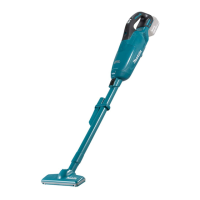
Battery power lamp
1
2
3
►1. OFF button 2. HIGH/LOW button 3. Battery
power lamp
• When the remaining battery capacity gets low, the
battery power lamp blinks.
• When the remaining battery capacity gets much
lower, the tool stops during operation and the bat-
tery power lamp lights up for about ten seconds.
At this time, remove the battery cartridge from the
tool and charge it .
NOTE:
• The time at which the battery power lamp start
blinking or lighting up depends on the tempera-
ture at work place and the battery cartridge
conditions.
ASSEMBLY
CAUTION:
• Alwaysbesurethatthetoolisswitchedoand
the battery cartridge is removed before carrying
out any work on the tool.
Disposing of Dust
CAUTION:
• Empty the cleaner before it becomes too full, or
the suction force weakens.
• Be sure to empty out the dust inside the cleaner
itself. Failure to do so may cause the sponge
ltertobecloggedorthemotortobedamaged.
• Never throw away the dust stopper because it
should be used whenever either the dust bag or
the paper pack is used.
1
2
►1. Front cover 2. Button
1. Push the button to open the front cover. Opening
it until a click is heard allows a positive stop at that
position.
1
2
►1. Front cover 2.Frontcoverjoint
NOTE:
• The cleaner is constructed in such a way that
thefrontcovercomesowhentryingtoforce
the front cover open at the angle of more than
90°.Ifthefrontcovercomeso,insertitintothe
frontcoverjointinplace.

 Loading...