8 ENGLISH
Indicator lamps Remaining
capacity
Lighted Off Blinking
75% to 100%
50% to 75%
25% to 50%
0% to 25%
Charge the
battery.
Thebattery
mayhave
malfunctioned.
NOTE: Depending on the conditions of use and the
ambienttemperature,theindicationmaydifferslightly
fromtheactualcapacity.
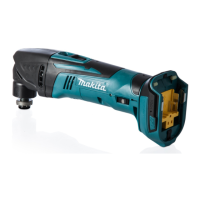
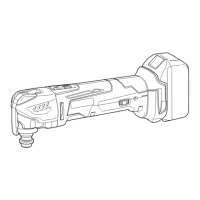
Switch action
1
►1. Slide switch
CAUTION:
• Beforeinstallingthebatterycartridgeinto
thetool,alwayschecktoseethatthetoolis
switched off.
To start the tool, slide the slide switch toward the "I
(ON)" position.
To stop the tool, slide the slide switch toward the "O
(OFF)" position.
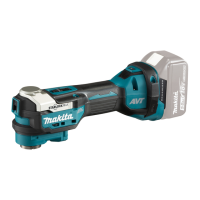
Adjusting the orbital stroke rate
1
►1. Dial
Theorbitalstrokerateisadjustable.Tochangethe
orbital stroke rate, turn the dial between 1 and 6. The
higher the number is, the higher the orbital stroke
rateis.Presetthedialtothenumbersuitableforyour
workpiece.
NOTE:
• Thedialcannotbeturneddirectlyfrom1to6or
from6to1.Forcingthedialmaydamagethe
tool.Whenchangingthedialdirection,always
turn the dial moving it through each intermediate
number.
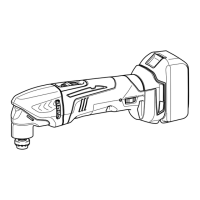
Lighting up the front lamp
WARNING:
• Neverlookintothelightdirectly.Directlight
causesdamagetoyoureyes.
1
►1. Front lamp
Slide the slide switch toward the "I (ON)" position to
light up the front lamp. The lamp keeps on lighting while
the switch is the "I (ON)" position. The light automati-
callygoesoutafterpressingtherearoftheslideswitch,
and then sliding the slide switch toward the "O (OFF)"
position.
Overload protection
When the tool is overloaded and the tool temperature
reaches a certain level, the front lamp blinks and the
toolautomaticallystops.Removeacauseofoverload
to restart.

 Loading...