A
Amy RamirezJul 29, 2025
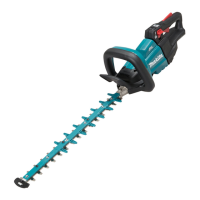
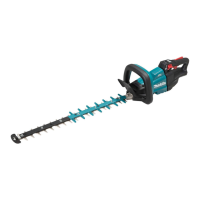
Why does my Makita DUH507Z Trimmer motor not run?
- JJames ShermanJul 29, 2025
If the Makita Trimmer motor isn't running, it could be due to several reasons: * The battery cartridge might not be installed correctly. Ensure it's properly installed. * The battery's charge might be low. Try recharging it, and if that doesn't work, replace the battery. * There may be a problem with the drive system. In this case, you should seek assistance from your local authorized service center for repair.