R
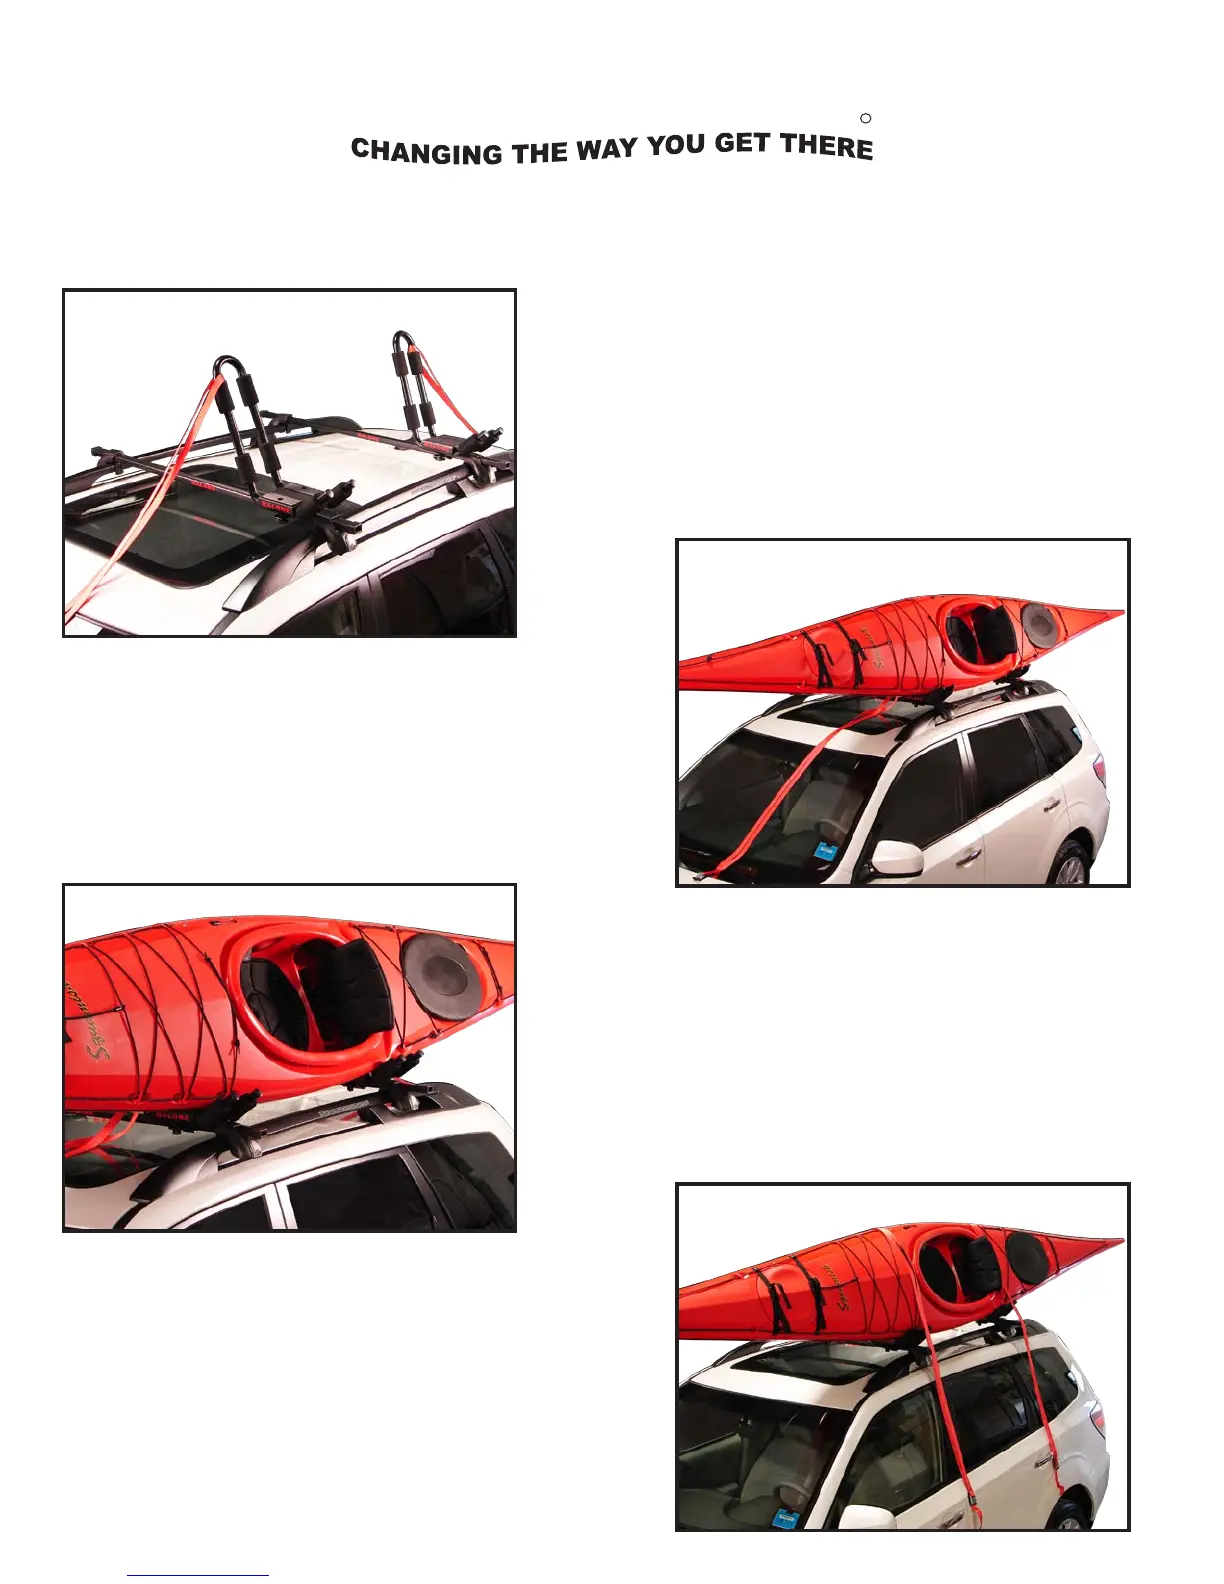
. Place the straps parallel to the carriers with the front strap
loop on the windshield and the rear strap loop on the back
of the vehicle. See image 8.
. Placez les courroies afin qu’elles soient parallèles aux
supports. La boucle de la courroie avant devrait être placée
sur le pare-brise et la seconde boucle, sur la partie arrière
du véhicule. (Figure 8)
Installation & Loading Instructions - MPG116MD J-Pro
Instructions - Installation et chargement
TM
. Place the strap loops over the kayak so that each
loop is positioned directly over a carrier.
See image 11.
. Placez les boucles des courroies sur le kayak afin que
chaque boucle soit bien alignée avec un support.
(Figure 11)
. Place the kayak on it’s side with the cockpit facing
out. Lift up and place kayak into the carriers.
See image 9.
. Faites pivoter le kayak sur le côté, l’habitacle vers
l’extérieur. Soulevez le kayak et placez-le sur les
supports. (Figure 9)
9
. Position kayak so the cockpit is evenly centered between
the carriers. The kayak should lean back into the carriers
with the side resting against the front pads.
See image 10.
. Placez le kayak de façon à ce que l’habitacle soit bien au
centre, entre les deux supports. Le kayak étant bien adossé
aux supports, le côté de l’embarcation devrait reposer sur les
parties cousinées. (Figure 10)
8
10
11
See image 2
See image 3
See image 4
See image 5
(Figure 5)
(Figure 4)
(Figure 3)
(Figure 2)
2
3
4
5
Installation & Loading Instructions - J-Style Kayak Carriers
. Insert a second Mounting Bolt into the top side unused hex
hole and down through the Jawz mounting adapter. Apply
a second T-knob and slightly tighten until the carrier is
secure. Repeat steps 1-4 for the 2nd carrier and rear cross
bar. See image 4.
. Insérez un boulon de fixation dans le second trou hexagonal
situé sur le côté supérieur du support et faites-le passer dans
l’adaptateur Jawz. Vissez un bouton en T à la base du second
boulon, puis serrez légèrement jusqu’à ce que le support soit
bien fixé. Répétez les étapes 1 à 4 pour le deuxième support
et la barre transversale arrière. (Figure 4)
Installation & Loading Instructions - MPG116MD J-Pro
Instructions - Installation et chargement
TM
. Route the free end of a 12’ Load Strap around the
top rear of the carrier. Pull the free end down until
there is an even loop. Repeat for the second carrier.
See image 7.
. Faites passer le bout plat d’une des courroies de fixation
de 3,6 mètres autour de la partie supérieure du support
arrière.Tirez sur le bout plat de la courroie afin d’obtenir
une boucle de longueurs égales. Faites de même pour le
deuxième support. (Figure 7)
. Confirm the carriers are in alignment. Firmly tighten
the T-knobs until both carriers are securely fixed to
the cross bars. See image 5.
. Assurez-vous que les supports soient bien alignés.
Vissez fermement les boutons en ‘‘T’’ jusqu’à ce que
les deux supports soient solidement fixés aux barres
transversales. (Figure 5)
5
. Insert the four Rubber Plugs into the four top side hex holes
in the two carriers. See image 6.
. Insérez un bouchon de caoutchouc dans chacun des quatre
trous hexagonaux situés sur le côté supérieur des supports.
(Figure 6)
4
6
7


 To Next Page
 Loading...
