Do you have a question about the Mamas & Papas pliko pramette and is the answer not in the manual?
| Seat Unit | Reversible |
|---|---|
| Harness Type | 5-point |
| Seat Back Height | 50cm |
| Seat Depth | 22cm |
| Storage Basket | Yes |
| Features | Adjustable handle height |
| Frame Material | Aluminum |
| Age Suitability | Birth to 22kg (approx. 4 years) |
Steps to attach the two front wheels to the pushchair's front legs.
Steps to attach the rear wheels to the pushchair's back legs.
Steps to fit the bumper bar by sliding its ends into the armrests until it clicks.
Steps to push catches inwards and slide the bumper bar outwards until it locks.
Steps to push catches inwards and slide the bumper bar out of the armrests.
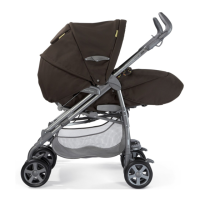
Steps to pull the adjustment handle upwards and lower the backrest into position.
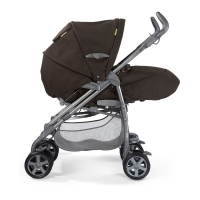
Steps to grip the middle of the backrest and lift upwards until it locks.
Steps to push catches upwards to fix the front wheels, preventing swivel.
Steps to push catches downwards to allow the front wheels to rotate 360°.
Steps to slot the tabs on shoulder straps onto the tongues of the waist straps.
Steps to push waist strap tongues into the crotch strap buckle to lock.
Steps to push harness button and slide tongues out of the buckle to unlock.
Steps to tighten or loosen waist straps by pulling or feeding ends through buckles.
Steps to zip the hood and raincover together and attach straps to the frame.
Steps to unzip the raincover from the hood and fold it onto the apron.
Steps to unfasten straps, fold hood back, and gather raincover when folding.
Clean plastic parts with a damp cloth; avoid abrasives or bleach.
Lubricate wheels and parts with light oil/silicon spray; avoid heavy oil.
Recommend regular servicing, especially after six months, contact retailer/customer care.
General advice on fabric care, washing, drying, and avoiding sunlight damage.
Hand wash fabric at 30° with mild detergent, dry flat away from heat.
Contact Customer Care for assistance, spare parts, or issues.