• Always keep the workpiece moving across the face of the grinding wheel. Grinding continuously on
the same spot on the wheel will cause grooves to be worn into the wheel. The wheel may crack or
become damaged more easily, and grinding of other objects will be difficult.
• If the workpiece becomes hot, dip it into water or oil to cool it.
• Always grind on the face of the wheel (around the diameter), NEVER on the sides. Side pressure on
grinding wheels can cause cracking and damage.
• If the face of the grinding wheel is worn unevenly, becomes grooved, or is no longer smooth and flat,
the wheel should be reshaped with a dressing tool (not supplied).
• If the diameter of the grinding wheel is no longer round, the wheel should be reshaped with a dressing
tool or replaced.
• If the surface of the wheel becomes loaded and dull with workpiece material, the wheel should be
cleaned with a dressing tool.
• After reshaping, always readjust the tool rests and spark arrestors.
model no. 055-3521-2 | contact us 1-800-689-9928
WARNING!
IMPORTANT!
CAUTION!
Turn the power off and remove the plug from the outlet before changing the grinding wheels. When
turning the grinder on with a newly installed wheel, DO NOT STAND IN FRONT OF THE GRINDER. Stand
to the side and allow the grinder to run for at least one minute before proceeding to use it.
Do not overtighten the spindle hex nut, because this may cause the wheel to crack.
DO NOT INSTALL OR USE A DAMAGED GRINDING WHEEL. The force of rotation may cause a damaged
wheel to fly apart, and could injure operators or bystanders.
!
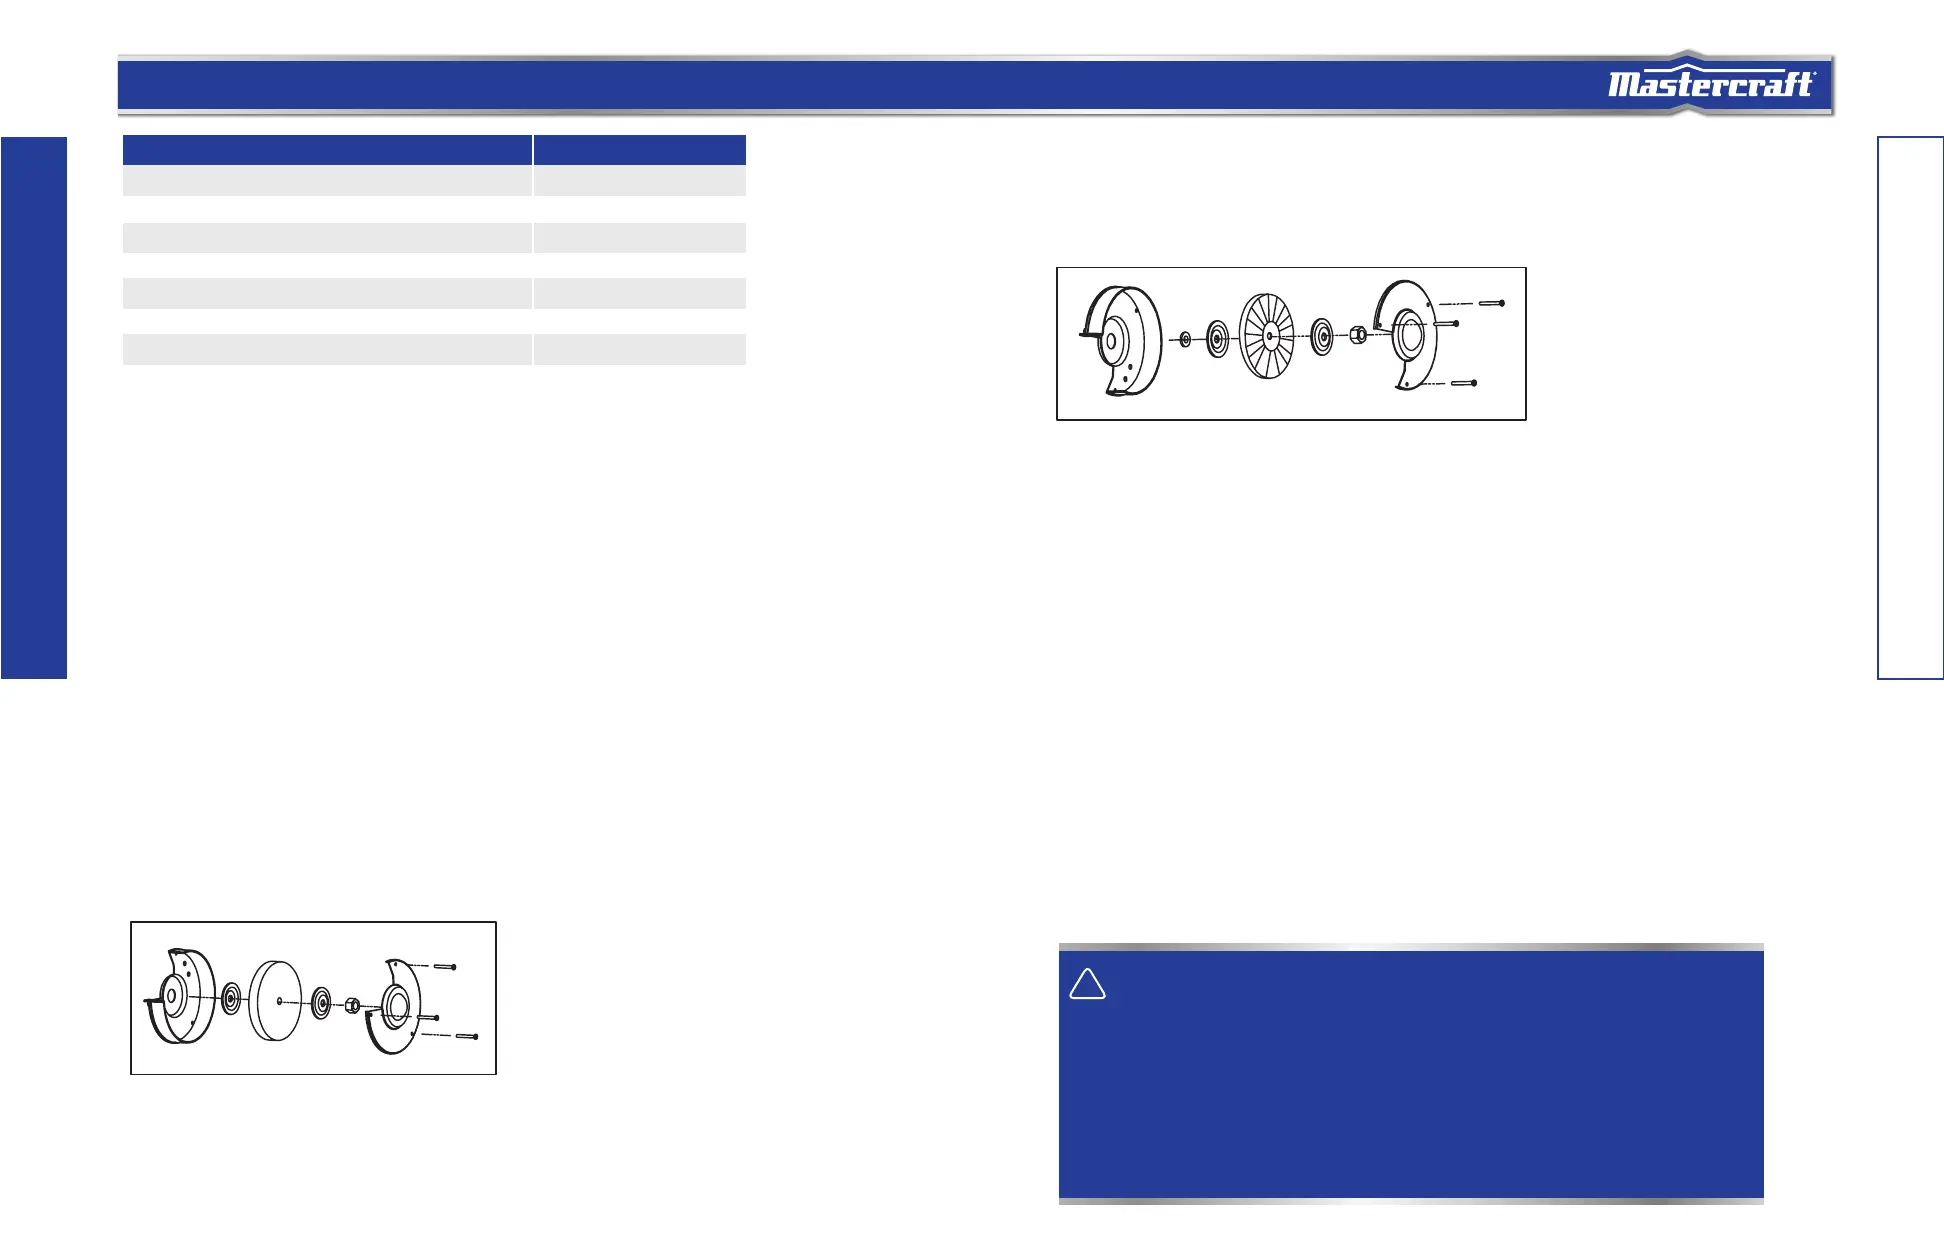
1. Use a screwdriver to loosen the wheel cover screws and push counter-clockwise to remove the
wheel cover.
2. Fit an appropriately sized wrench on the spindle hex nut.
3. Loosen the wheel nut in a clockwise direction for the left side and a counter-clockwise direction
for the right side.
4. Remove the outer flange and grinding wheel. To remove the hex nut, turn the wrench and nut until
the wrench is resting on the workbench behind the tool.
5. Inspect the new wheel carefully to ensure there are no cracks, chips or other damage.
6. Wipe the flange surfaces clean, and install the new wheel, flange and the spindle hex nut.
7. To install a new grinding wheel, reverse the above procedure.
8. Be sure the grinding wheel and outer flange are properly seated on the spindle shaft.
9. Replace the wheel cover and reposition the tool rest.
To change the wheel to a wire wheel, first assemble the spacer, then follow the steps above to change
the wheel.
Check power cord
Check wheels for cracks
Check moving parts for alignment and binding issues
Dress grinding wheels
Replace grinding wheels
Clean and vacuum dust
Replace work-light bulb
Before each use
Before each use
Before each use
As needed
As needed
As needed
As needed
Maintenance Required Frequency
Installing or Changing the Wheel
Installing or Changing the Wire Wheel
Installing or Changing the Wheel
When grinding, metal objects become heated quickly. It is important to keep moving the object back
and forth across the face of the grinding wheel and to cool the object frequently using the coolant tray.
Note:
12
13
MAINTENANCE
MAINTENANCE
 Loading...