2. Part Names
LITHIUM ION BATTERY PACK (JPL91430A,JPL92530A)
LITHIUM ION BATTERY CHARGER (JC914,JC925)
3. Specifications and Accessories
<Battery charger>
USA CE
Product name
LITHIUM ION BATTERY CHARGER LITHIUM ION BATTERY CHARGER
Product code
JC914
JC925
JC925(CE)
Input
AC120V 60Hz
2.6A 160W
AC220-240V 50/60Hz
1.4A 160W
Output
DC14.4V 7.5A
DC25.2V 4.5A
DC14.4V 7.5A
DC18V 5.4A
DC25.2V 4.5A
Weight
1.5kg 1.5kg
Operating tem-
perature range
41°F to 104°F
(5°C to 40°C)
5°C to 40°C
(41°F to 104°F)
Operating hu-
midity range
80%RH or less 80%RH or less
Battery type
LITHIUM ION BATTERY LITHIUM ION BATTERY
Voltage
14.4V 18V 25.2V
Number of cells
48510714
Capacity
1.5Ah 3.0Ah 1.5Ah 3.0Ah 1.5Ah 3.0Ah
Compatible
charger
JC914,JC925(CE) JC925(CE) JC925,JC925(CE)
Pack cap
Latch
Battery level check
button
Nameplate(Backside)
Terminal area
Ventilation hole
(Ventilator window)(Backside)
Battery level gauge
Batterypack entry point
Charging status indicator lamp
LED lamp(Orange)
Charging status indicator lamp
Power cord
Power plug
Ventilation hole
Nameplate(Backside)
CE (VDE)
Power Plug
Connector
JPL914-Print.fm 5 ページ 2012年10月18日 木曜日 午後2時16分
<Battery pack>
∗ Please note that the main functions, shapes and other features in the above specifi-
cations are subject to change for purposes of improvement.
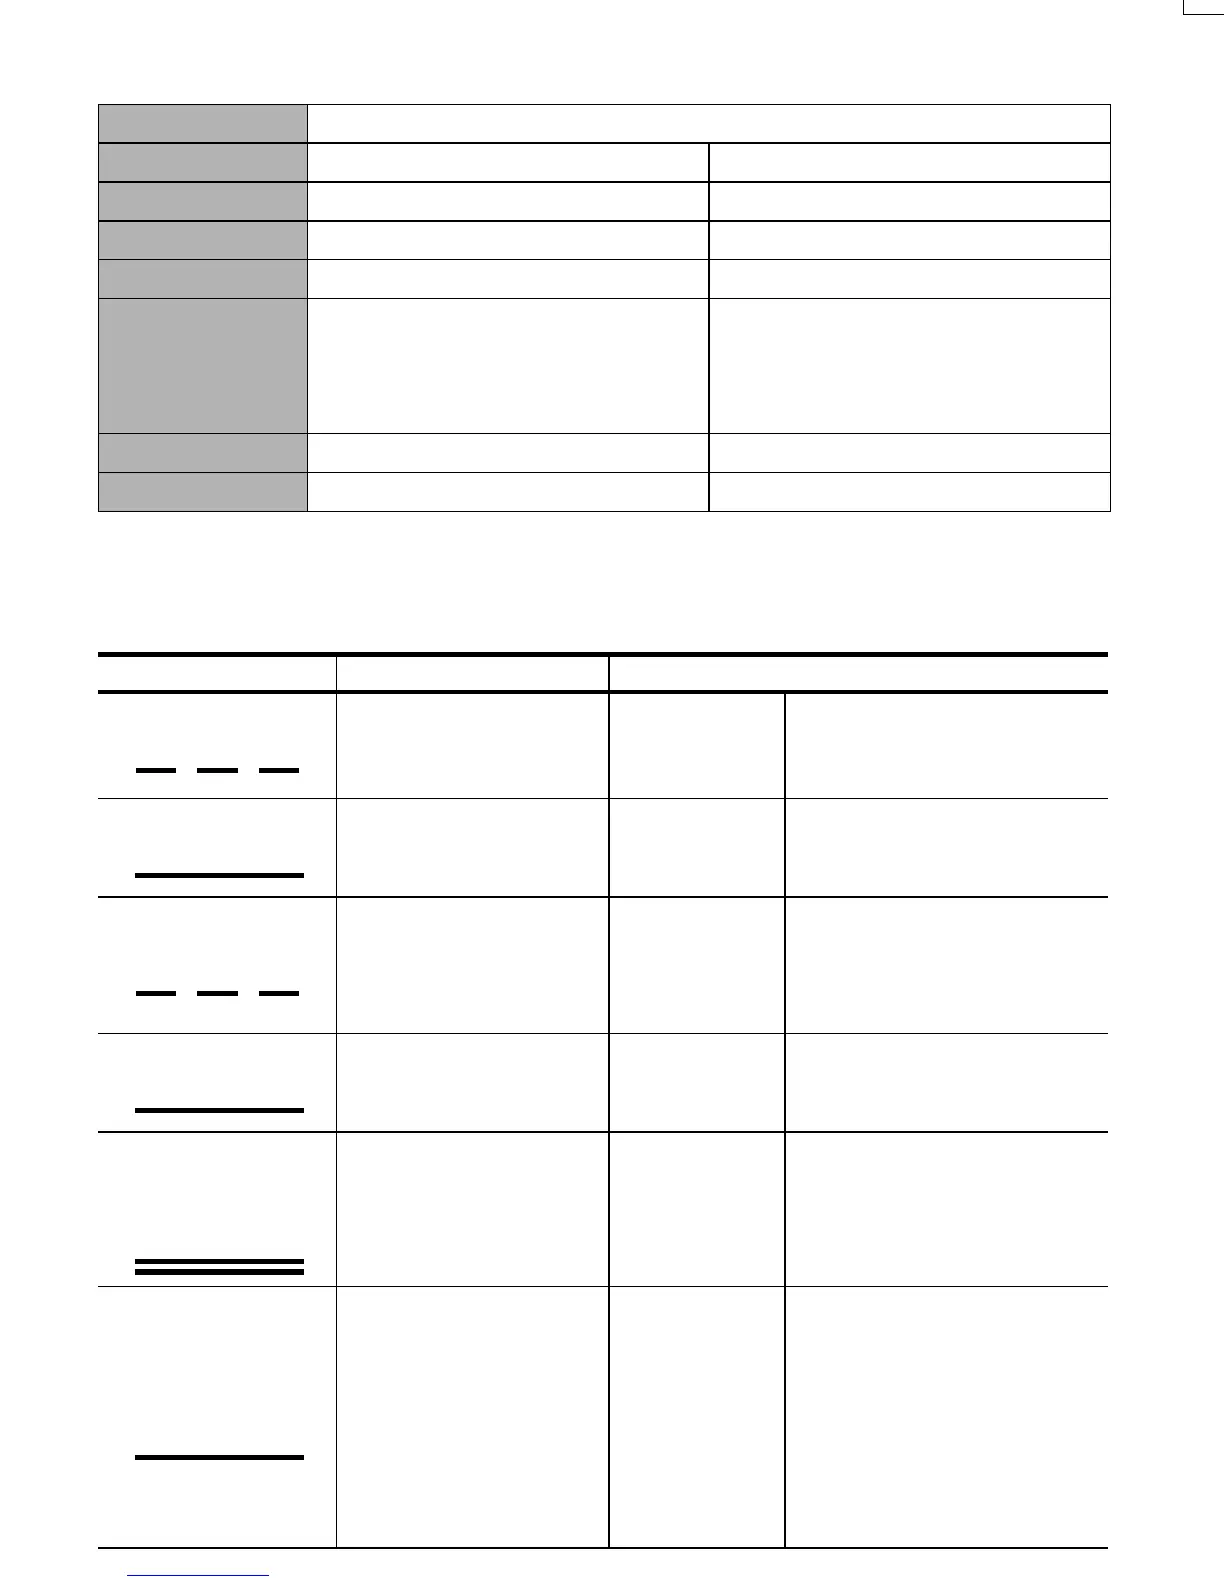
Indication of Quick Charger Lamps
Product name
LITHIUM ION BATTERY PACK
Product code
JPL91430A JPL92530A
Battery type
Lithium ion battery Lithium ion battery
Nominal voltage
DC14.4 V (3. 6V x 4 cells) DC25.2 V (3. 6V x 7 cells)
Nominal capacity
3.0 Ah (3,000 mAh) 3.0 Ah (3,000 mAh)
Charging time
(When charger
JC925 is used)
Quick charging - Approximately 30 min-
utes (Approximately 90% of capacity)
Full charging - Approximately 45 min-
utes (100% of capacity)
Quick charging - Approximately 45 min-
utes (Approximately 90% of capacity)
Full charging - Approximately 60 min-
utes (100% of capacity)
Accessories
Pack cap (For preventing short circuit) Pack cap (For preventing short circuit)
Weight
0.5 kg (1.1 lbs) 0.9 kg (2.4 lbs)
Charger LED lamp Buzzer sound Recharging status
Red lamp blinks.
The power cord is plugged
into the receptacle.
Two short beeps (Pi, pi)
The charger is
powered.
The charger power cord is
plugged into a wall socket.
Red lamp lights.
The battery pack is
mounted.
One short beep (Pi)
The battery is
being re-
charged.
Quick recharging continues.
The green lamp blinks.
The battery has been
recharged.
A long beep for approx. 2
seconds (Piii...)
The battery
has been re-
charged.
The battery has been recharged
to approx. 90% of its capacity.
If you leave the battery pack on
the charger, recharging will con-
tinue.
The green lamp lights up.
Fully recharged.
A long beep for approx. 2
seconds (Piii...)
Battery is "fully"
recharged.
Recharged to 100% capacity.
The red lamp lights up.
The orange lamp
lights up.
—
Protective
charging
The battery is recharged
with a low current to protect
the charger and battery.
(If the battery pack is cold or
over-discharged.)
The orange lamp
lights up.
— Standby
If the temperature of the bat-
tery pack is too high: Battery
recharging starts automatical-
ly when the temperature
drops below the limit.
If the temperature of the bat-
tery pack is too low: Place the
battery pack in a room tem-
perature location for a while,
then retry recharging it.
It blinks every second.
It remains lit.
It blinks every second.
It remains lit.
They remain lit.
It remains lit.
JPL914-Print.fm 6 ページ 2012年10月18日 木曜日 午後2時16分
∗ For batteries those are at low temperatures (10°C (50°F) or lower), charging time must
be extended longer.
The orange lamp blinks.
Not possible to recharge.
Short continuous beeps
for approx. 10 seconds
(Pi, pi, pi, pi,...)
Not possible to
recharge.
Unable to recharge the battery.
The battery pack slot is con-
taminated, or the battery pack
has failed.
Charger LED lamp Buzzer sound Recharging status
It blinks quickly (0.1 sec
ON and 0.1 sec OFF).
4. OPERATION
Charge the Battery pack.
1 A Pack cap that is used to prevent
short circuits must be removed from
the terminal of the Battery pack.
When installing a once-used battery
pack on the machine, remove the bat-
tery pack from the machine.
2 Fully insert the Battery into the recep-
tacle on the Charger until it sits se-
curely on the end.
3 Charging will start automatically and
will be indicated by the red charging
light. The beep sounds (Pi).
4 Charging time is approximately 30
minutes (90% capacity). This will vary
by temperature and source voltage.
5 For batteries those are at low temper-
atures (10°C (50°F) or lower), charg-
ing time must be extended longer.
When charging at low temperatures,
both of the red and the orange charg-
ing light will be lit.
When the Battery pack is charged ap-
proximately 90% of its capacity, the aux-
iliary charging mode takes effect and
allows use of the Battery pack.
When the orange standby light is lit
When the Battery pack is hot (after con-
tinuous use or exposure to direct sun-
light) the charger will automatically
switch to standby to protect the Battery.
The orange standby light will be lit until
the battery’s temperature lowers to a
safe level, The Battery will then be
charged automatically.
When the Battery pack is at low tem-
perature
When the Battery pack is at low tempera-
ture (less than 5°C(41°F)), its charging is
automatically suspended until its temper-
ature increases, in order to protect it,
even if it is set in the charger.
Leave the Battery pack at normal temper-
ature in the room for some time, and then,
charge it again.
When the orange standby light blinks
This indicates the Battery cannot be charged.
Unplug the charger and check the charging
receptacle. If there are any foreign objects,
remove them with a soft dry cloth. If the or-
ange light still blinks and there are no foreign
objects, there may be a problem with the Bat-
tery or Charger. Return to dealer for service.
Battery pack
Charger
JPL914-Print.fm 7 ページ 2012年10月18日 木曜日 午後2時16分
About the Battery Level Indicator (JPL91430A,JPL92530A)
1 To check the battery level (excluding while charging or while operating the charging
tool), press the battery level check button.
2 The battery level gauge lights up according the then battery level.
Battery pack breakdowns
If the following conditions occur, bring the Battery and Charger to your dealer.
•
The red charging lamp does not flash when the Charger plug is inserted into main power
source outlet (When the Battery pack is not inserted in the charger.)
•
Neither the red charging lamp nor the orange standby lamp lights or flashes when the Bat-
tery pack is inserted in the charger.
• The orange standby lamp does not change to the red charging lamp even after more
than 1 hour. (except at low temperatures)
• The red charging lamp does not change from constant to flashing light even after more
than 90 minutes.
Tips for maximum Battery life
Use two Battery packs alternately.
To extend battery life, alternate between the two Batteries provided.
Service Life of the Battery Pack
• If the Battery pack has been properly charged (fully charged), but runs out more quick-
ly than usual. The Battery pack is at the end of its service life. Replace it with a new
one.
Battery level
indication
Battery level:
0%
Battery level:
about 0 to 10%
Battery level:
about 10 to 40%
Battery level:
about 40 to 70%
Battery level:
about 70 to 100%
All indicators
OFF
One red
indicator blinks
One red
indicator ON
Two red
indicators ON
Three red
indicators ON
Battery level check button
Battery level gauge
JPL914-Print.fm 8 ページ 2012年10月18日 木曜日 午後2時16分
 Loading...