No replacement parts are available for this
product
Using the Tumbler Composter
1. The Tumbler Composter should be po-
sitioned in a level, dry location (preferably
near the garden). The Tumbler Composter
should be in an area that is free of children
and animal trac.
2. Composting turns kitchen scraps and
light yard debris into food for the soil. Com-
post adds organic matter and nutrients to the
soil which helps reduce the need for fertiliz-
ers, and improves the soil’s water retension.
Compost can be made in as little as 2 to 4
weeks.
3. Composting works best by combining
moist green materials (rich in Nitrogen) with
dry brown materials (rich in Carbon). The
best ratio is: 2 parts green materials to 1
part brown materials.
Examples of green materials: grass clip-
pings, kitchen food scraps, house and gar-
den plants, and vegetable waste.
Examples of brown materials: mulched up
twigs, saw dust, leaves and straw or hay.
Never attempt to compost meat, bones, fats,
dairy products, trash/plastics, wood ashes or
invasive plants (poison ivy).
Model 80699 Page 5
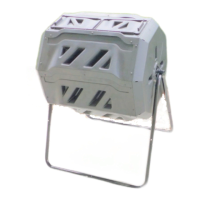
Assembling Stand
Per the Photo,
t Stand parts
A, B, and C
together.
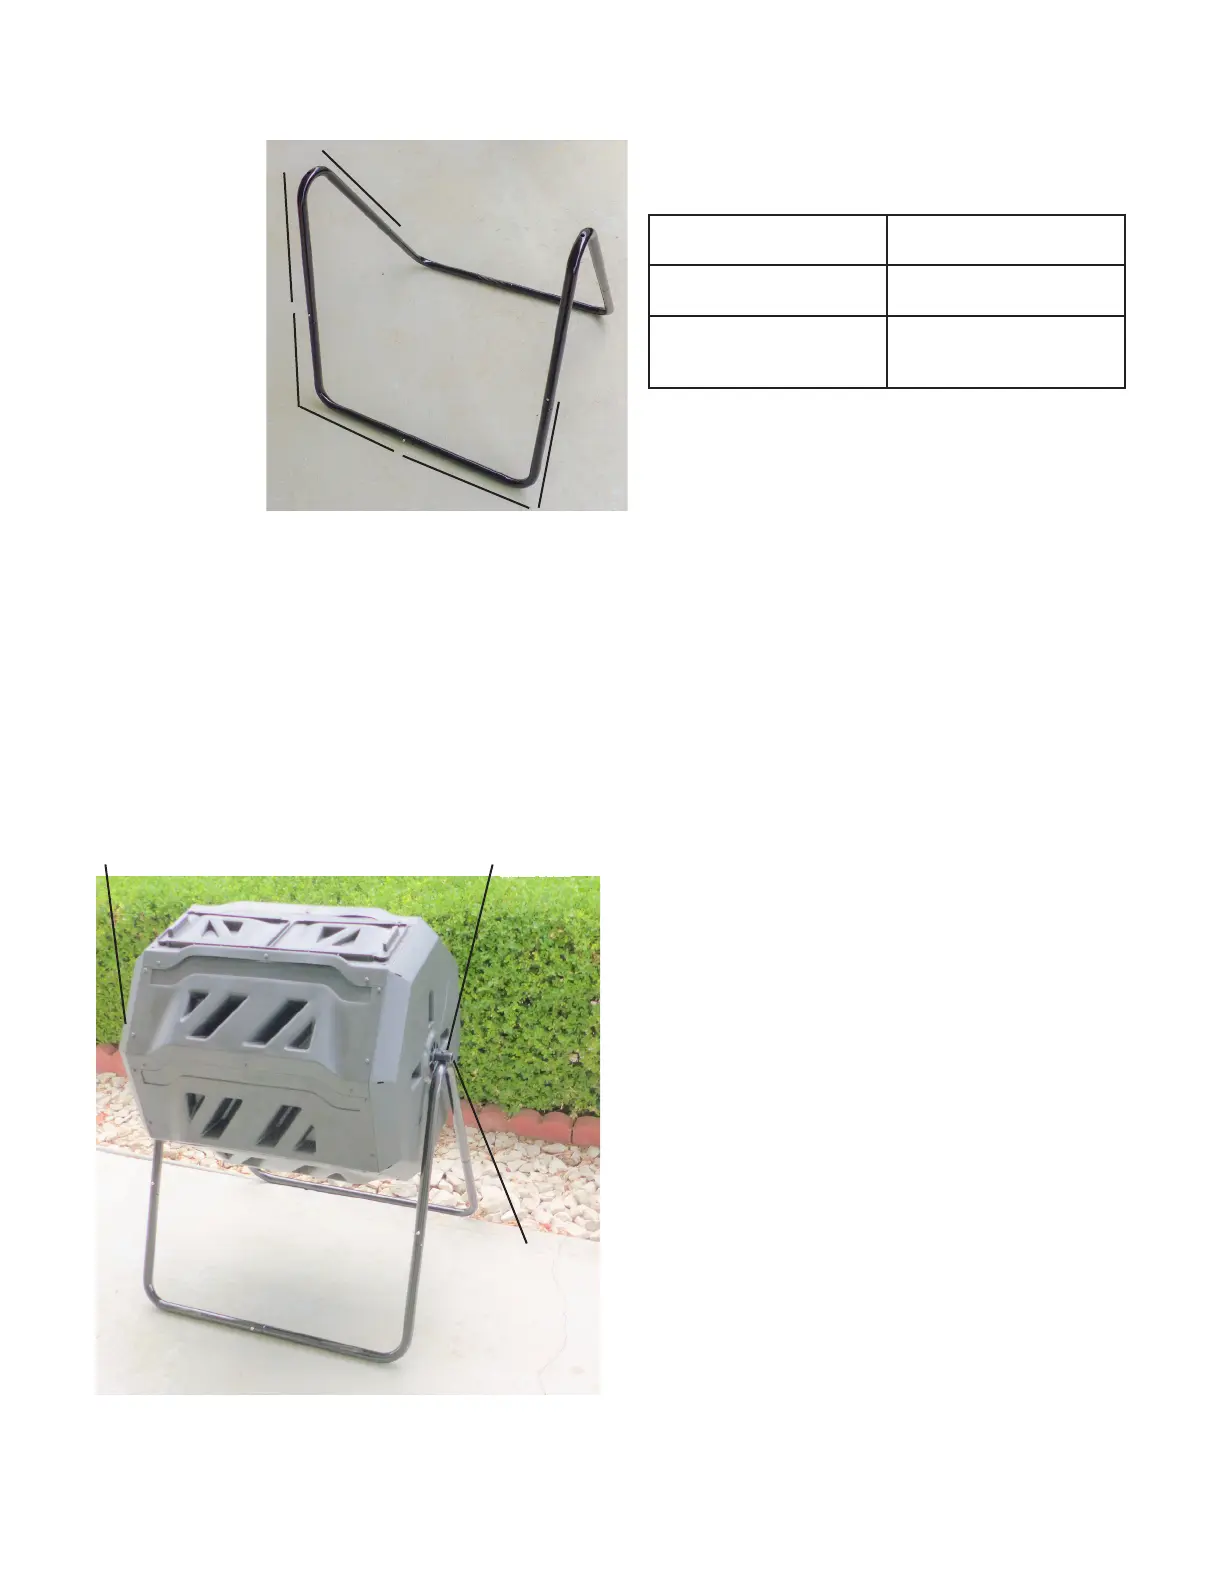
Connecting Tumbler to Stand
Slide Tubular Axle through center section of
Tumbler. While holding each end of the Tu-
bular Axle, lift Tumbler to top of Stand. With
assistance, insert the 2 Large Bolts through
mounting holes in Axle and top of Stand.
Secure Bolts with Nuts to lock the Tumbler in
place. See Photo below.
A
A
B
B
C
C
The Tumbler should rotate smoothly while on
the Stand.
Tubular
Axle ts
through
center of
Tumbler
Long Bolt
with Nut
Long Bolt with Nut (hidden from view)
13”
13”
15”
13”
15”
15”
SPECIFICATIONS
Maximum Capacity of
Tumbler
42 Gallons
Dual Chambers One for maturing com-
post; one for new waste
Composition Recycled plastic Tumbler;
Powder coated steel
Stand
 Loading...