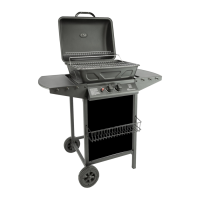
Aansluiten van de gases
BELANGRIJK:
- Zorg ervoor dat de drukregelaar op OFF staat voordat u begint met het aansluiten van de gases.
- Het uiterlijk van drukregelaars en hun aansluitingswijze verschilt van land tot land.
- De volgende tabel geeft uitleg over de aansluiting van 6 typen drukregelaars (A-F).
1.
A
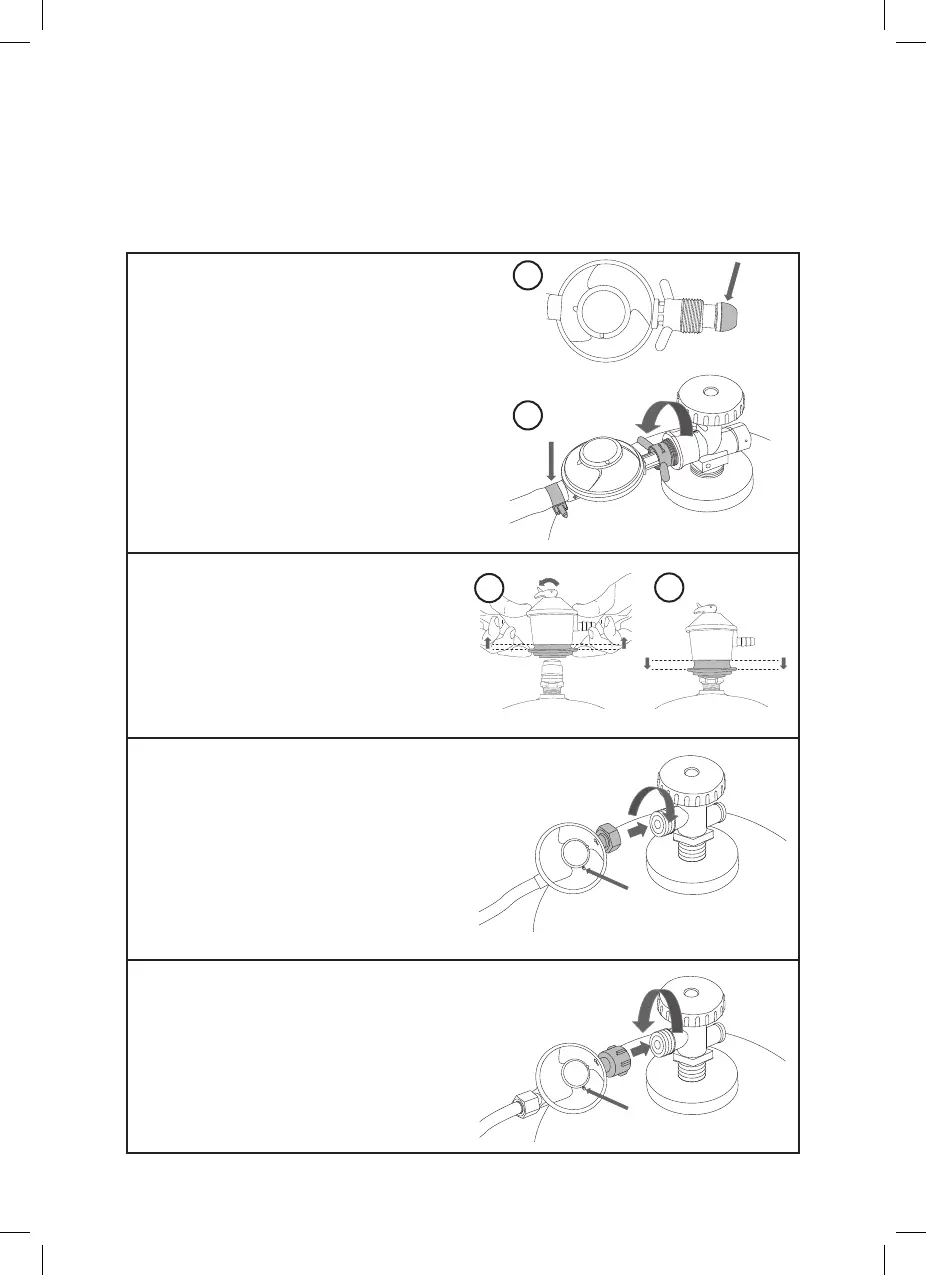
1. Controleer de rubberen afdichting op de regelaar.
Als het op enigerlei wijze is beschadigd, moet
de regelaar worden vervangen.
2. Sluit de gasslang aan op de regelaar
(als deze nog niet is bevestigd) en draai
de slangklem vast. Sluit de regelaar aan op
de gases door deze in de ventielconnector
te schroeven. De afgebeelde regulateur
heeft een linkse schroefdraad.
B
1. Zorg ervoor dat de regelaar op UIT staat.
Til de veerbelaste borgring op en plaats
de regelaar op de bovenkant van de gases.
2. Duw de borgring naar beneden totdat
u een klik hoort.
C
Sluit de regelaar aan op de gases door
de borgmoer rechtsom te draaien.
Draai de regelaar zodat het ventilatiegat (c1)
aan de onderkant zit.
D
Sluit de regelaar aan op de gases door
de borgmoer linksom te draaien.
Draai de regelaar zodat het ventilatiegat (c1)
aan de onderkant zit.
6
English
Instructions for use
Placement
BBQ
• Place theBBQ on afirm, flat and fire-proof surface.
• Make sure to maintain asafety clearance of at least 60 cm from nearby combustible surfaces.
• Never move theBBQ when it is lit or still hot from grilling.
Gas cylinder
• Position thegas cylinder in such away that it
is not exposed to continuous sunlight or other
sources of heat.
• Thegas cylinder should be placed next to
theBBQ when it is being used, not under it.
• Make sure that thegas hose does not come
into contact with any part of theBBQ that will
become hot during use. Ensure that it is not
under tension, kinked or in danger of being
damaged by other objects.
Connecting thegas cylinder
Important:
• Make sure that the regulator is set to OFF before starting to connect the gas cylinder.
• The appearance of regulators and their method of connection varies from country to country.
• The following table explains the connection of 6 types of regulator (A–F).
1.
A
1. Check therubber seal on theregulator.
If it has been damaged in any way,
theregulator must be replaced.
2. Connect thegas hose to theregulator
(if it is not already attached) and tighten
thehose clamp. Connect theregulator
to thegas cylinder by screwing it into
thevalve connector. Thepictured
regulator has aleft-hand thread.
1
2
7
English
B
1. Make sure that theregulator is set to
OFF. Lift up thespring-loaded locking
collar and fit theregulator onto thetop of
thegas cylinder.
2. Push thelocking collar down until you
hear aclick.
1
2
C
Connect theregulator to thegas cylinder
by turning thelock nut clockwise.
Twist theregulator so that theventilation hole
(c1) is at thebottom.
c1
D
Connect theregulator to thegas cylinder
by turning thelock nut anticlockwise.
Twist theregulator so that theventilation hole
(c1) is at thebottom.
c1
E
Make sure that the regulator is set to OFF.
Push the regulator down onto the valve until
it clicks into place.
F
1. Make sure that the regulator is set to OFF. Lift
up the spring-loaded locking collar and push
the regulator down onto the gas cylinder.
2. Push the locking collar down to lock the
regulator onto the gas cylinder.
1 2
7
English
B
1. Make sure that theregulator is set to
OFF. Lift up thespring-loaded locking
collar and fit theregulator onto thetop of
thegas cylinder.
2. Push thelocking collar down until you
hear aclick.
1
2
C
Connect theregulator to thegas cylinder
by turning thelock nut clockwise.
Twist theregulator so that theventilation hole
(c1) is at thebottom.
c1
D
Connect theregulator to thegas cylinder
by turning thelock nut anticlockwise.
Twist theregulator so that theventilation hole
(c1) is at thebottom.
c1
E
Make sure that the regulator is set to OFF.
Push the regulator down onto the valve until
it clicks into place.
F
1. Make sure that the regulator is set to OFF. Lift
up the spring-loaded locking collar and push
the regulator down onto the gas cylinder.
2. Push the locking collar down to lock the
regulator onto the gas cylinder.
1 2
7
English
B
1. Make sure that theregulator is set to
OFF. Lift up thespring-loaded locking
collar and fit theregulator onto thetop of
thegas cylinder.
2. Push thelocking collar down until you
hear aclick.
1
2
C
Connect theregulator to thegas cylinder
by turning thelock nut clockwise.
Twist theregulator so that theventilation hole
(c1) is at thebottom.
c1
D
Connect theregulator to thegas cylinder
by turning thelock nut anticlockwise.
Twist theregulator so that theventilation hole
(c1) is at thebottom.
c1
E
Make sure that the regulator is set to OFF.
Push the regulator down onto the valve until
it clicks into place.
F
1. Make sure that the regulator is set to OFF. Lift
up the spring-loaded locking collar and push
the regulator down onto the gas cylinder.
2. Push the locking collar down to lock the
regulator onto the gas cylinder.
1 2


 To Next Page
 Loading...