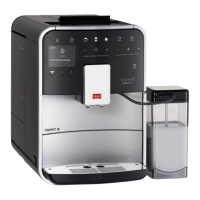
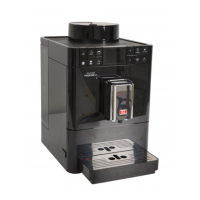
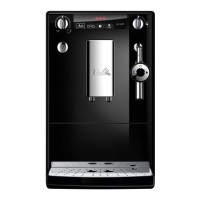
3.3 Installing the appliance
Observe the following instructions:
ū Do not install the appliance in damp rooms.
ū Install the appliance on a stable, at and dry surface.
ū Do not install the appliance in the vicinity of sinks or the like.
ū Do not install the appliance on hot surfaces.
ū Install the appliance at a sucient distance (approx. 10cm) from the
wall and other objects. The space above the appliance should be at least
20cm.
ū Route the power cable so it cannot be damaged by edges or hot sur-
faces.
3.4 Connecting the appliance
Observe the following instructions:
ū Check that the supply voltage matches the operating voltage specied
in the technical data (see table Technical data on page101).
ū Only connect the appliance to a properly installed socket outlet with
earthing contact. If in doubt, consult a specialist electrician.
ū The socket must have a fuse of at least 10 A.
3.5 Switching on the appliance for the rst time
During initial start-up, the language, the time and the water hardness can
be set. The settings can be changed at a later point in time (see chapter8
Changing basic settings on page84 and chapter9.8 Setting the water
hardness on page96).
Use the enclosed test strip to determine the water hardness. Observe the
instructions on the test strip packaging and in table Water hardness range
on page101.
Information
We recommend pouring away the rst two cups of coee after initial
start-up.

 Loading...