Installation
Rev 1.2
Mellanox Technologies
26
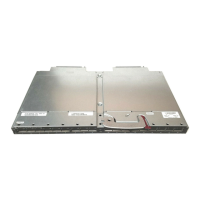
3. Place eight caged nuts into the rack at the level you want to mount the switch. Four go on the
Leaf side and four go on the rear side.
Figure 12: Caged Nut Placement
4. Install the two switch frame into the rack. This frame goes on the leaf side of the rack. Do not
tighten the screws into the caged nuts.
5. Slide the rail slides into the frame and screw the bolts into the rack caged nuts on the rear
side of the rack. Do not tighten the screws into the caged nuts.
6. Slide the switch into the frame, and screw in the capture bolts into the frame.
7. Tighten the capture nuts.
8. Install the blank into the frame opposite the switch, or install a second switch.
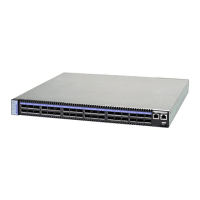
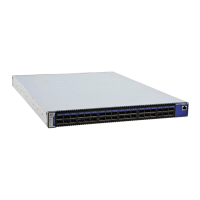
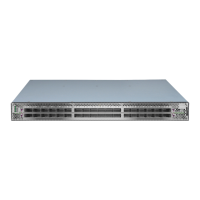
Figure 13: Front Panel Orientation
The front panel is not symetrical. The large radius always goes ot the center of the
frame.
 Loading...