COPYRIGHT © 2004 MERIT INDUSTRIES, INC.
ATTENTION:
OBSERVE PRECAUTIONS FOR HANDLING ELECTROSTATIC DEVICES
Removal/Installation of Touchscreen -
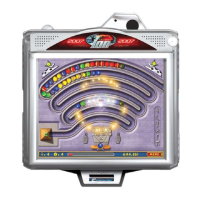
FORCE Radion Countertop/Fun Zone JR.
Troubleshooting Information - Removal/Installation of Touchscreen -
FORCE Radion Countertop/Fun Zone JR.
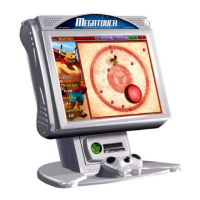
Megatouch FORCE Technical Reference Manual
5. Remembering the manner in which the tape was placed around the touchscreen you removed,
place and cut a length of the supplied black poly tape evenly over an entire edge of the touch-
screen and repeat until all 4 edges are covered.
6. Place and cut a longer length of black poly tape around all 4 edges of the screen. NOTE: Use
the additional 3/8” foam tape (the thicker of the two supplied 3/8” rolls) if you need to replace
the gasket on the inside of the front bezel. Be sure to remove all of the existing foam tape and
adhesive first.
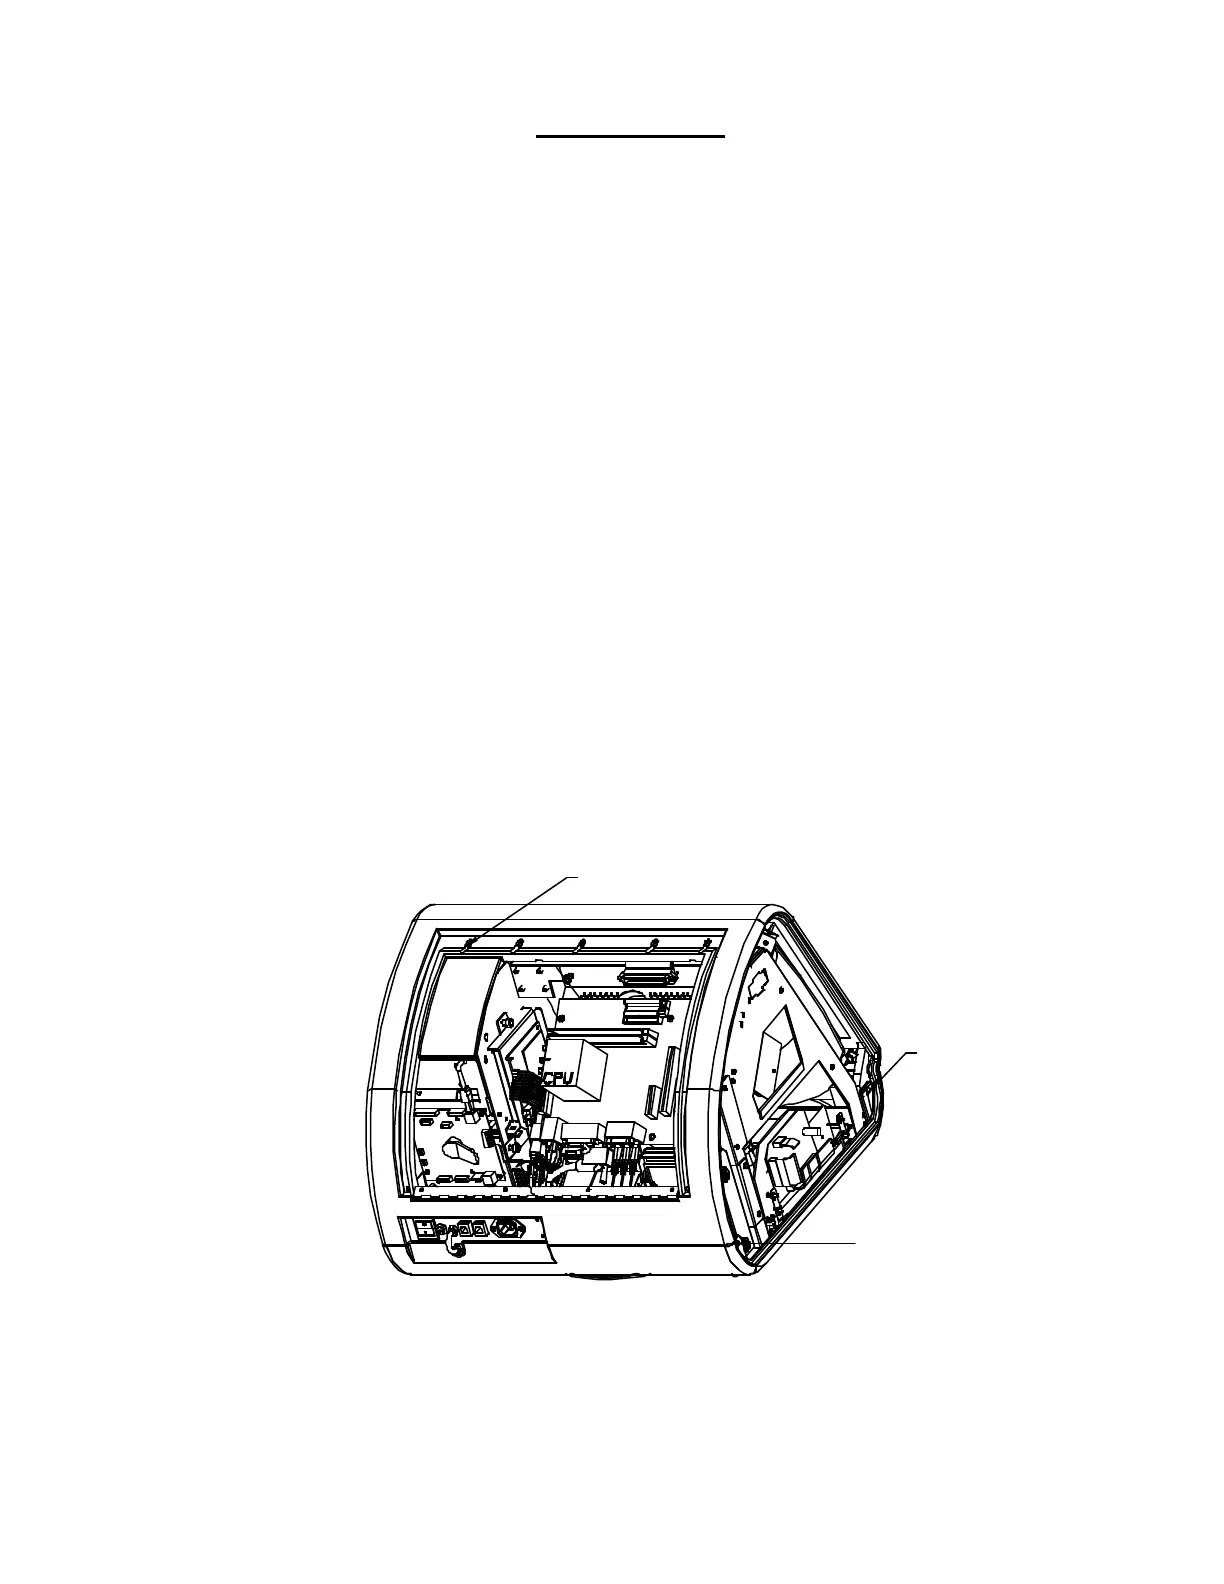
7. Replace the front bezel and the 4 screws (2 at the bottom, 2 at the top) holding the bezel to the
game. See Figures 1 and 2.
8. Replace the rear bezel and the 7 screws (5 along the top edge, 2 at the bottom rear) holding
the bezel to the game. See Figure 1.
9. Replace the screw securing the strain relief cord to the rear door, then replace the monitor
board.
10. Replace the cash box.
11. Plug in and turn on the game.
12. When the game is finshed booting, calibrate the touchscreen.
13. Close/replace and lock the rear door and the side doors.
FIGURE 1 - FORCE RADION - FRONT AND REAR BEZELS
SCREWS SECURING REAR
BEZEL (5 PLACES)
SCREW
SECURING
FRONT BEZEL
(BOTH SIDES)
SCREW
SECURING
REAR BEZEL
(BOTH SIDES)
 Loading...