17
Aenons: Make sure that the water tank is empty before moving it.
1. The water valve components are non-detachable;
II. Cleaning
1. To disassemble the water tank, water tank cover, sealing ring and water valve;
2. Use cold or warm water to cleaning the components of water dispenser.
3. Wipe it with dry cloth.
Aenons:
1. If the cleaning soluon is used for cleaning water dispenser, then it is suggested that, before
the water taking and drinking, the water shall be drai
ned to the amount of 5-6 cups aer the
water tank is installed back, so as to avoid the residue cleaning soluon.
III. Installaon
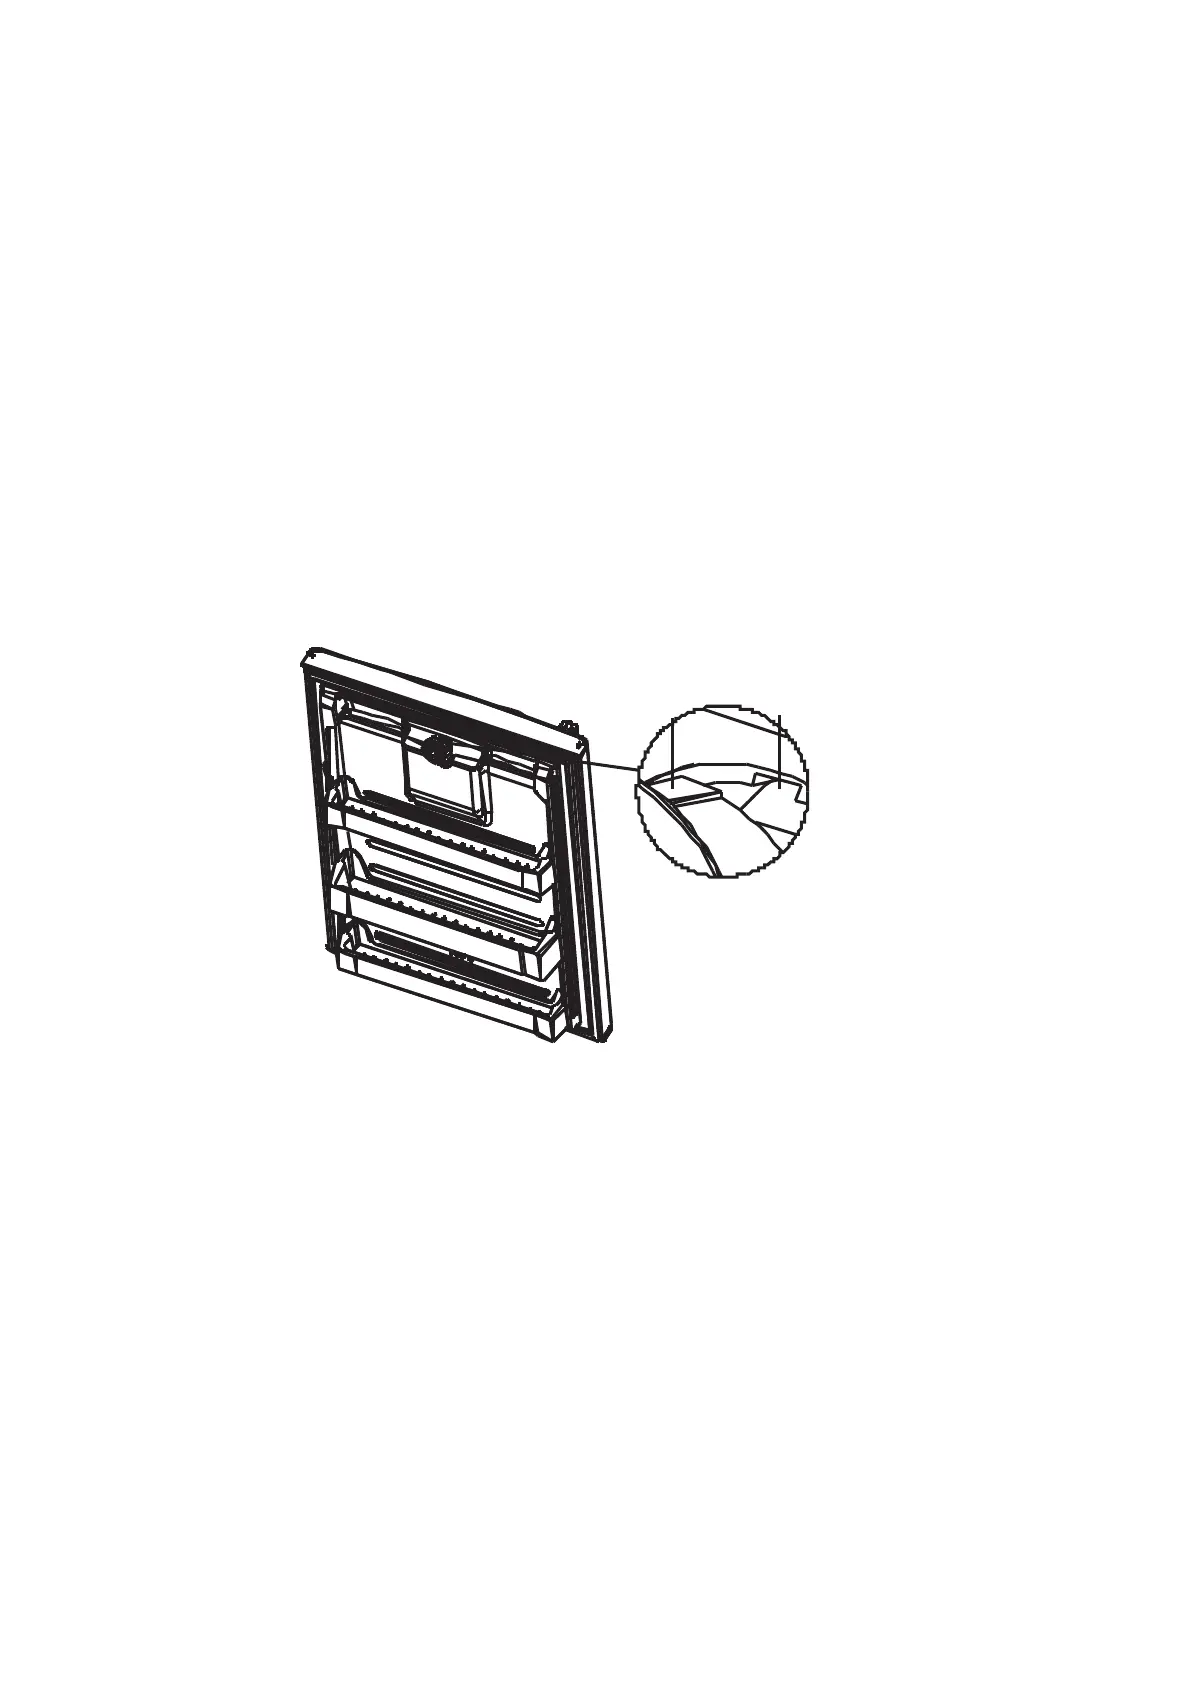
1. Installaon of water valve components
The guiding boss on the water valve components shall be in alignment with the guiding slot on
the base, and press it down in the direcon of in the direcon of 45°of oblique downward by
hands with strength, unl you may hear the sound of “lick”.
Guiding slot
Guiding boss
2. Installaon of water tank sealing ring
To install the sealing ring on the boom of water tank by hand, make sure that it is properly
installed, and the wrinkling and oblique installaon and so on
shall be avoided.
3. Installaon of water tank components
The hanging slot on the water tank components shall be in alignment with the suspension loop
on the inner layer, and the sealing ring at the boom of water tank shall be
in alignment with the
entrance of water value components, and then insert them into the corresponding posions in
the direcon of 45° of oblique downward by hands.
 Loading...