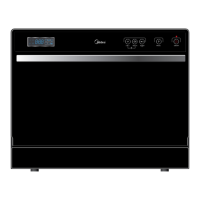
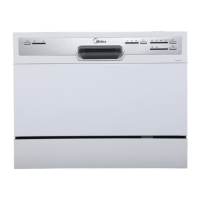
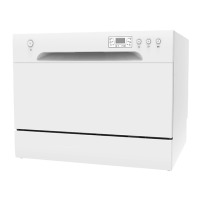
Part Name: 1 – outer door 2 – handle cover 3 – operating board
Caution: Inner door of edges are sharp. Some corners and edges of parts are sharp.
3. Remove all screws for fixing handle cover.
4. Reverse the above procedure to install. And check out all connectors connects well.
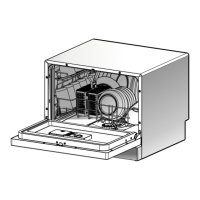
FrontView(withouterdoorassemblyremoved)
Part Name: 1 – door handle assembly 2 – microswitch (Door handle assembly)
3 – dispenser 4 –door hinge (right) 5 – Rod for door hinges
6 – door hinge (left) 7 – operating board
The dispenser automatically dispenses both the detergent and the rinse agent
at the appropriate times. The dispenser is activated twice during a wash cycle.
The first time, the dispenser is activated, the lever slides up the right-hand
path of the connecting rod. This action moves the cover catch and releases
the detergent cover. When deactivated, the lever resets to rest under the notch in the center of
the connecting rod. When activated for the second time in a cycle, the lever lifts the
connecting rod by the notch, lifting the rinse dispenser plunger and releasing the rinse agent.
Dispenser
1
2
3
Screws
5
1
2
3
4
6
7
Screws
 Loading...