Assembling the rack
CAUTION!
Danger of cuts on hands and fingers
When connecting the parts, take care for sharp edges on the metal pipes, screws etc.
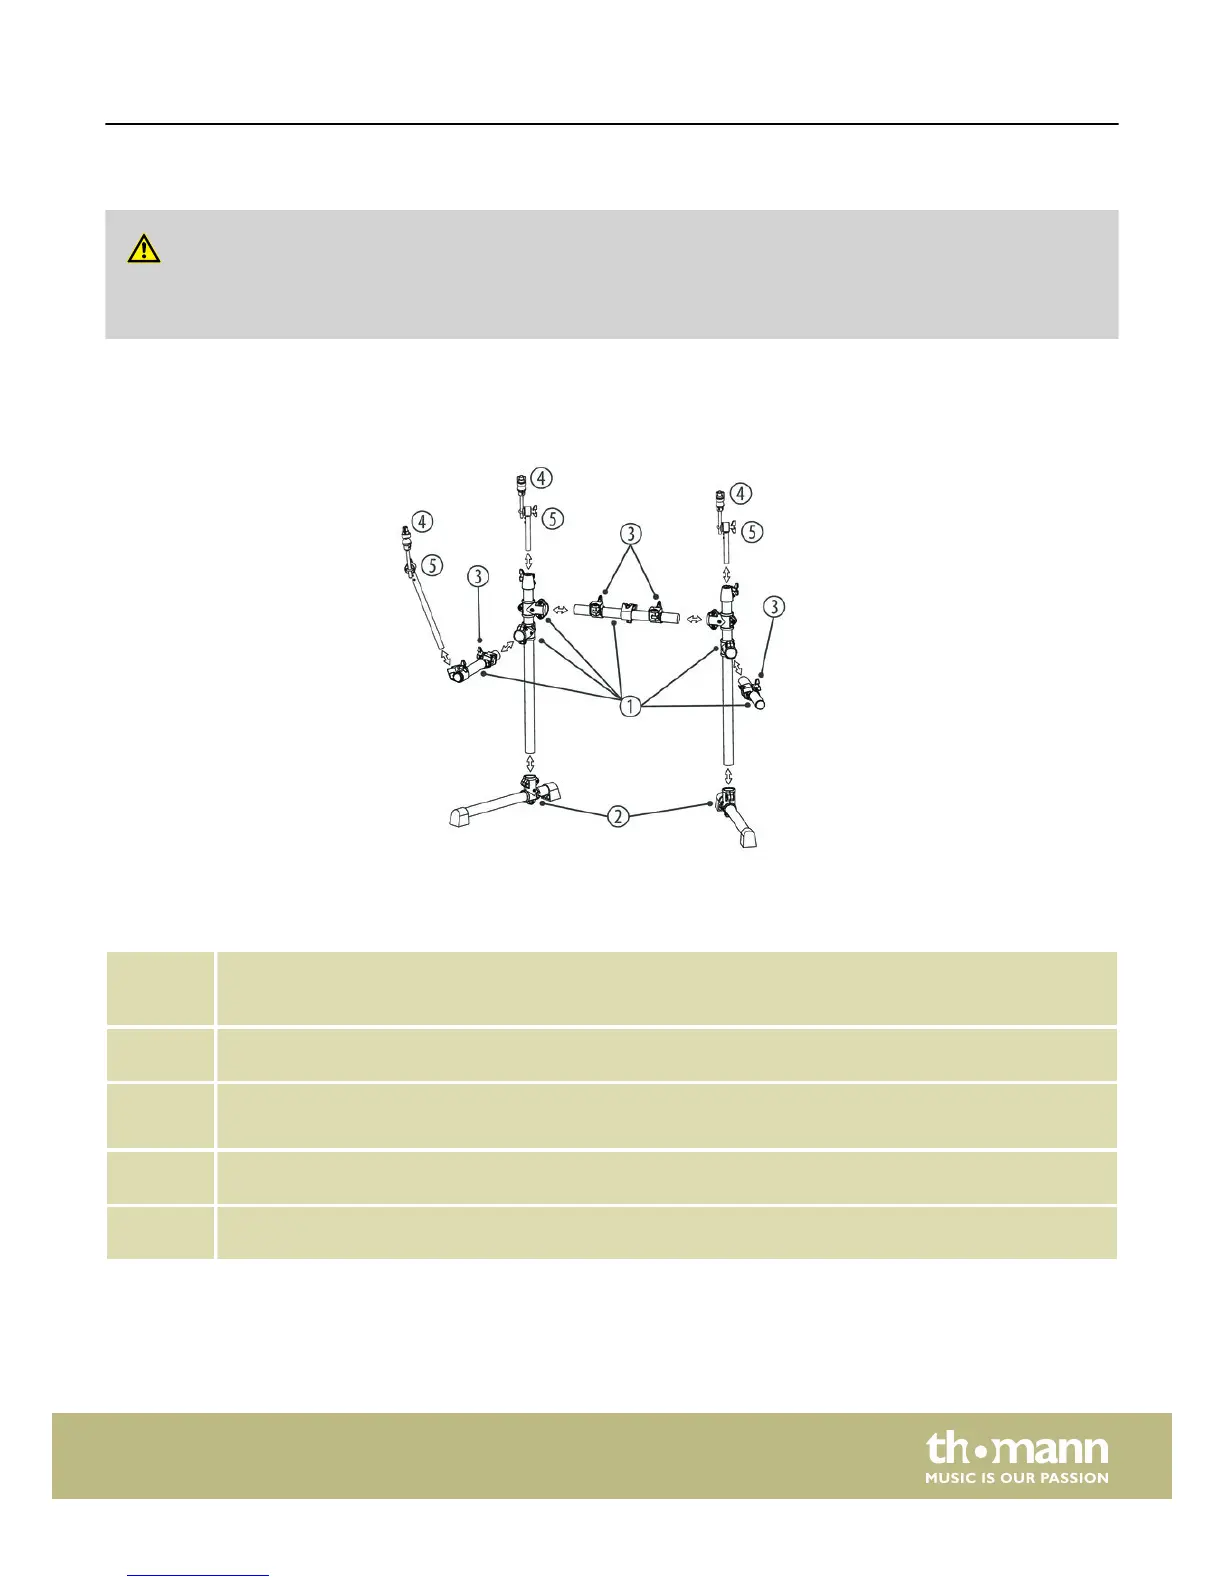
1 Align the mounting brackets for the connecting pipe and the two side arms of the rack in terms of height and
desired playing position. Insert the connecting pipe and the two sides arms into the brackets and then tighten all
mounting screws.
2 Position the two foot pieces on the floor and put the two side pipes of the rack into the provided mounting
brackets. Make sure that the ends of the side pipes are lying on the floor. Then tighten the mounting screws.
3 Position the mounting brackets for each pad. Then tighten the mounting screws.
Turn the angle pieces in the right position for mounting the pads. Then tighten the mounting screws.
4 Put the brackets for Crash, Ride and Hi-hat pad into the provided fastening clamps at the rack. Attach the brackets
using the mounting screws at the desired height.
5 Loosen the locating screws at the joints of the brackets and turn the brackets into the desired playing positions.
Then retighten the locating screws firmly.
Assembly
MPS-150
7