EasyManua.ls Logo

Miller HDC 1500DX - User Manual

Miller HDC 1500DX
44 pages
Print Icon
To Next Page IconTo Next Page
Loading...
50, 60 Hz
Processes
Description
OM-212 296Y 2016−06−28
Submerged (SAW) Welding
Submerged Arc Controller For
Automatic Welding
HDC 1500DX
File: SUBMERGED (SAW)
For product information,
Owner’s Manual translations,
and more, visit
www.MillerWelds.com

Table of Contents

Questions and Answers

  • C
    Cynthia SmithAug 15, 2025
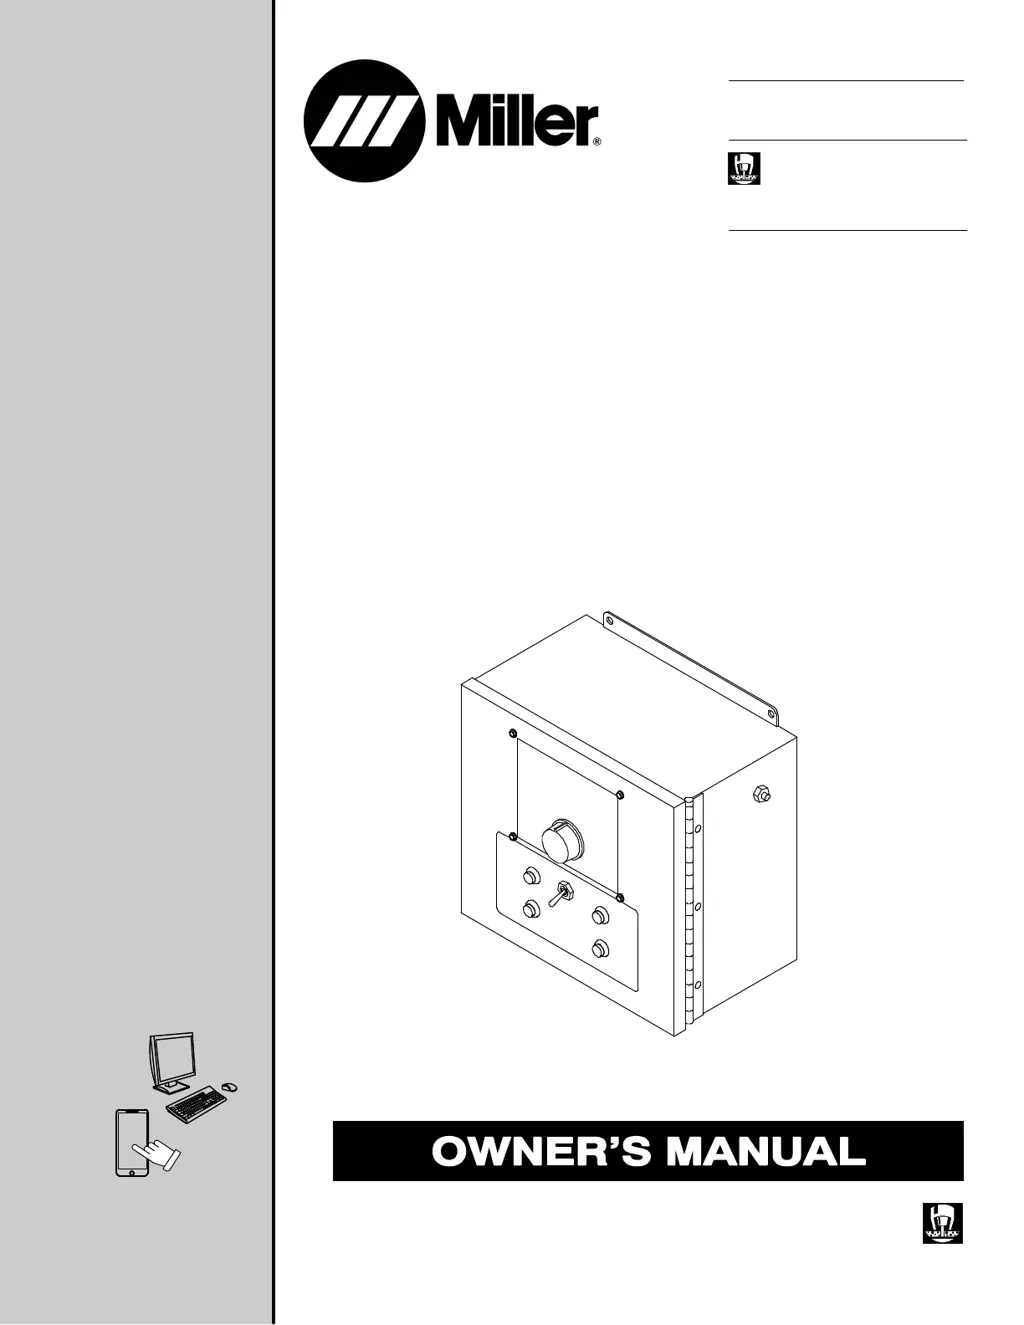
    What to do if the wire does not feed during jogging on a Miller HDC 1500DX?
    • E
      Eric GutierrezAug 15, 2025
      If the wire does not feed during jogging on your Miller Controller, try the following: * Ensure the Power Switch S1 is in the On position. * Verify there is 115 volts AC input power. * Check and reset circuit breaker CB1 if needed. * Increase the Jog Speed setting if the Jog Speed Control is too low. * Check the wire feed motor, and repair or replace if necessary. * Inspect and replace Inch Up push buttons PB3 and Inch Down push button PB4 if necessary. * Have a Factory Authorized Service Agent check and replace the control board PC1 if necessary.
  • J
    jenniferhartAug 18, 2025
    Why does my Miller HDC 1500DX display TACH EROR?
    • M
      Matthew CrawfordAug 18, 2025
      If your Miller Controller displays a TACH EROR message: 1. Check the connection from the unit to the motor. 2. Turn the unit off for 10 seconds to clear the error message. This error appears when the unit isn't receiving a tach signal from the motor. Also, ensure the motor being used matches the one selected in the Auxiliary Menu and that the motor cable is not routed with the weld cable. The motor may not have a tach.
  • P
    Paul HernandezAug 21, 2025
    What causes MOTR EROR on a Miller HDC 1500DX Controller?
    • N
      nrosalesAug 21, 2025
      If the Miller Controller displays a MOTR EROR message, make sure the motor being used matches the one selected in the Auxiliary Menu. Turn the unit off for 10 seconds to clear the error message. Inspect the motor for damage, as this error can indicate the motor is drawing an excessive amount of current.
  • B
    Brittany HaynesAug 25, 2025
    How to troubleshoot GRND EROR on a Miller HDC 1500DX Controller?
    • M
      Matthew MooreAug 25, 2025
      If the Miller Controller displays a GRND EROR message, it indicates that welding current is present in the safety ground. Isolate the welding wire and torch from any grounded equipment. Turn the unit off for 10 seconds to clear the error message. Also, separate the welding cables from the control cables, as noise can create an excessive amount of current in the safety ground.
  • Z
    zacevedoAug 27, 2025
    What to do if wire doesn't feed after pressing Start on Miller HDC 1500DX?
    • E
      Elizabeth ObrienAug 28, 2025
      If the wire does not feed after pressing the Start button on your Miller Controller, first ensure that all wire feed jogging functions are operating properly. Then, check the Start switch PB1 and replace it if necessary. Also, the unit will not start if it is in a menu screen, which is indicated by a blinking light.
  • R
    Rebecca NewtonAug 30, 2025
    What does BUTN EROR mean on my Miller HDC 1500DX and how to fix it?
    • A
      Alicia SalinasAug 30, 2025
      If the Miller Controller displays a BUTN EROR message, check the push buttons and replace them if necessary. The unit checks the push buttons on power up to see if any are stuck. Turn the unit off for 10 seconds to clear the error message.
  • A
    Ashley GonzalesSep 2, 2025
    Why doesn't the wire speed control work during welding on my Miller HDC 1500DX Controller?
    • M
      mbarnesSep 3, 2025
      If there is no wire feed speed control with the Wire Speed control during welding on your Miller Controller, and the wire speed remains at the Run-In Wire Speed setting, check the current feedback signal. This signal (+1 volt DC per 100 amperes) can be measured on terminal strip TB1, terminal F, with respect to terminal D. The unit (HDC 1500DX) needs a signal greater than 1.5 volts DC (i.e., > 150 amps) for the unit to go from run-in to weld parameters. You may also have a Factory Authorized Service Agent check the control board PC1 and replace if necessary.
  • D
    Debra GarciaSep 5, 2025
    How to correct wire feeding direction during jogging on Miller Controller?
    • M
      Mr. Jonathan FosterSep 5, 2025
      If the wire feeds in the wrong direction during jogging with the Miller Controller, change the Wire Drive Motor Direction setting in the Auxiliary Menu.
  • R
    rebeccacrawfordSep 8, 2025
    What does COM EROR mean on a Miller HDC 1500DX Controller?
    • M
      Mary CooperSep 8, 2025
      If the Miller Controller displays a COM EROR message, make sure all connectors are properly plugged into both boards. This error indicates that the motor board is not communicating with the display board.
  • A
    Anna HendersonSep 12, 2025
    Why is there no contactor control for the welding power source on my Miller HDC 1500DX Controller?
    • C
      campbellmollySep 12, 2025
      If there is no contactor control for the welding power source on your Miller Controller, ensure that the welding power source is working properly and that all connections are correct. Check for contact closure from pin A to pin B, which can be measured on terminal block TB1, terminal A, with respect to terminal B.

Summary

SECTION 1 - SAFETY PRECAUTIONS - READ BEFORE USING

1-1. Symbol Usage

Explains symbols used to indicate hazards and special instructions.

1-2. Arc Welding Hazards

Details hazards like electric shock, moving parts, hot parts, and general safety rules.

SECTION 4 - SPECIFICATIONS

4-3. Specifications

Lists technical specifications for the HDC 1500DX, including dimensions and capacities.

SECTION 5 - INSTALLATION

5-3. Typical Connection Diagram With Miller Power Sources

Shows how to connect the HDC 1500DX to Miller power sources.

5-4. Left Side Panel Connections

Details the connections and receptacles available on the left side panel.

5-5. Terminal Block TB1 And TB2 Connections

Illustrates terminal blocks and their internal wiring for connections.

5-6. Terminal Block TB1 Connection Information

Explains the function of each terminal on TB1.

5-7. Terminal Block TB2 Connection Information

Explains the function of each terminal on TB2.

5-12. Remote Voltage Sense Leads Placement Guidelines For A Single Arc (Required)

Guides proper placement of voltage sense leads for accurate arc voltage readings.

5-13. Remote Voltage Sense Leads Placement Guidelines For Multiple Arcs

Guides proper placement of voltage sense leads for multiple arcs.

SECTION 6 - OPERATION

6-3. Front Panel Controls

Provides an overview of all controls on the front panel of the unit.

SECTION 9 - SETTING SEQUENCE PARAMETERS

9-1. Sequence Parameters In A Program

Details parameters for each sequence (preflow, run-in, start, weld, crater, burnback, postflow).

SECTION 10 - MAINTENANCE & TROUBLESHOOTING

10-1. Routine Maintenance

Outlines recommended maintenance tasks for different time intervals.

Miller HDC 1500DX Specifications

General IconGeneral
BrandMiller
ModelHDC 1500DX
CategoryController
LanguageEnglish

Related product manuals