Do you have a question about the Milwaukee M18 FUEL 49-16-2717 and is the answer not in the manual?
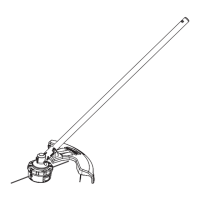
| Product Type | String Trimmer Attachment |
|---|---|
| Voltage | 18V |
| Motor Type | Brushless |
| Battery Compatibility | M18 |
| Category | Lawn and Garden Equipment |
| Compatible Tools | M18 FUEL Power Head |
| Model Number | 49-16-2717 |
| Line Diameter | 0.080 in, 0.095 in |
| Type | Attachment |
| Battery Type | Li-Ion |
| Charger Type | Not included |
| Runtime | Varies with battery |
Maintain a clean, well-lit work area and protect against shock and moisture.
Stay alert, use PPE, prevent accidental starts, and handle tools correctly.
Use correct tool, maintain it, and care for battery packs properly.
Wear PPE, keep bystanders 50' away, and inspect area for debris.
Avoid power lines, hazardous materials, and ensure correct line diameter.
Learn the meaning of voltage, DC, RPM, safety alerts, and PPE icons.
Connect attachment to power head and ensure guard is attached before use.
Secure the guard bracket to the guard using screws.
Rotate the line cut-off blade 180° to change from 14" to 16".
Insert specified line diameter through eyelets and align indicators.
Attach strap to pole clip and carabiner for improved user comfort.
Trim with both hands, swing head side-to-side, and use line ends for cutting.
Clean tool, lubricate gearcase periodically, and maintain line cutter sharpness.

