Tone Break (Advanced Setting)
This Advanced Setting allows you to move the end position of each Tone Region.
Very low conductive non-ferrous targets in varying ground
conditions may be detected within the ferrous Target ID range.
The Tone Break setting allows you to move the point at which
ferrous tones occur. For example, you may want ferrous tones to
occur for any target with a Target ID from -9 to 2. Using the Tone
Break setting, you can move the ferrous tone end position up to
2. This moves some non-ferrous targets into the ferrous range,
however you will now also ignore many of the 'bad' ferrous targets.
You can also adjust the end positions of other Tone Regions to gain
greater distinction between targets of varying conductivity levels.
Target IDs -9 to 0 are set as ferrous by default for Park and Beach
Modes, and -9 to 2 for are set as ferrous by default for Field Mode.
Tone Break adjustment is local; only the current Detect Mode
Search Profile will be affected by changes to this Advanced
Setting.
Tone Break is not available in Gold Mode*, or when the Target Tone
setting is 1.
Adjusting Tone Break
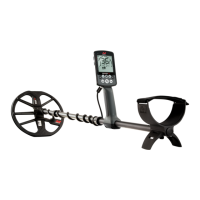
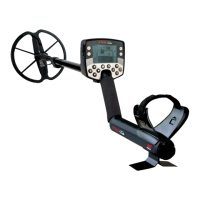
EQUINOX 600 allows only the ferrous Tone Break position (t1) to be
adjusted. EQUINOX 800 allows 4 Tone Break positions (t1, t2, t3, t4)
to be adjusted.
1. Use the Settings button to navigate to Accept/Reject in the
Settings Menu.
2. Press and hold the Settings button for 2 seconds. A line will
appear beneath the Accept/Reject icon, indicating that you
have selected the Tone Break setting.
The Tone Region currently selected will be displayed on the
Frequency Display (e.g. t1). The Target ID Display will show the
current value of the Tone Region end point, (e.g. 0), and the
corresponding Target ID segment will flash slowly.
3. Navigate to the Target ID segment you want to use as the end
position; Press the Plus (+) button to move the end position
one segment in a clockwise direction. Press the Minus (–)
button to move it one segment anti-clockwise.
4. To advance to adjusting the next Tone Region end position (i.e.
t2), press the Accept/Reject button.
Note that the last Tone Region end position cannot be
adjusted because the end position is always 40.
5. A long press of the Settings button will return you to the top
level setting.
Tone Break Default Settings
Depending on the number of Target Tones selected, each mode
has different presets. These can be adjusted.
Number of Tones Park | Beach Field
2 0 2
5 0, 10, 20, 30 2, 10, 20, 30
50 0
(1 adjustment position)
2
(1 adjustment position)
Tone Break end point for t1 adjusted to -3.
Press Accept/Reject to advance to the next
Tone Break, t2.
Tone Break adjustment screen showing the
default Tone Break end point for t1: 0.
× 3
Examples of the Tone Break adjustment screen when the Target Tone setting is 5.
Tone Break (Advanced Setting) | 50Contents

 Loading...
