I-67 Di251/Di351Rev. 11..0.0/03.01
right
7. Use the paper that is output as a sample to
make sure that the punch holes are in the
proper position by folding it in half.
If the holes are not properly aligned, use the
following instructions to adjust them.
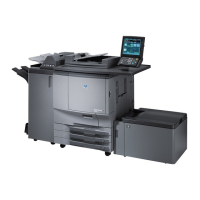
8. Separate the Finisher from the copier.
9. Open the upper door and remove the cover of
the Finisher as shown in the illustration.
10. Using a coin or similar instrument, loosen the
screw as shown in the illustration.
11. Using the green lever, move the hole-punch
guide left or right in order to adjust the hole-
punch position.
Use the measuring scale above the green
lever as a guide to determine the amount of
the adjustment.
12. Retighten the screw and output another
sample to check the adjusted position of the
hole punch.
13. Replace the cover onto the Finisher.
Screw

 Loading...