Kaleido-X16
Quick Start Guide
7
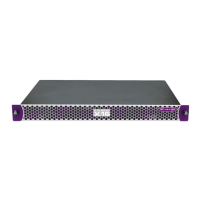
Front view of the Kaleido-X16 frame (PSUs installed; front cover removed)
The Kaleido-X16 system is available in two model types: the Kaleido-X16-D and the Kaleido-X16-S. There
are two heads on the Kaleido-X16-D and one head on the Kaleido-X16-S.
Step 1: Physical Setup
Mounting the Kaleido-X16 in a Rack
To mount the Kaleido-X16 in a standard 19-inch rack:
1. Install both support brackets at the back of the rack by using suitable screws and washers (not
included), so that the bottom of the Kaleido-X16 frame will be supported by the brackets.
2. Position the Kaleido-X16 frame at the designated location within the rack, and secure the front of the
frame to the rack by using suitable screws and washers (not included).
Powering up the Kaleido-X16
To power up the Kaleido-X16:
1. Plug the power cord(s) from the Kaleido-X16 into a grounded power outlet.
See also: For more information about the Kaleido-X16, refer to the Kaleido-X16 Hardware Description &
Installation Manual, available on the DVD that shipped with your system.
IMPORTANT: Mobile Installation
If you are deploying your Kaleido-X16 in a mobile unit, it is your responsibility to make sure
the back of the multi-viewer is securely attached to the rack. For instance you may install
a blank panel at the back of the rack, so that it meets the top of the frame, to prevent the
frame from bouncing away from the support brackets.
Ventilation
For proper ventilation, make sure the front and side panel air vents are not blocked and the
air filter is clean.
 Loading...


