8
Setting Up the Kaleido-X16 Multi-Viewer
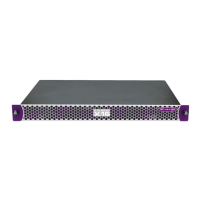
Setting up the Kaleido-X16 Hardware
2
2. Press the power button at the front of the frame (behind the front cover).
The startup sequence takes a couple of minutes. The startup is completed when the CPU LED is solid
green.
Setting up the Kaleido-X16 Hardware
To set up the Kaleido-X16 hardware:
1. Make the required network and other connections to your Kaleido-X16 (see “Cabling Diagram” on
page 11). Connect a client PC, the Kaleido-RCP2 (if available), and an Audio Bridge Terminal (if
available) to a dedicated 100Base-T Ethernet switch. You can also connect a mouse and a keyboard to
your Kaleido-RCP2.
The Kaleido-X16 multi-viewer has been configured to automatically detect the resolution of any
connected display. If the required information is not available, then a fall-back resolution of
1280 × 1024 @ 60 Hz is used.
2. Connect one output of the multi-viewer to a display that supports this resolution (see “Cabling
Diagram” on page 11). If you wish to use a different resolution, see “Changing the Output Resolution”
below, for detailed instructions.
IMPORTANT: • If you only have one PSU, make sure you plug your power cable into the power
connector on the right side of the rear connector panel (as you face the rear of the
frame). This should be on the same side of the frame as the one PSU you have
installed. If you do not do this, your system cannot draw power.
• If you have two PSUs, make sure you plug in both power cables into both power
connectors of the rear connector panel. If you do not do this your system cannot
have PSU redundancy.
Note: The Audio Bridge Terminals (ABTs) and Kaleido-RCP2 are optional devices, and may not have been
shipped with your Kaleido-X16 system. For information on these and other options for your multi-viewer
system, please contact your Miranda sales representative.
Power button
 Loading...


