6. Unique Type of Lens Mount
The lens mount of MIRANDA Sensorex has on its outside a 4-claw bayonet
mount and on its inside a screw mount of 44mm inner diameter (All MIRANDA
cameras and lenses have the same standard lens mount).
The bayonet mount is for attaching the auto lenses (having automatic diaphragms)
extension bellows, etc., quickly and easily by merely giving I/8 of a full turn after
mounting. The inner screw mount is for preset lenses and most of other accessories.
As the Miranda mount has a wide diameter and a short flange back (distance
between lens attaching plane and film surface), it permits the use of most lenses made
for other SLR cameras by means of Miranda adapters.
7. Bright, Easy-to-View and Accurate Viewfinder
MIRANDA Sensorex is equipped with a penta-prism viewfinder which shows the
subject's image right side up and right way round. It was Miranda Camera Company which
first developed and adopted this system in Japan. It was Miranda also which first perfected
a method of improving the penta-prism's eyepiece to permit easier viewing.
Miranda's viewfinder accurately shows the actual image and background blurs exactly
as transferred to the film, and is therefore most useful in portraits, close-ups, copying and
color shots, and particularly when shooting with telephoto lenses or through the
microscope
4www.butkus.org
8. Complete Line of Interchangeable Lenses and Accessories
MIRANDA Sensorex is one of the highest grade SLR cameras embodying many
outstanding features within its compact easy-to-use body, but furthermore, it is
provided with 19 interchangeable lenses ranging from 25mm to 800mm focal lengths,
along with a full assortment of useful accessories to make it deserve being called the
full-scale System Camera. Besides ordinary shooting, it boasts of remarkable
versatility in close-ups, copying and photomicrography in the fields of science,
medicine, industry, education and other activities.
OUTLINE OF CAMERA OPERATION
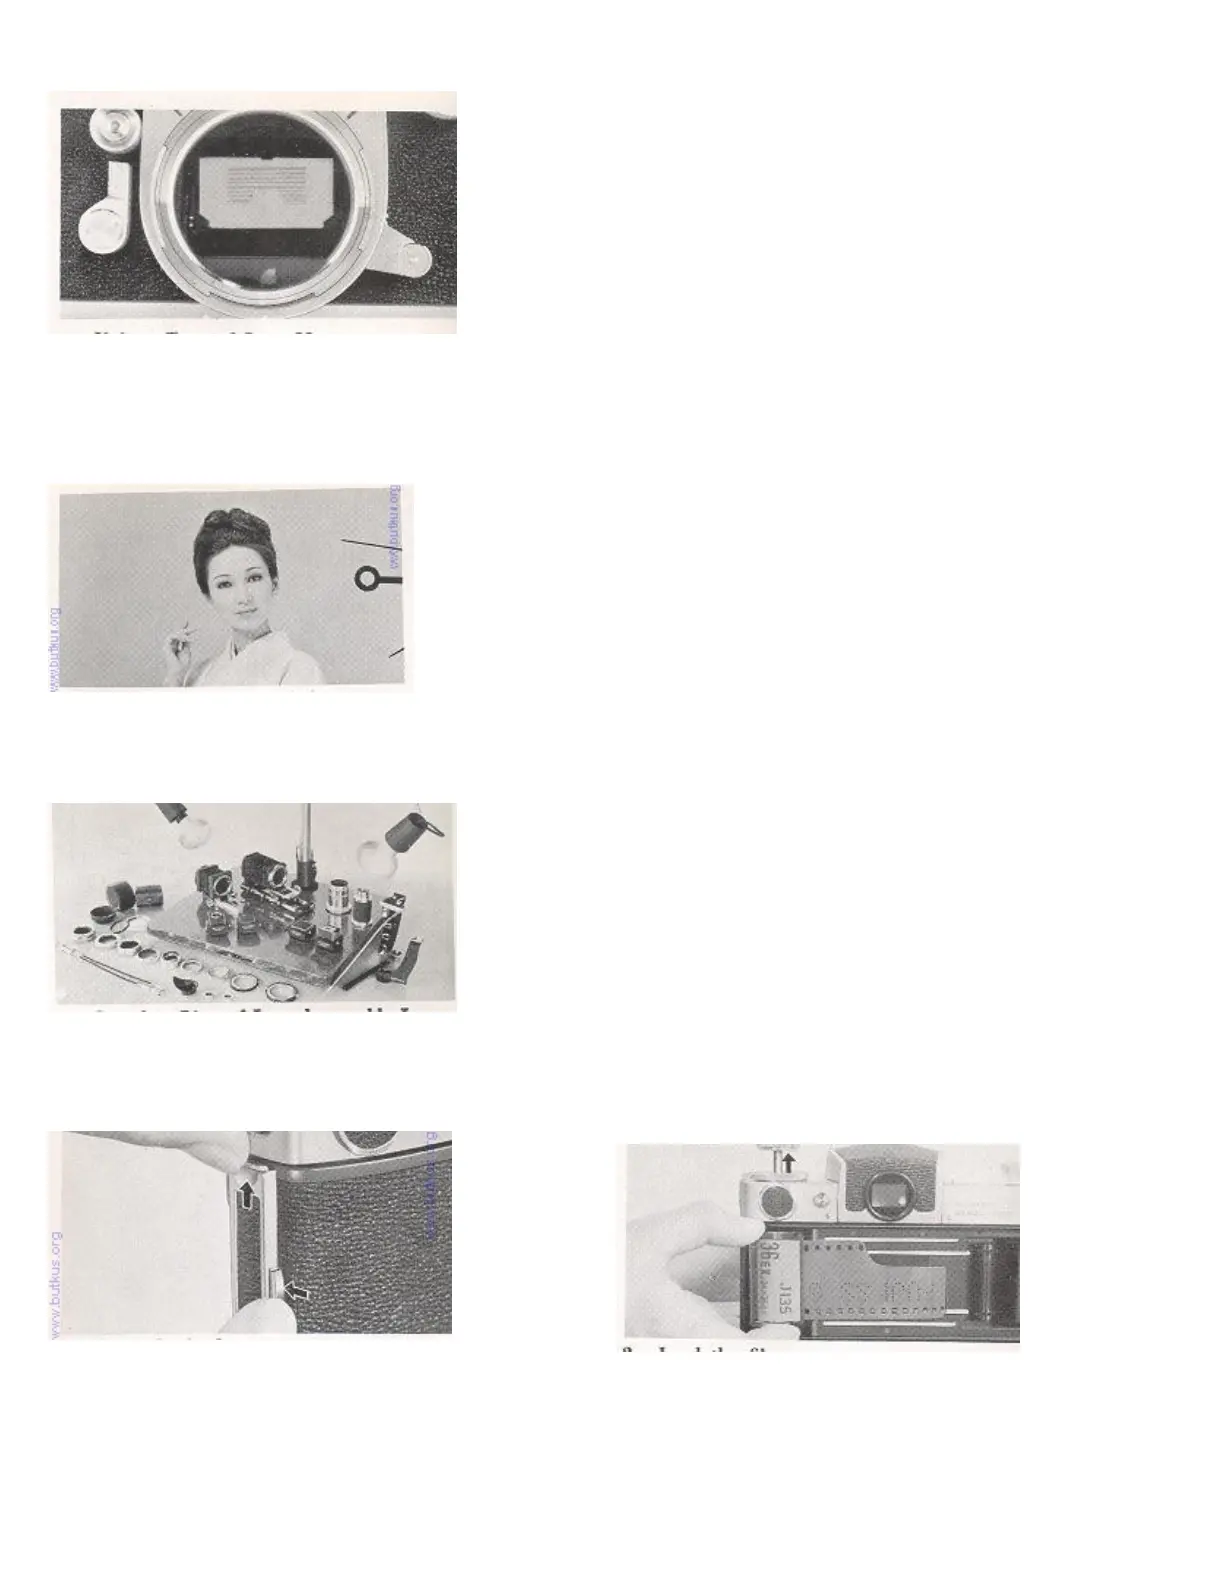
1. Open the back cover
While pressing lock button pull up clip lever at ton to open back
cover.
2. Load the film
Insert film cartridge, with the spool projection facing down.
 Loading...

