INSTALLMENT&OPERATION
ForMMA
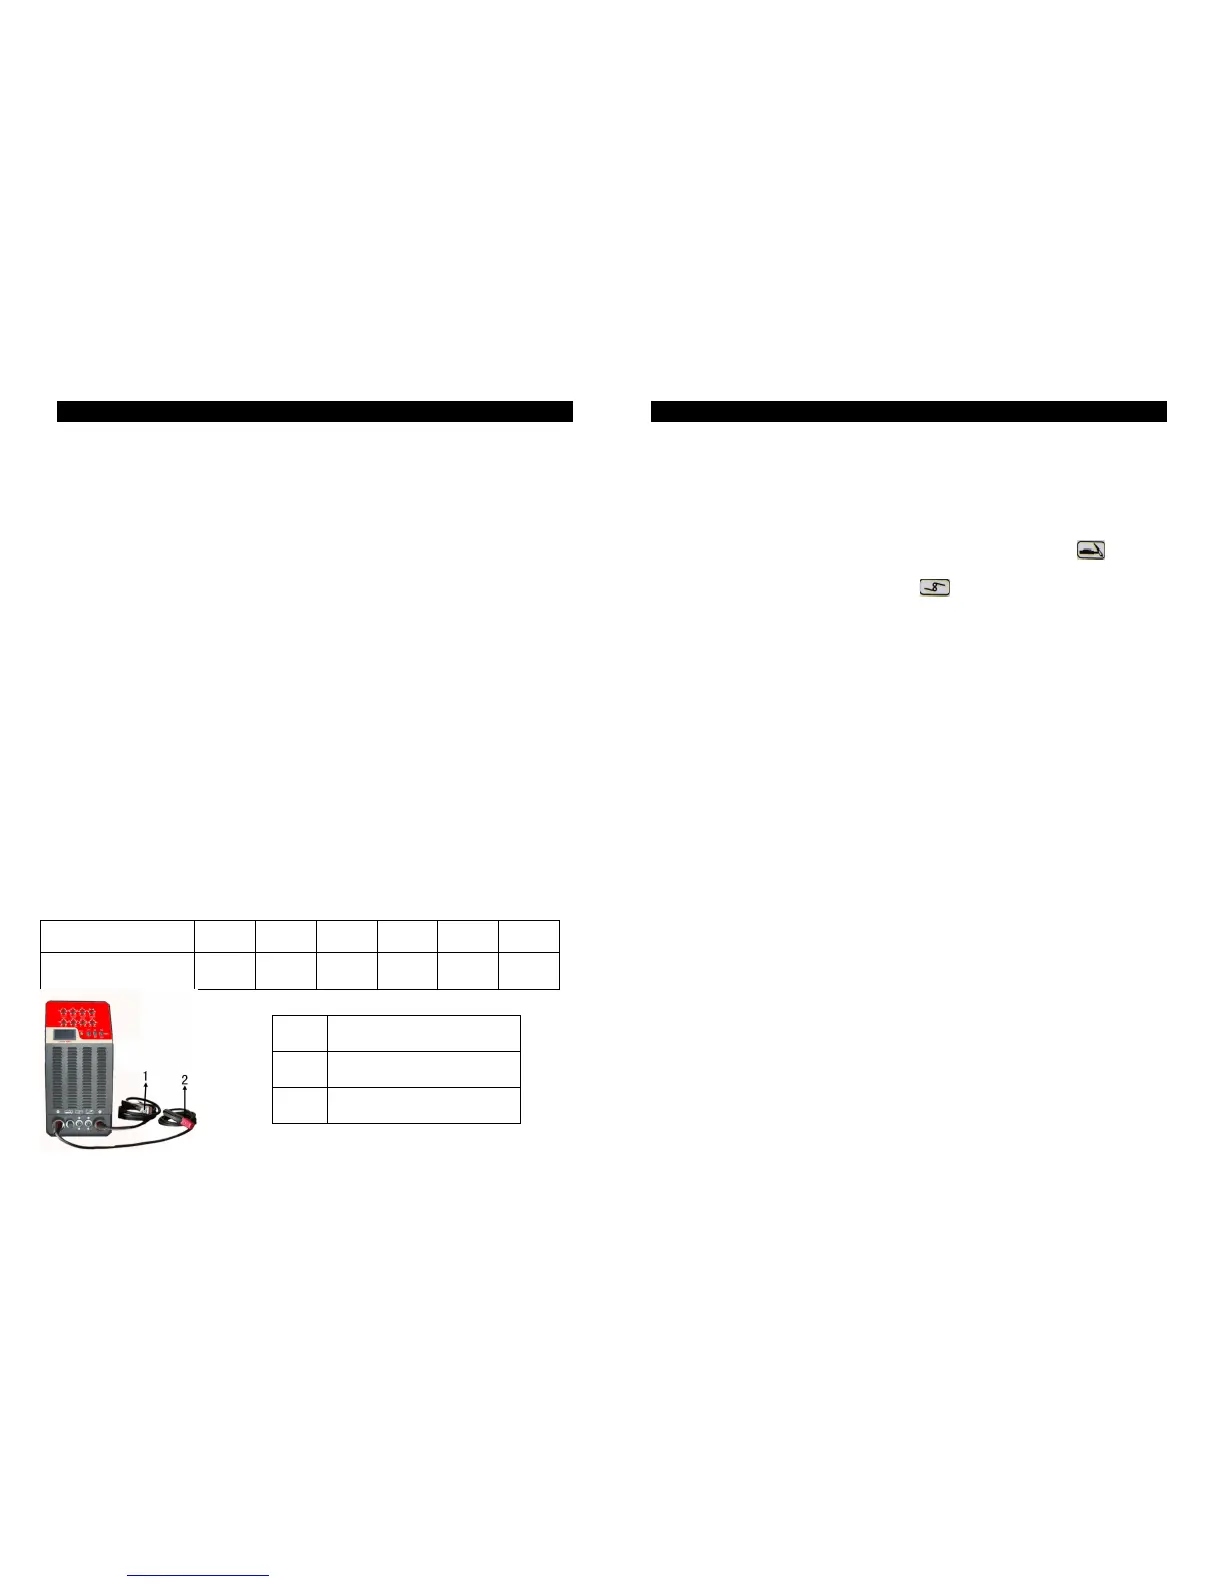
Correctlyconnecttheelectrodeholderandearthclampaccordingtothesketch.
1. Put the cable connector of the electrode holder to the negative terminal “-“and
fastenitclockwise.
2. Pleasefollowpoint1toconnecttheearthclamptothepositiveterminal“+”
3. Please pay attention to the connecting polarity and there are two connecting
methodforDCweldingmachine:positiveconnectionandnegativeconnection.
3.1 Positive connection: holder connects with “-“polarity, work-piece with the “+”
polarity.
3.2 Negative connection:work-piecetothe“-“polarity,electrodeholdertothe“+”
polarity.
3.3 Choose suitable method according to the welding requirement. If unsuitable
methodisselected,itwillcauseunstablearc,morespattersandconglutination.
Ifsuchcaseoccurs,pleasechangethepolarityoftheweldingcables.
4. Switchto“MMA”.
5. Switch the power switch to “ON” position then the cooling fan will start to work
immediately.
6. Pleaseadjustappropriateweldingcurrentandrodaccordingtothicknessofwork-
pieceandweldingcraft.
Electrodestandard
ElectrodeDiameter(mm)
INSTALLMENT&OPERATION
ForTIG
1.Connectgashosewithcopperconnectiononrearpanelofthemachinethenfasten
theconnectorwithhoseclamptopreventfromleakinggas.
2.Pleaseconnecttheearthclampandtorchcorrectlyasbelow:
2.1 The connectorofgas-electricityintegration to the front panel
and fasten it
clockwise.
2.2 Thepinconnectortothefrontpanel
andfastenitclockwise.
2.3 Thecableconnectoroftheearthclamptothepositiveterminal“+”.
3.Switchto“TIG”andclickthepowerswitchto“ON”thenthecoolingfanwillstartto
workimmediately.
4.Opentheargonregulatorvalveandadjusttoadequateairpressureandflow.
5.Clickonthetorchswitchandthenthesolenoidvalveclickson,alsoHFarc-striking
canbeheard,meanwhileargongasflowsoutthroughtip.
Attention:Thetorchswitchshouldbekeptonforseveralsecondsbeforeweldingforthe
firsttime,andit’sreadytoworkafteralltheairisout.Andargonwillstillflow
outinseveralsecondswhentheweldingstopsandthisspecialdesignisto
continue protecting the welding spot before cooling. In that case, please
remaintheweldingpositionforawhileeventhearcisextinct.
6.Pleaseadjustappropriateweldingcurrentaccordingtothethicknessofworkpiece
andweldingcraft.
7. Pleasekeepadistanceof2-4mmbetweenthetungstenandwork-piece,thenclick
onthetorchswitchandtherewillbeHFsparkbetweenelectrodeandwork-piece,
afterarc-strikingthesoundfromtheHFdischarginginthemachinewilldisappearat
once,andnowit’sreadytoweld.
 Loading...