Do you have a question about the Mitsubishi HS-U776 and is the answer not in the manual?
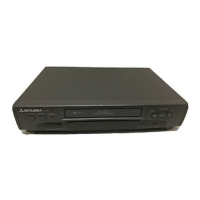
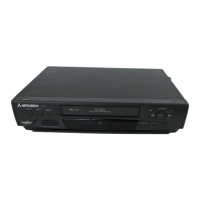
Describes how to unpack the VCR and check included items.
Provides guidance on selecting the correct connection method for your system.
Details connections for antenna or cable without a separate box.
Explains how to connect a VCR with a cable box system.
Guides connecting the VCR to a TV with audio/video inputs for better quality.
Explains how to connect a satellite receiver to the VCR for channel control.
Details connecting the VCR to a home theater receiver for surround sound.
Describes connecting Mitsubishi components via the A/V Network for integrated control.
Explains how to connect the IR Emitter for controlling external devices like cable boxes.
Guides the initial setup to display picture from the VCR on your TV.
Instructions for installing batteries and operating the remote control with the VCR.
Step-by-step guide on how to properly load a video cassette tape into the VCR.
How to start playing a tape and basic playback controls.
Explains functions like rewinding, fast-forwarding, pausing, and unloading tapes.
Automates the process of memorizing available television channels for easy tuning.
How to set up the VCR to control channels on a connected satellite receiver.
Manually add or delete channels after automatic memorization.
Instructions on how to select channels directly or sequentially.
Guides setting the VCR's clock automatically or manually for accurate recording.
How to record a program that is currently playing on TV.
Easy method to start recording immediately and have the VCR turn off automatically.
Program recordings in 30-minute intervals within 24 hours for later playback.
Configure recording formats like S-VHS, S-VHS ET, and VHS for optimal quality.
Choose between S-video or standard video input jacks for external equipment.
View video signals from connected equipment even when the VCR is off.
Adjust audio monitor settings and video functions like tape length and PerfecTape.
Manually schedule programs to record at specific times and dates.
A simplified method for programming VCR recordings directly from the remote.
Program recordings using PlusCode numbers found in TV guides.
Automatically switches between SP and EP recording speeds based on tape length.
Skip specific scheduled recordings without erasing the entire program entry.
Skip a single scheduled program using the power button without accessing menus.
Modify existing timer recording schedules.
Procedures to cancel a scheduled recording before it begins.
Instructions for copying tapes using two VCRs, either for recording or playback.
How to use the HS-U776 as a playback device for copying to another VCR.
Features for special effects like slow motion, speed search, and double speed playback.
Adjust tape tracking for optimal picture quality and display time information.
Methods to search through tape content using techniques like CM skip, speed search, and index marks.
Use repeat playback and PrograManager to memorize and manage recorded tape contents.
Customize VCR settings like video mute, power save, RF converter, and PerfecTape.
Configure A/V Network, remote control settings, and child lock for integrated operation.
Detailed diagram and explanation of all buttons on the VCR remote control.
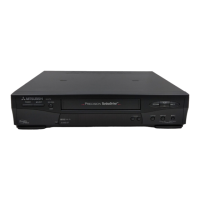
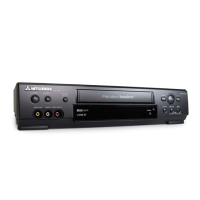
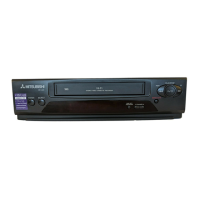
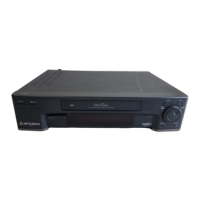
Identifies and explains the functions of buttons and jacks on the VCR's front panel.
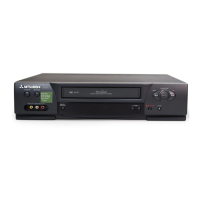
Explains the indicators and information shown on the VCR's front panel display.
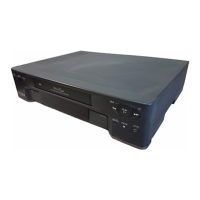
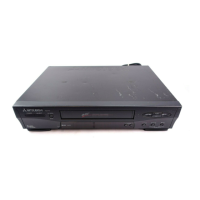
Details the purpose and connection of various input/output jacks on the VCR's rear panel.
| Brand | Mitsubishi |
|---|---|
| Model | HS-U776 |
| Category | VCR |
| Language | English |