78
OPERATING PROCEDURE
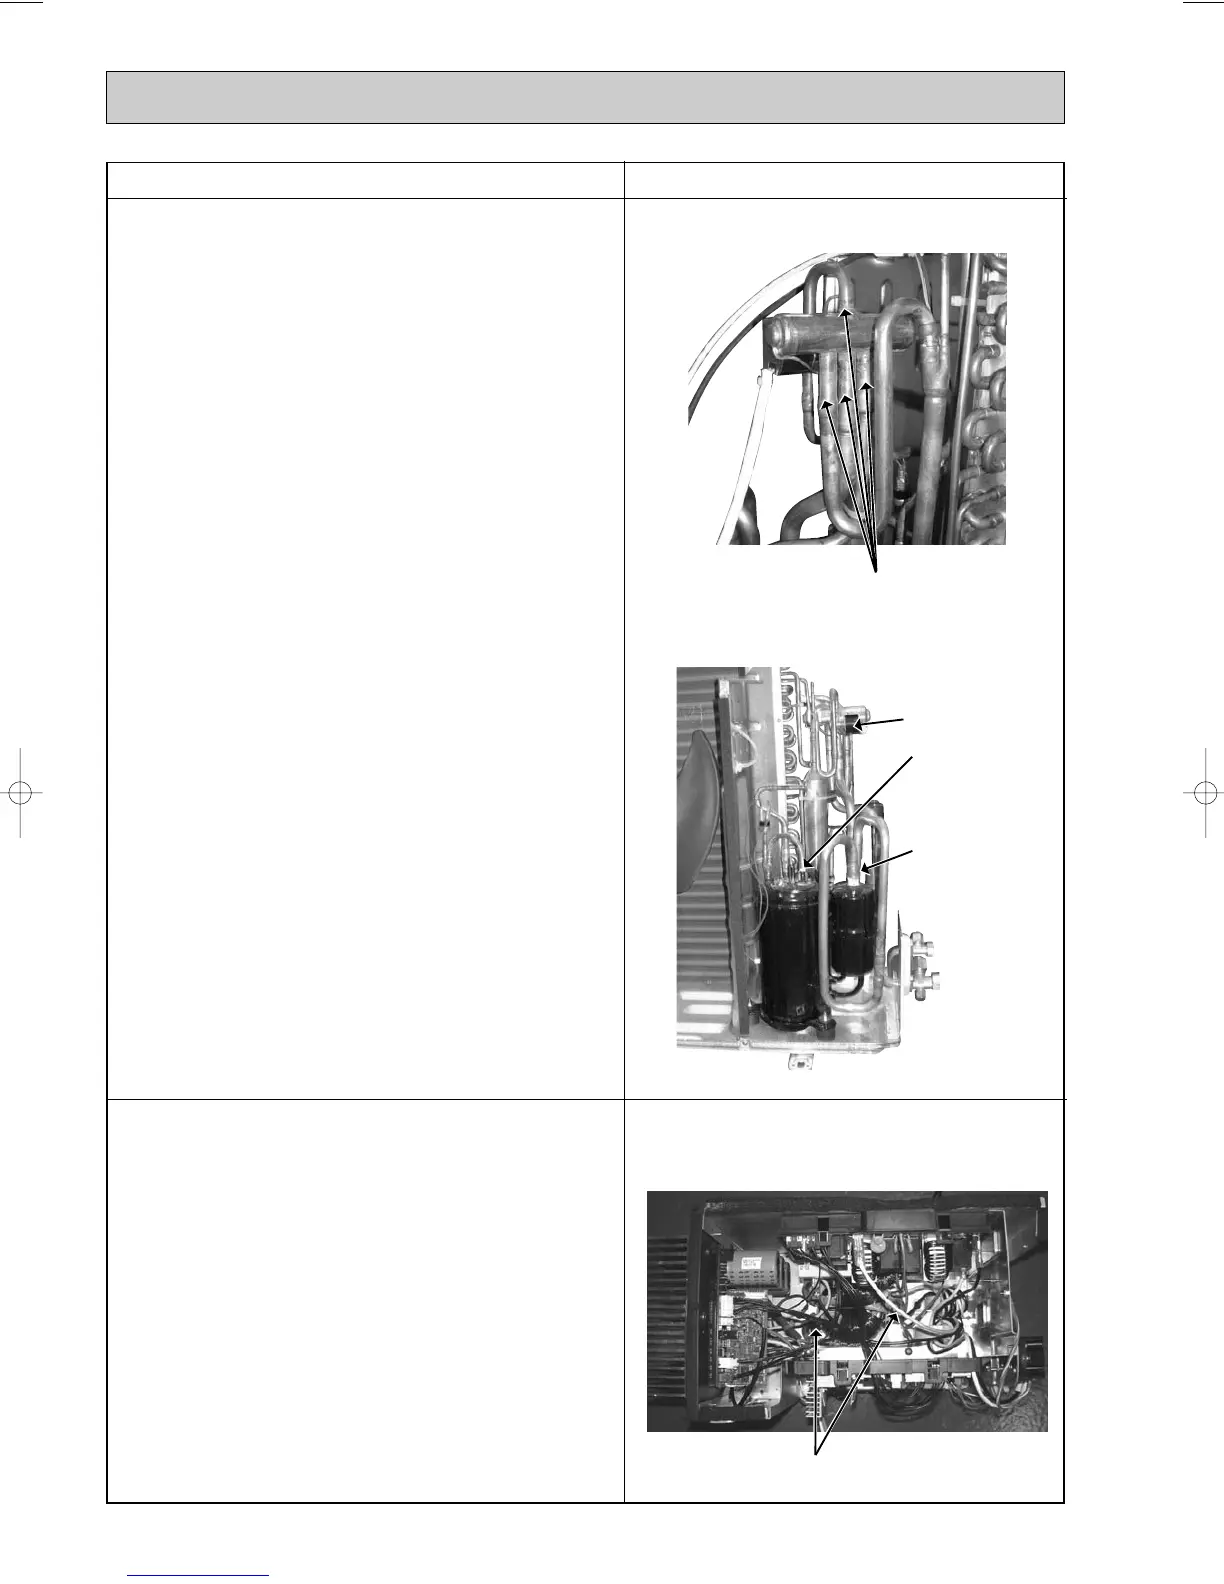
PHOTOS
Photo 8
Welded parts of 4-way valve
6. Removing the compressor and 4-way valve
(1) Remove the top panel, cabinet and service panel.
(Refer to 1.)
(2) Remove the back panel. (Refer to 1.)
(3) Remove the inverter assembly. (Refer to 2.)
(4) Recover gas from the refrigerant circuit.
(5) Detach the welded part of the suction and the discharge
pipe connected with compressor. (Photo 9)
(6) Remove the compressor nuts.
(7) Remove the compressor.
(8) Detach the welded part of 4-way valve and pipe. (Photo 8)
NOTE
● Before using a burner, reclaim gas from the pipes until the
pressure gauge shows 0 kg/cm
2
(0MPa).
● Use the burner under the condition that gas can be recovered
even when the inner pressure rises by heat.
7. Removing the reactor
(1) Remove the top panel. (Refer to 1.)
(2) Disconnect the reactor lead wire.
(3) Remove the screws of the reactor, and remove the reactor.
Photo 10
Screws of the reactor
Photo 9
Welded part
of the dis-
charge pipe
R.V. coil
Welded part
of the suction
pipe
OC304A --3qxp 04.6.29 8:34 AM Page 78
 Loading...