Maintenance
Micro-Ion
®
Module Instruction Manual - 356007-GP 63
Installation Operation MaintenanceBefore You Begin
4.3 Micro-Ion Gauge
Continuity Test
If a problem with pressure measurement is traced to the module, the
Micro-Ion gauge can be tested with an ohmmeter. This test can detect open
filaments or shorts between gauge elements, but may not detect inaccurate
pressure measurement associated with vacuum leaks or other materials
(contaminants) within the gauge.
The gauge can be left on the system for the test. The module electronics will
be removed to gain access to the pins on the gauge.
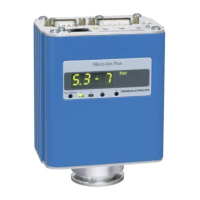
1. Turn OFF power and disconnect all electrical connectors to the
Micro-Ion Plus module.
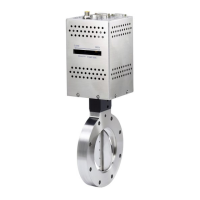
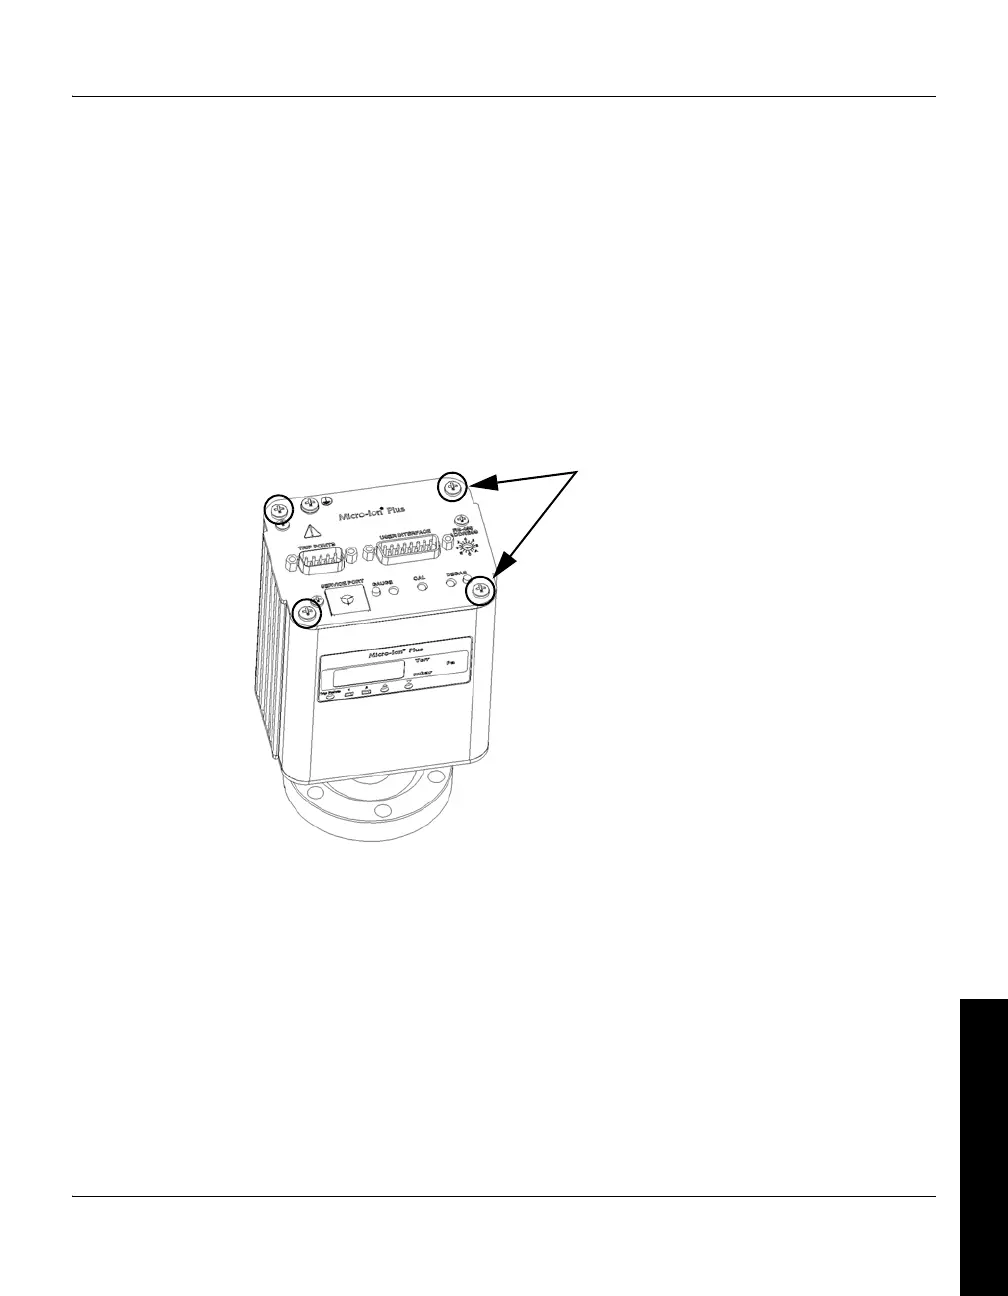
2. Unscrew the four Phillips-head screws until they disengage from the
gauge. See Figure 4-1.
Figure 4-1 Removing the Gauge, Step 2
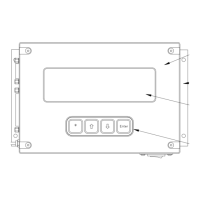
3. Carefully unplug the module electronics from the gauge to expose the
gauge and end plate assembly. See Figure 4-2 and Figure 4-3.
Unscrew the 4 Phillips-head screws until
they disengage from the module
 Loading...