08/07 AWB1230-1407GB 5 – 23
Knock out front panel
1 Knock-out section from operating panel; use suitable support
2 Deburr the edges
Fix adhesive label at the front panel
Then:
– Fit control gate(a page 15 – 3)
– Install overcurrent release (a page 9 – 39)
– Install front panel (a page 24 – 13)
– Assemble the required terminals on the withdrawable unit (must be
ordered separately) (a page5–7)
– Install withdrawable unit (a page5–1)
– Insert the circuit-breaker in the withdrawable unit and rack into
connected position (a page 6 – 1)
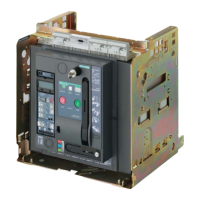
Conversion kit part numbers
Conversion kit for fixed-mounted into withdrawable circuit-breaker.
Note
Conversion kits can only be ordered using the part no. shown above
and also giving the Indent no. of the circuit-breaker.
1
2
Frame size Part no.
IZM(IN).1-... IZM1-XUS-AV
IZM(IN).1-4-... IZM1-XUS4-AV
IZM(IN).2-... IZM2-XUS-AV
IZM(IN).2-4-... IZM2-XUS4-AV
IZM(IN).3-... IZM3-XUS-AV
IZM(IN).3-4-... IZM3-XUS4-AV
 Loading...