21 3 4
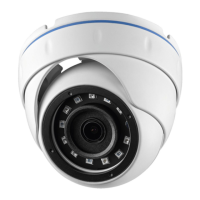
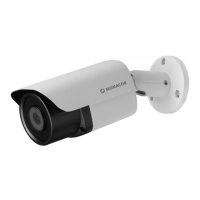
HD IP CAMERA
Quick Start Guide
Note:
1 2 3
PoE Switch
9 Port Fast Ethernet Switch With 8 Port PoE
Power Adapter
POE Ethernet Switch
RJ-45
RJ-45
RJ-45
RJ-45
HD IP Camera (PoE)
HD IP Camera (PoE)
To PoE Switch LAN port
DC 12V
DC 12V
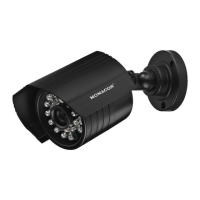
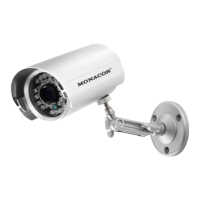
HD IP Camera
(without PoE)
HD IP Camera
(without PoE)
To Switch or Router LAN port
To Switch or Router LAN port
To router LAN port
Router
HDMI or VGA output
HDMI or VGA output
RJ-45 To router LAN port
To router LAN port
PoE NVR
To NVR PoE port
Note:
This manual may contain some incorrect places, even though it was published with our carefully proofreading.
The news updates will be added to the next release without notice. Your valuable advice is really appreciated.
V 4.0
1. The camera should be connected to an OPTIONAL 12 volt power supply if you do not use PoE (Power
over Ethernet).
2. A Windows computer is more convenient to setup and troubleshooting.
Figure 1: Working With POE Switch
Figure 2: Working With POE NVR
Modifying the camera’s IP address
Note :you can also find out the LAN configuration via Windows GUI
Now you can get all the
local network information.
IPv4 Address: 192.168.1.?
Subnet Mask: 255.255.255.0
Default gateway: 192.168.1.1
DNS Servers: 192.168.1.1
Default: IP address: 192.168.0.123 , Username: admin, Password: 123456
( We strongly recommend modifying the default password for your security).
Each IP camera has the same default IP address after leaving the factory. In order to
guarantee network connectivity and access the live video, it is essential to change the
camera’s IP address to unique via computer before using. You can install the device
search tool or UC client from the CD to quickly configure the IP camera.
Before modifying the IP address you’d better confirm the IP network planning and avoid
IP address conflict.
Steps on Local Area Windows 10 PC : Search Windows -> cmd -> ipconfig /all
Right-click on the Network icon and select open Network and Sharing Center.
If the camera is installed to work with the local switch or router directly, the camera
IP range should be 192.168.1.x (x=2-254). To void IP conflict, you should test and
select an unoccupied IP like this:
Command Prompt ping test
Only when reply unreachable
that means the IP address is no
conflict and available, otherwise
when you see time reply do not
use this IP address.
Using Device Search Tool
There are three methods to
modify the camera IP configuration,
Search tool,UC Client software
and Internet Explorer.
2
Modifying the camera’s IP address
a. Click Start Search and all your cameras in
the LAN will be listed. Modify IP address to suit
the LAN’s IP scheme. There are two modifying
methods available: 1) Right click on the desired
camera and choose “Modify IP address”. 2) Click
the ALL check-box then click “IP Batch Setting”.
Reset Password ->Restore default settings;
Video full-screen -> double-click video;
Firmware upgrade -> Select the check-box, click Browse then click File Upgrade.
b. You can also enable the camera DHCP function if
there is a DHCP server available in the LAN.
Most router has DHCP server built-in.
(IP address in DHCP setting may change after
device restart. We do not recommend leaving the IP camera on DHCP).
Tips:
5
6
4
Working with Internet Explorer
To access the camera’s web interface, type in the IP camera’s IP address in Internet
Explorer’s URL bar to gain access to the login page. Please modify IP address to the
same subnet if login page can not load.
(Default user name: admin, Password: 123456)
Firefox ESR and IE are supported.
From the login page, select your familiar language, then log in with the username
and password.
4
Using the UC client software
(Default user name: admin, Password: 123456)
1. Go to the Devices Config and click Start search, all the camera in the LAN
will be listed. Highlighting one of the camera will populate the filed above.
Change the parameter listed in the field and click on “Modify IP” to modify the
camera’s IP address. Please modify the default IP address to match your LAN’s
IP scheme. Note: Be careful when setting up IP addresses to not have
duplicated IP as other devices in LAN.
2. After changing all the IP cameras’ IP address, you can search again and add
them all to the UC client. Once the cameras are added, go to the tab Video View
and drag the camera into the split windows to start previewing the cameras.
QR code for Danale APP
Connecting the camera to system
ELIP-2000BX ELIP-2036BF ELIP-2036DF
ELIP-2037PIR ELIP-2550BVM ELIP-2812BV
ELIP-2812BWDR ELIP-2812DV ELIP-2812DVM