28 29
www
.morphyrichar
ds.com
www
.morphyrichar
ds.com
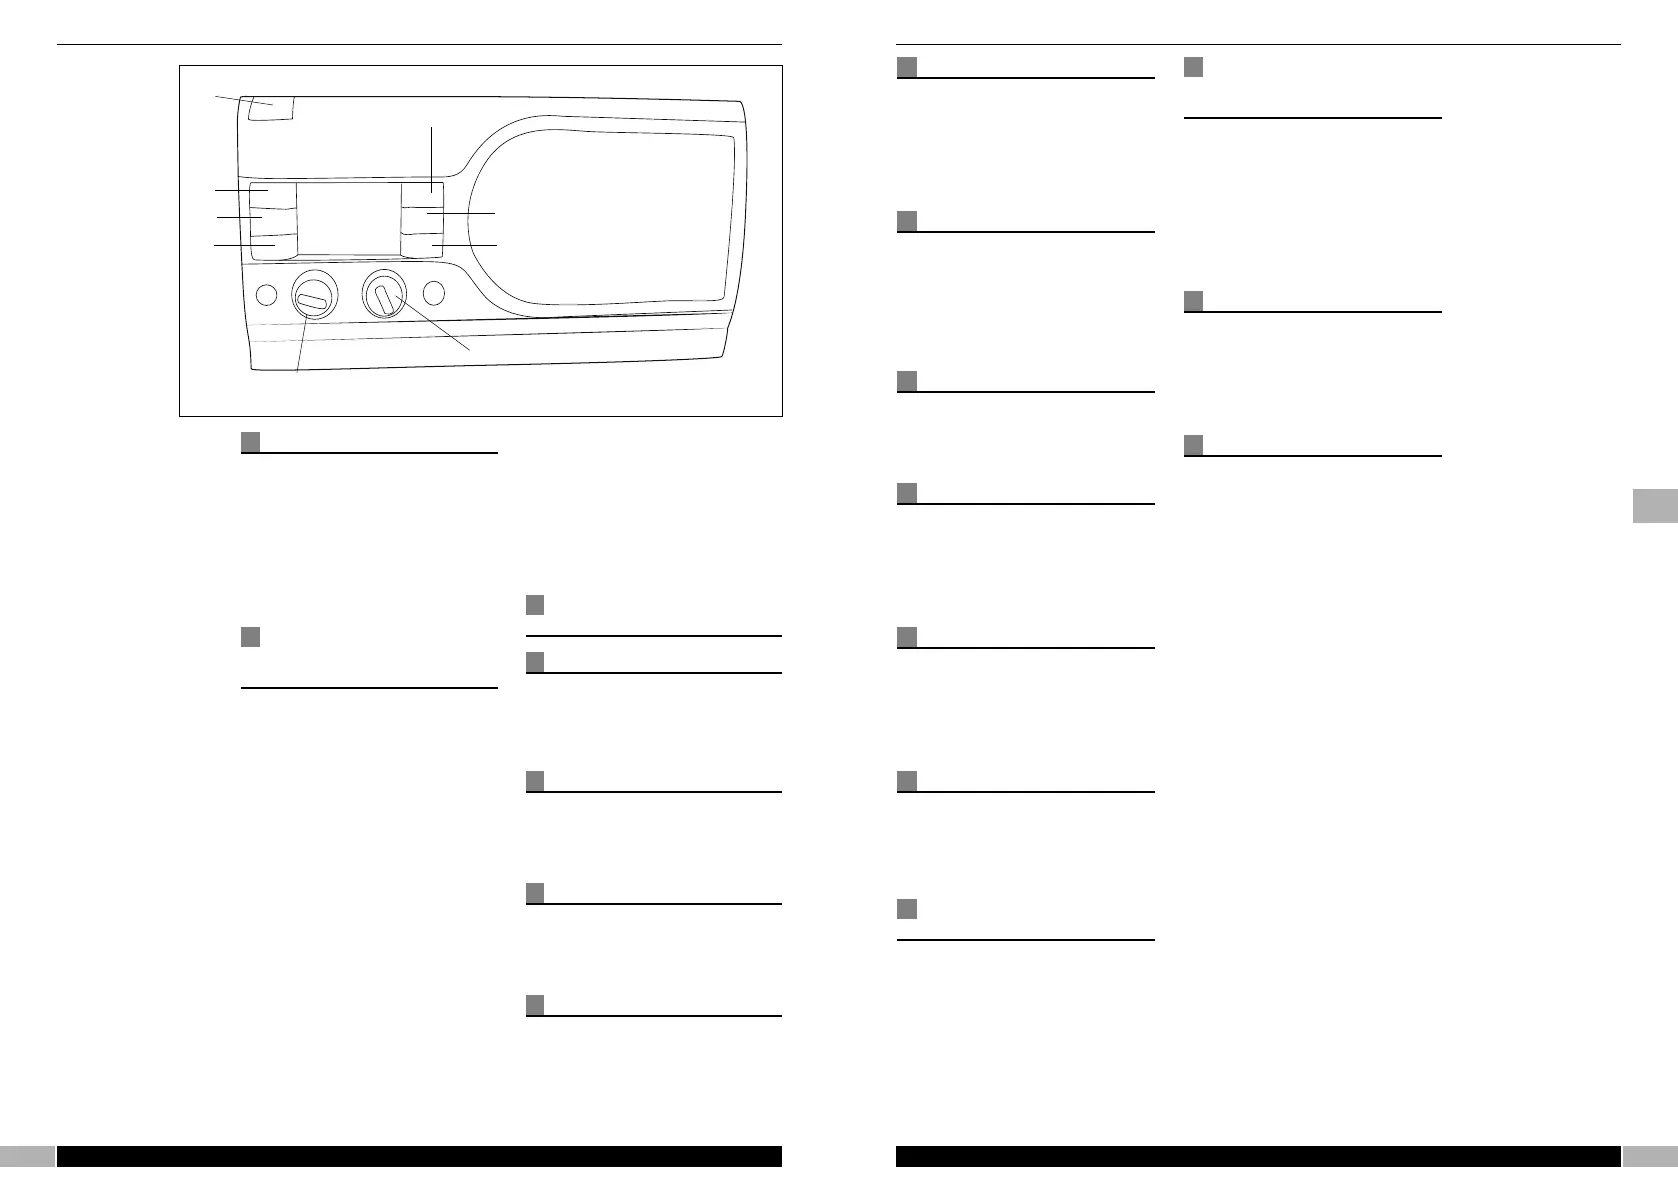
Features
⁄ ON/STANDBY BUTTON
¤ INFO/EPG
‹ AF/Mode
› BACK
fi VOLUME
fl MENU/SELECT
‡ RECORD
· STOP
‚ PLAY/PAUSE
OPERATING THE
RADIO FOR THE
FIRST TIME
Unpack the unit from packaging,
there should be the following
components:
• Digital Radio
• Mains Adaptor
Extend the telescopic antenna
vertically to its full extent and
connect the DC lead to the back of
the radio. Connect the mains
adaptor to a suitable wall outlet and
switch on.
The radio will commence to power
up and start to scan all the bands,
without any user intervention. This
pr
ocess may take a few minutes to
per
form. The LCD display will show
the program information, whilst this
is taking place.
Once the radio has completed this
function it will tune to the first
available broadcast in the ‘station
database’. The station database is
built up alphanumerically with the
stations comprising of a station
name of numbers first followed by
consecutive letters of the alphabet.
CONTROL
OPERATION
ON/STANDBY button
This button switches STANDBY to
ON and vice versa. It is also used
to activate the snooze function
when in alarm mode.
Volume
Rotate this to control the volume of
the sound. Fully counter-clockwise
will mute the audio.
Headphone socket
Plugging in a suitable headphone,
will mute the speaker output and
allow the user to listen in privacy.
LCD display
This shows all the graphical and
textual information from the radio.
In normal operation the backlight
will be blue. When recording, the
backlight will change to red.
SD/MMC socket
The user can insert a SD or MMC
c
ard to allow the recording of a
d
igital transmission (DRM or DAB).
T
he length of record time depends
on the data rate of the transmission
and the size of the card.
Telescopic Antenna
I
n normal operation the telescopic
antenna should be fully extended
a
nd in a vertical position. Some re-
positioning of the antenna axis may
be required for better reception of
certain broadcasts.
DC power connector
This is used to connect the supplied
AC/DC power supply. Use only the
supply provided.
USB socket
A USB socket is provided on the
back panel for qualified technician
use only. This user should not
attempt to connect any device to
this port.
Line in socket
This is provided for the user to
connect an MP3 player or other
external audio source. Insertion of
the jack into the socket will mute
the radio output.
Line out socket
The line out socket is provided for
connection of the audio output to
an external amplifier or similar
device.
Satellite speaker
socket
This is provided for connection of
the additional external speaker.
Connection of this speaker will
pr
ovide a stereo audio output, when
transmitted by the broadcaster.
NAVIGATING THE
FUNCTIONS OF THE
RADIO
A
ll of the functions of the radio can
be accessed and selected by the
MENU/SELECT knob. However
t
here are some functions that can
be accessed by the Quick keys for
easy selection. These will be
described in details in the ‘Quick
K
ey’ section of the manual.
Quick keys
There are 6 quick keys located, 3
each side of the LCD display. These
allow quick selection of particular
functions. These will be described in
detail below.
Play/Pause
This button controls the start of play
and pause of a recorded track on
SD/MMC Card, or of a live
broadcast (only on DRM and DAB
modes- not available in AM and FM
modes)
When the user is tuned to a digital
station, pressing this button will
pause the transmission. If the user
is not tuned to a digital
transmission, it will attempt to find
one from its database and inform
the user of the change of
frequency/mode. If there is no
alternative digital transmission, then
the display will inform the user this
function is not available.
The display will change and show
the PAUSE/REVIEW screen, which
shows the difference from real time
to paused broadcast. Pressing the
button a second time will
recommence the transmission from
the point at which it was held.
The review mode time (maximum
delay for the broadcast) is 30
minutes in DRM and 5 minutes 30
seconds in DAB mode (NOTE: all
timings are approximate and
depend on the data rate of the
transmission).
In file mode (i.e. playing fr
om the
SD/MMC card), pressing this button
will pause or play the current
selected file.
⁄
¤
‹
›
fi
fl
‡
·
‚
g
 Loading...